
The Charvel build project – part 5
It’s been some time since I posted any updates on the Charvel build project. Things have been insanely busy and tough since late last year, so anything I need to work on takes a lot longer than usual.
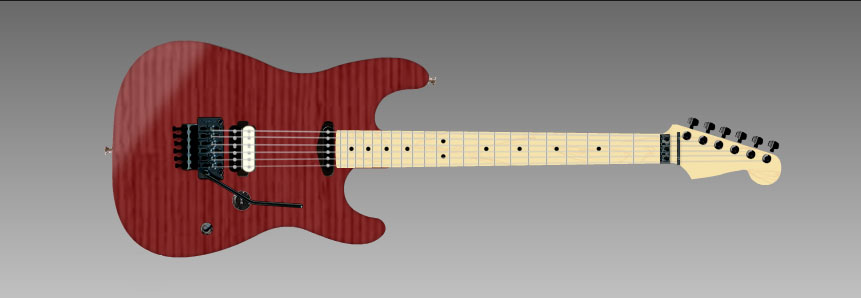
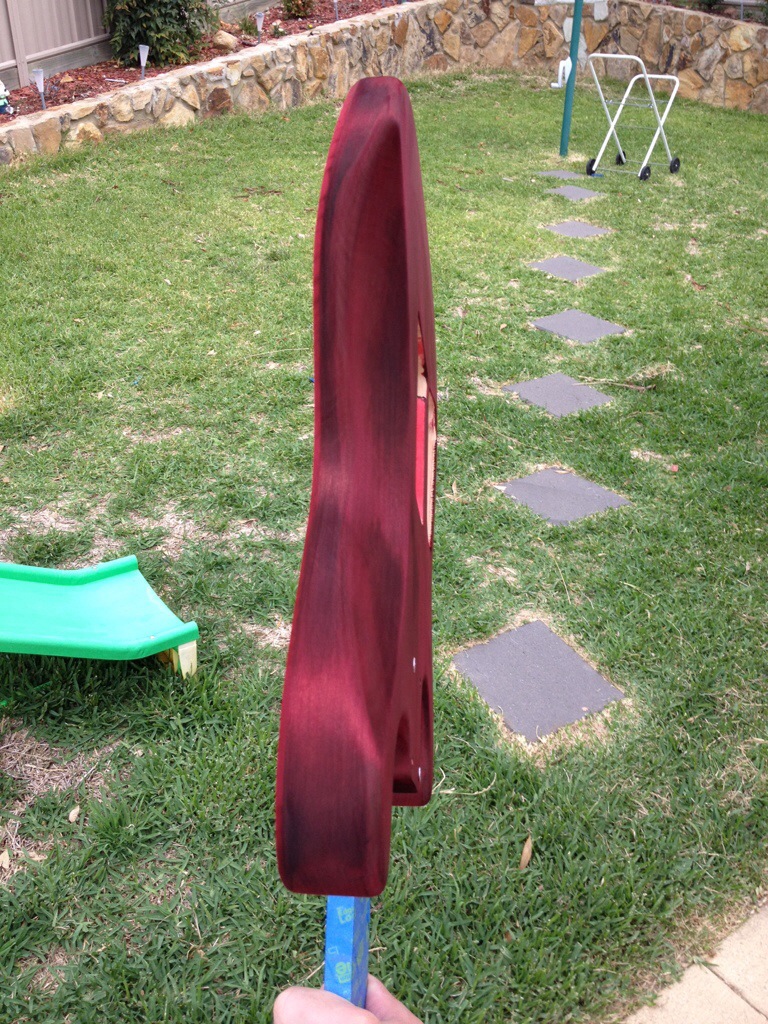
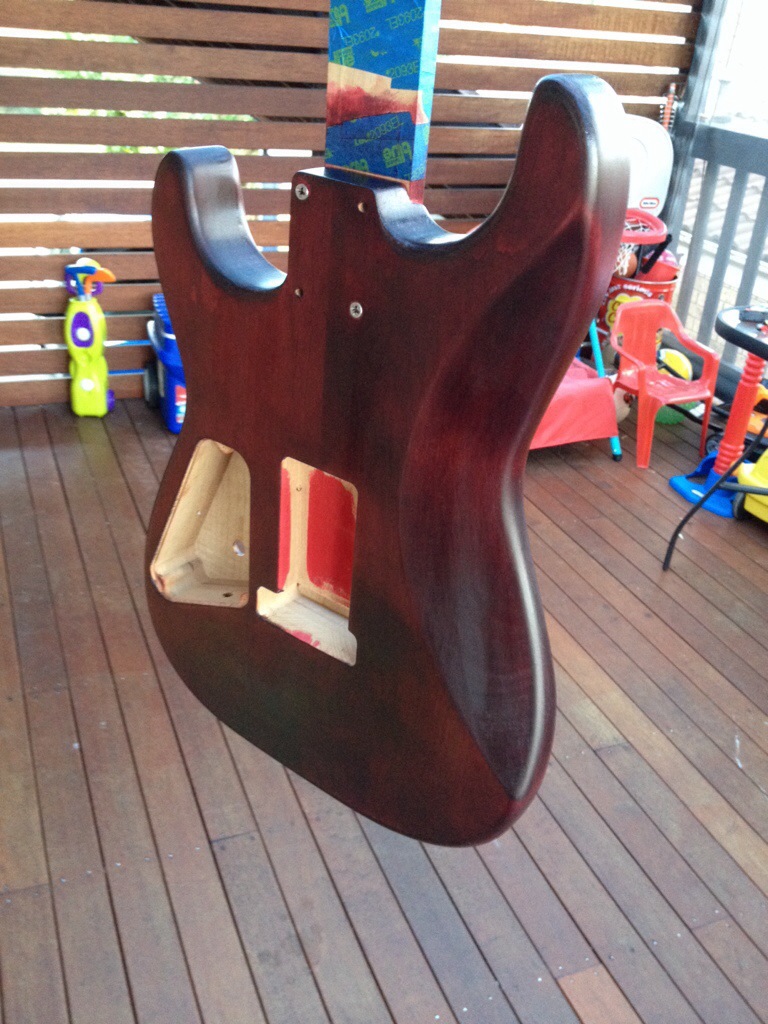
I’ve finally been able to make some progress with the Charvel project though. I finished dying the body a little while back. I ended up mixing a darker red colour for the sides and back to help the front ‘pop’. I discovered how much of a pain alder is to dye evenly in the process too. It was really bugging me how inconsistent the sides and back were, and I was wishing that maybe I used mahogany for it now. I ended up moving on though, as this project has taken too much time as it is to complete. The top was still looking sweet, and that was the most important bit.
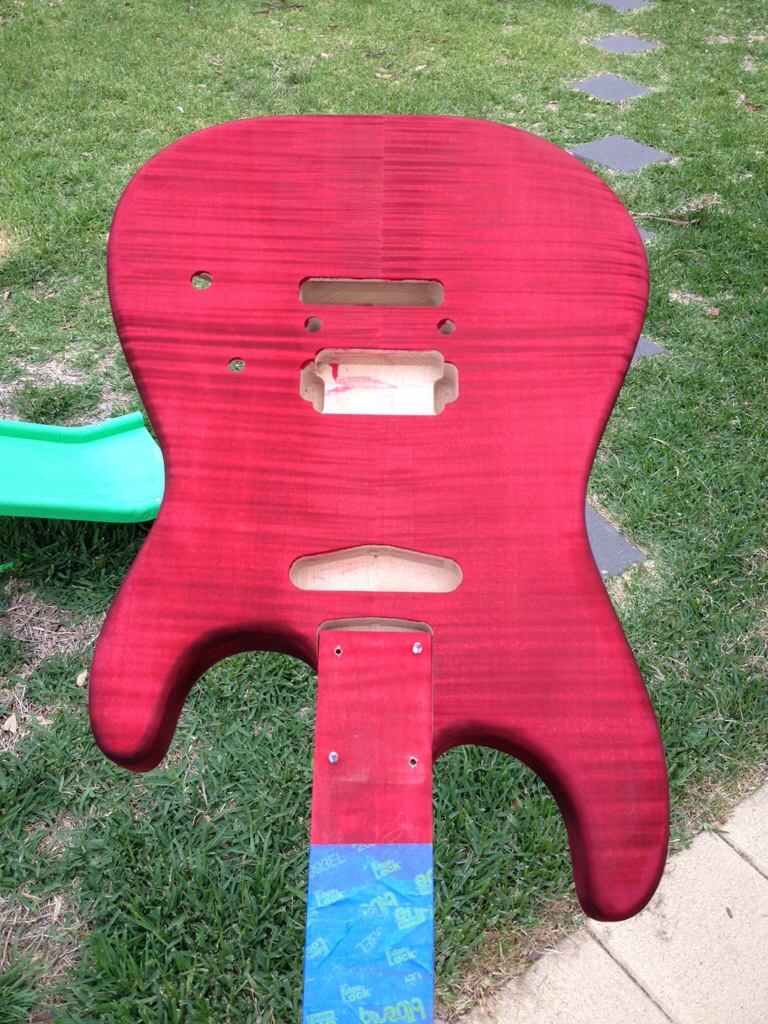
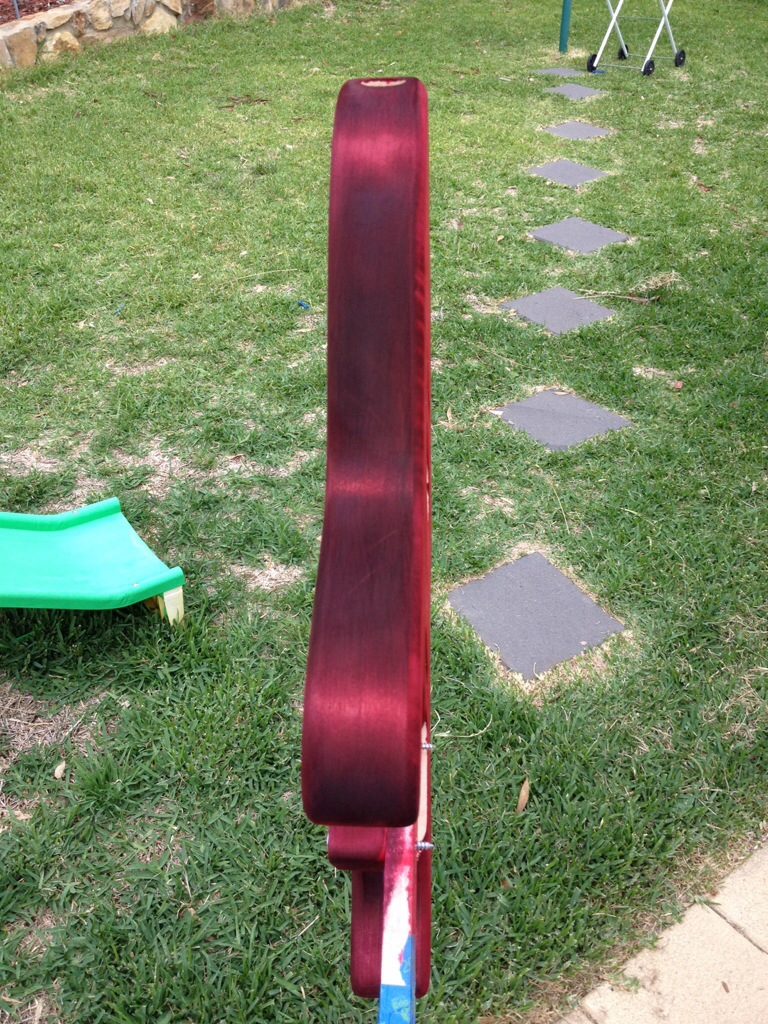
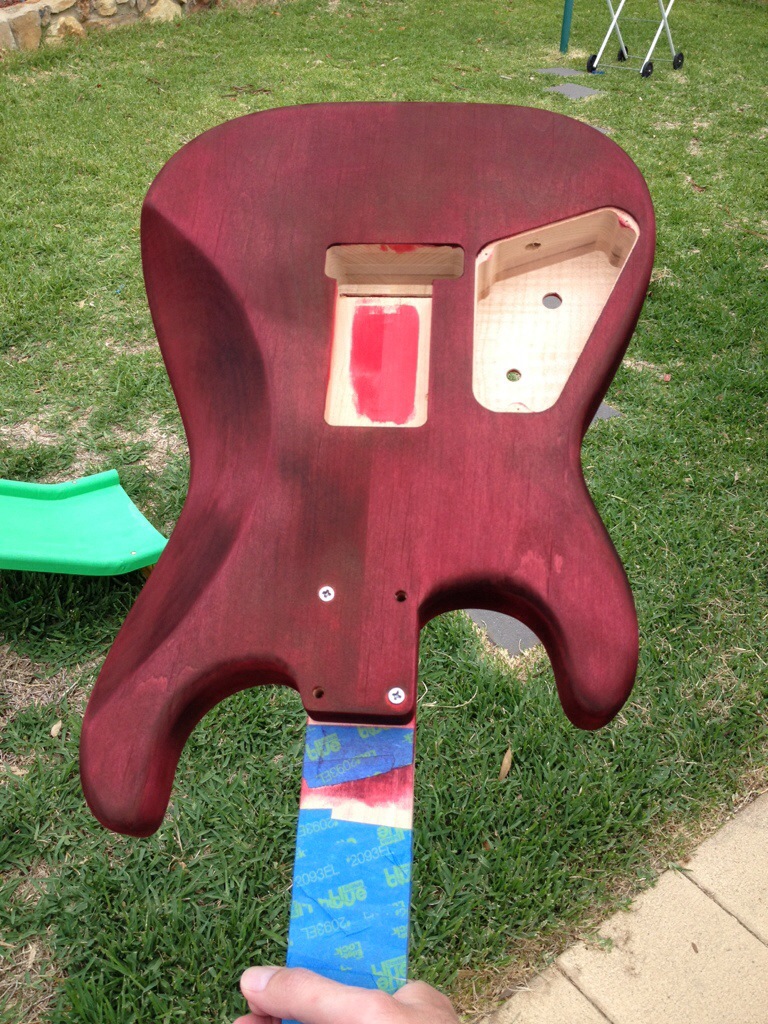
I started on sealing the body as couple of weeks ago. I used Feast Watson sanding sealer, a brush-on product. I brushed on the first coat and made the mistake of sanding this coat. I ended up taking a little dye off the back of the guitar in the process. I re-dyed the required areas and got some advice on thinning the sealer with mineral turpentine and wiping it on with a rag. I did seven coats like this and then sanded the body lightly to prepare it for clear coating.
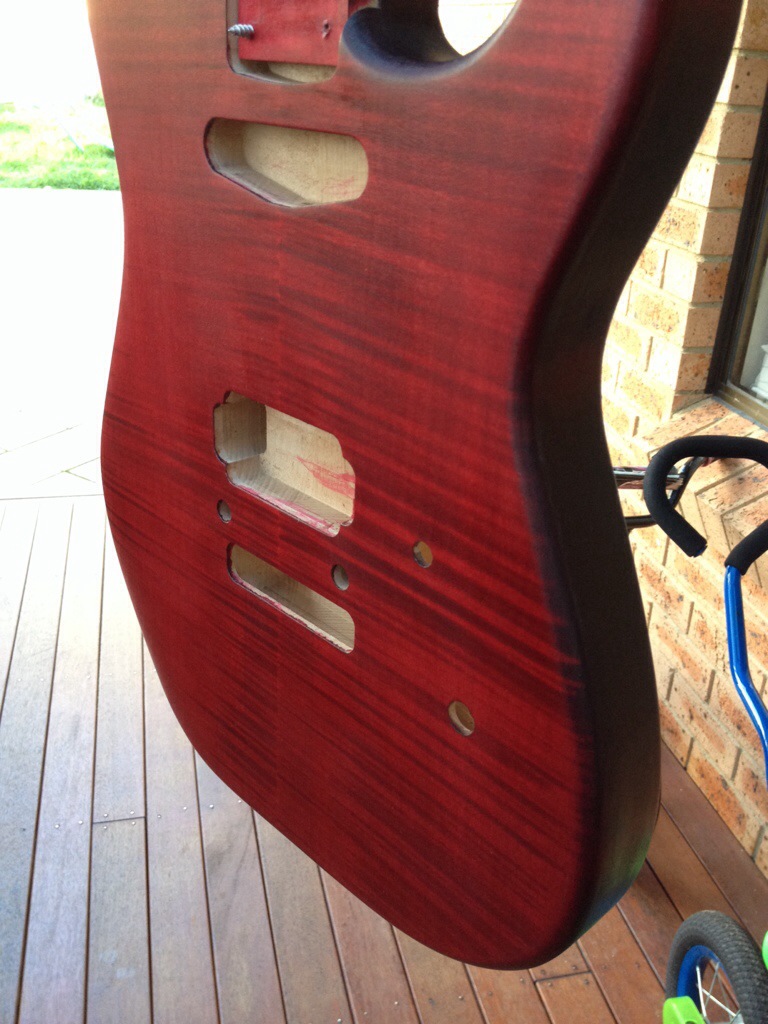
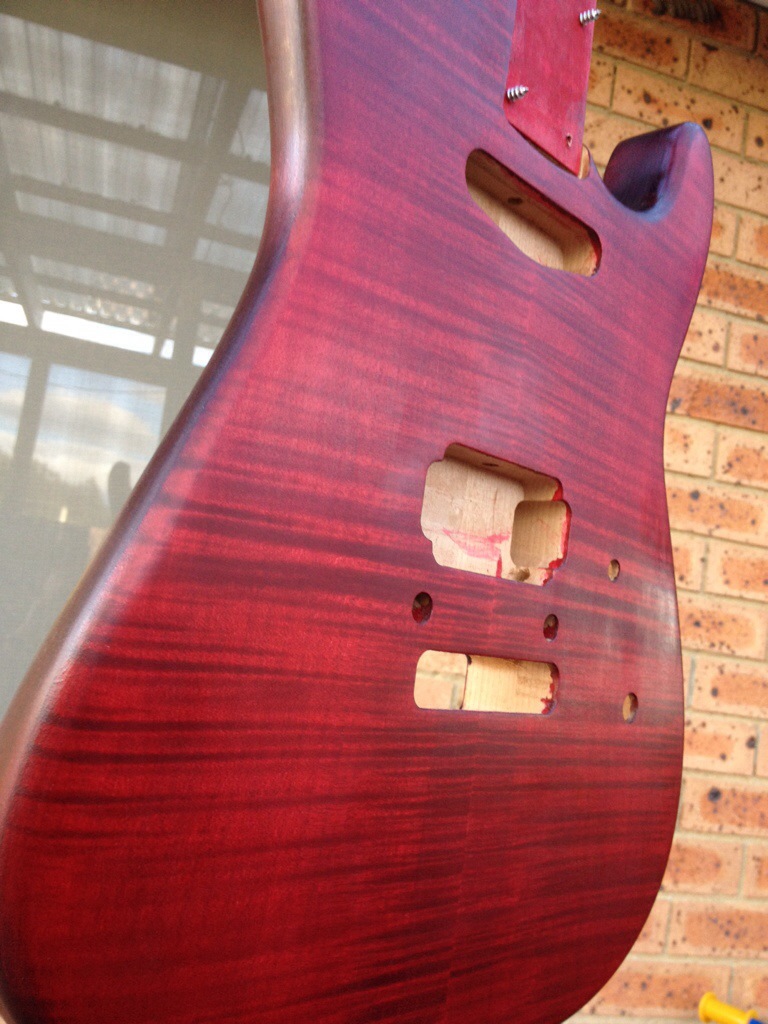
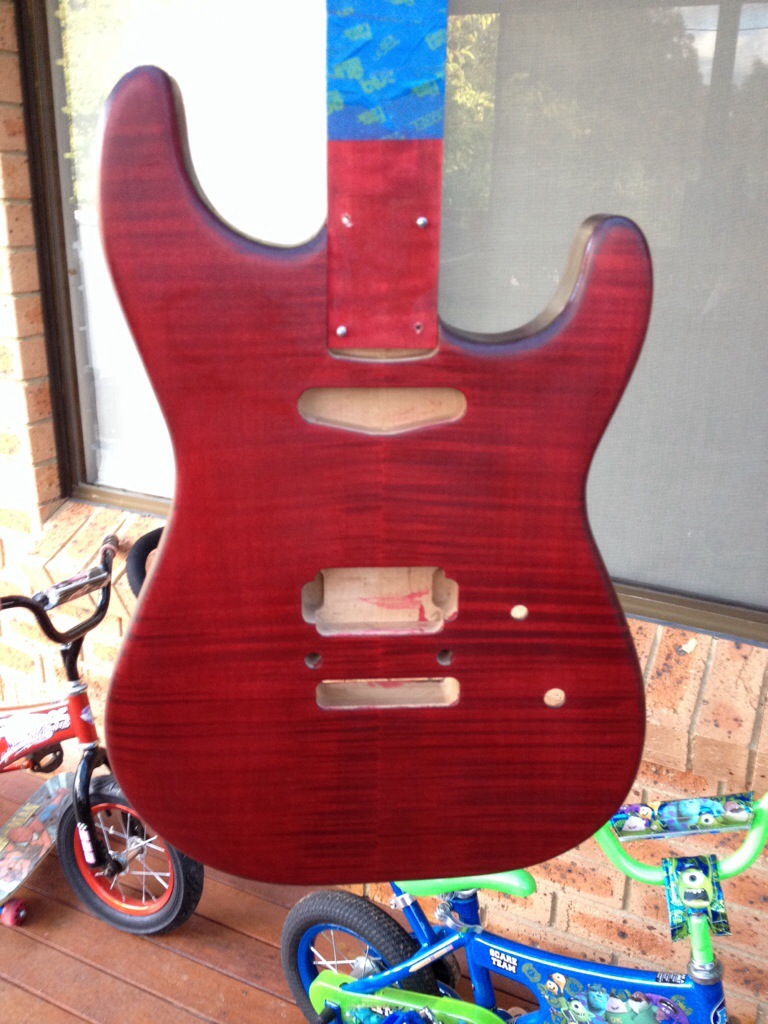
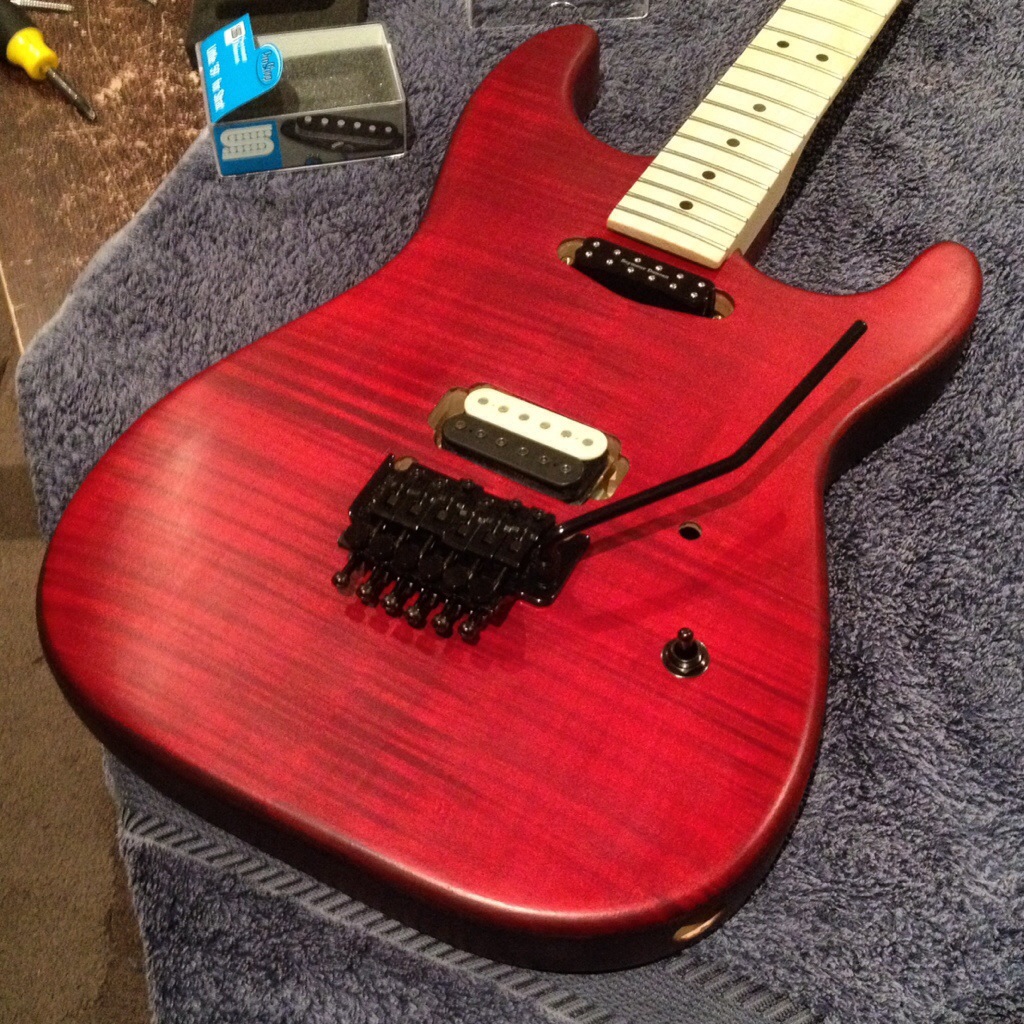
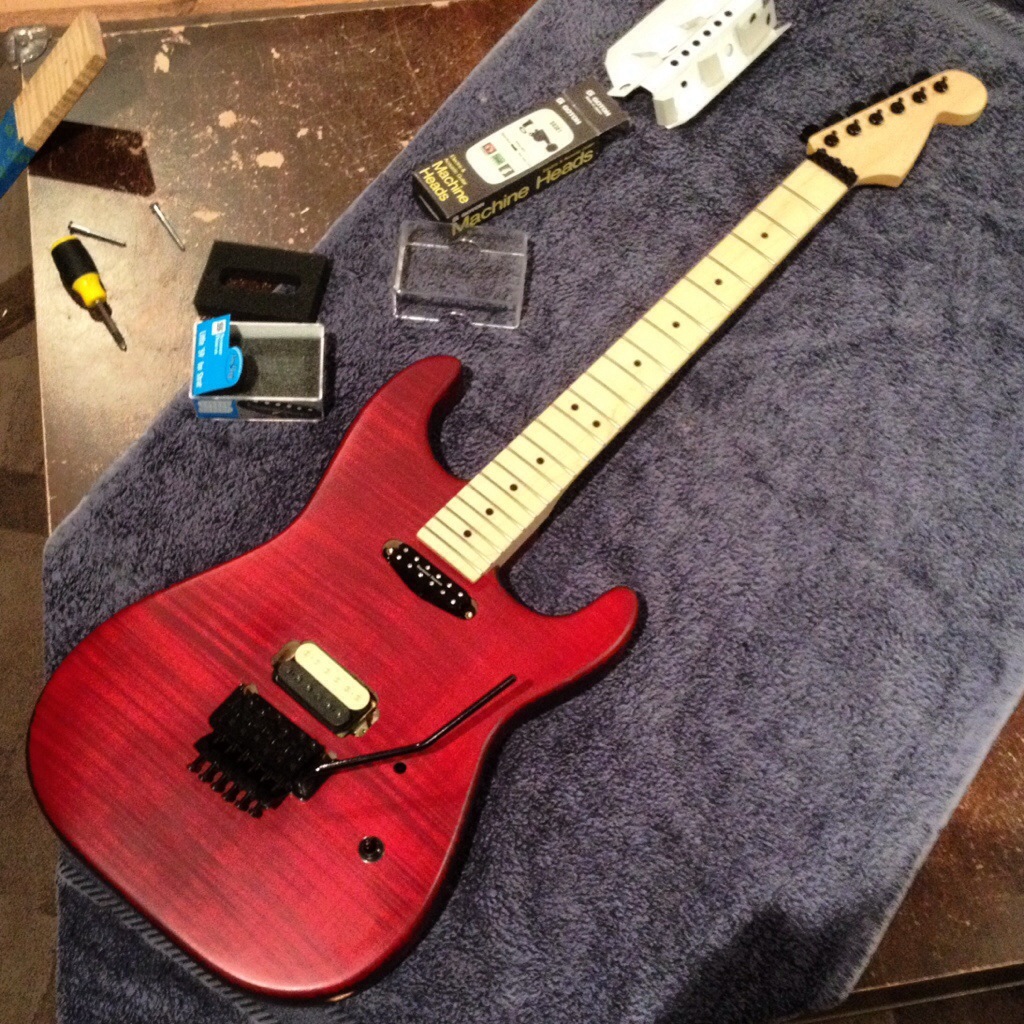
Before I sanded the body I made sure I got some pictures of the guitar mocked up. It’s looking pretty sweet here, and it really got me itching to getting is guitar finally finished.
Over the weekend I started on the clear coating process. There’s a few issues after several coats, but overall its looking pretty sweet. There will be an update on that soon.
Leave a Reply