Modifying pickups – continued
This is a follow-up on from my initial post about modifying pickups.
The “distortion” ceramic pickup magnet I ordered from Ormsby Guitars arrived this week. A big thanks to Perry Ormsby for all his assistance regarding pickup magnets.
On first inspection I noticed that the new magnet was a little bigger than the ones I had used so far. The advice from Perry was not to try file the magnet down as the magnet would lose its magnetic properties. Thankfully I hadn’t tried to shave the magnet down at all before I asked the question!
So anyway here is the process I went through to change the magnets:
Step 1:
Remove the strings from over the pickups so you can get access to the pickup you wish to modify.
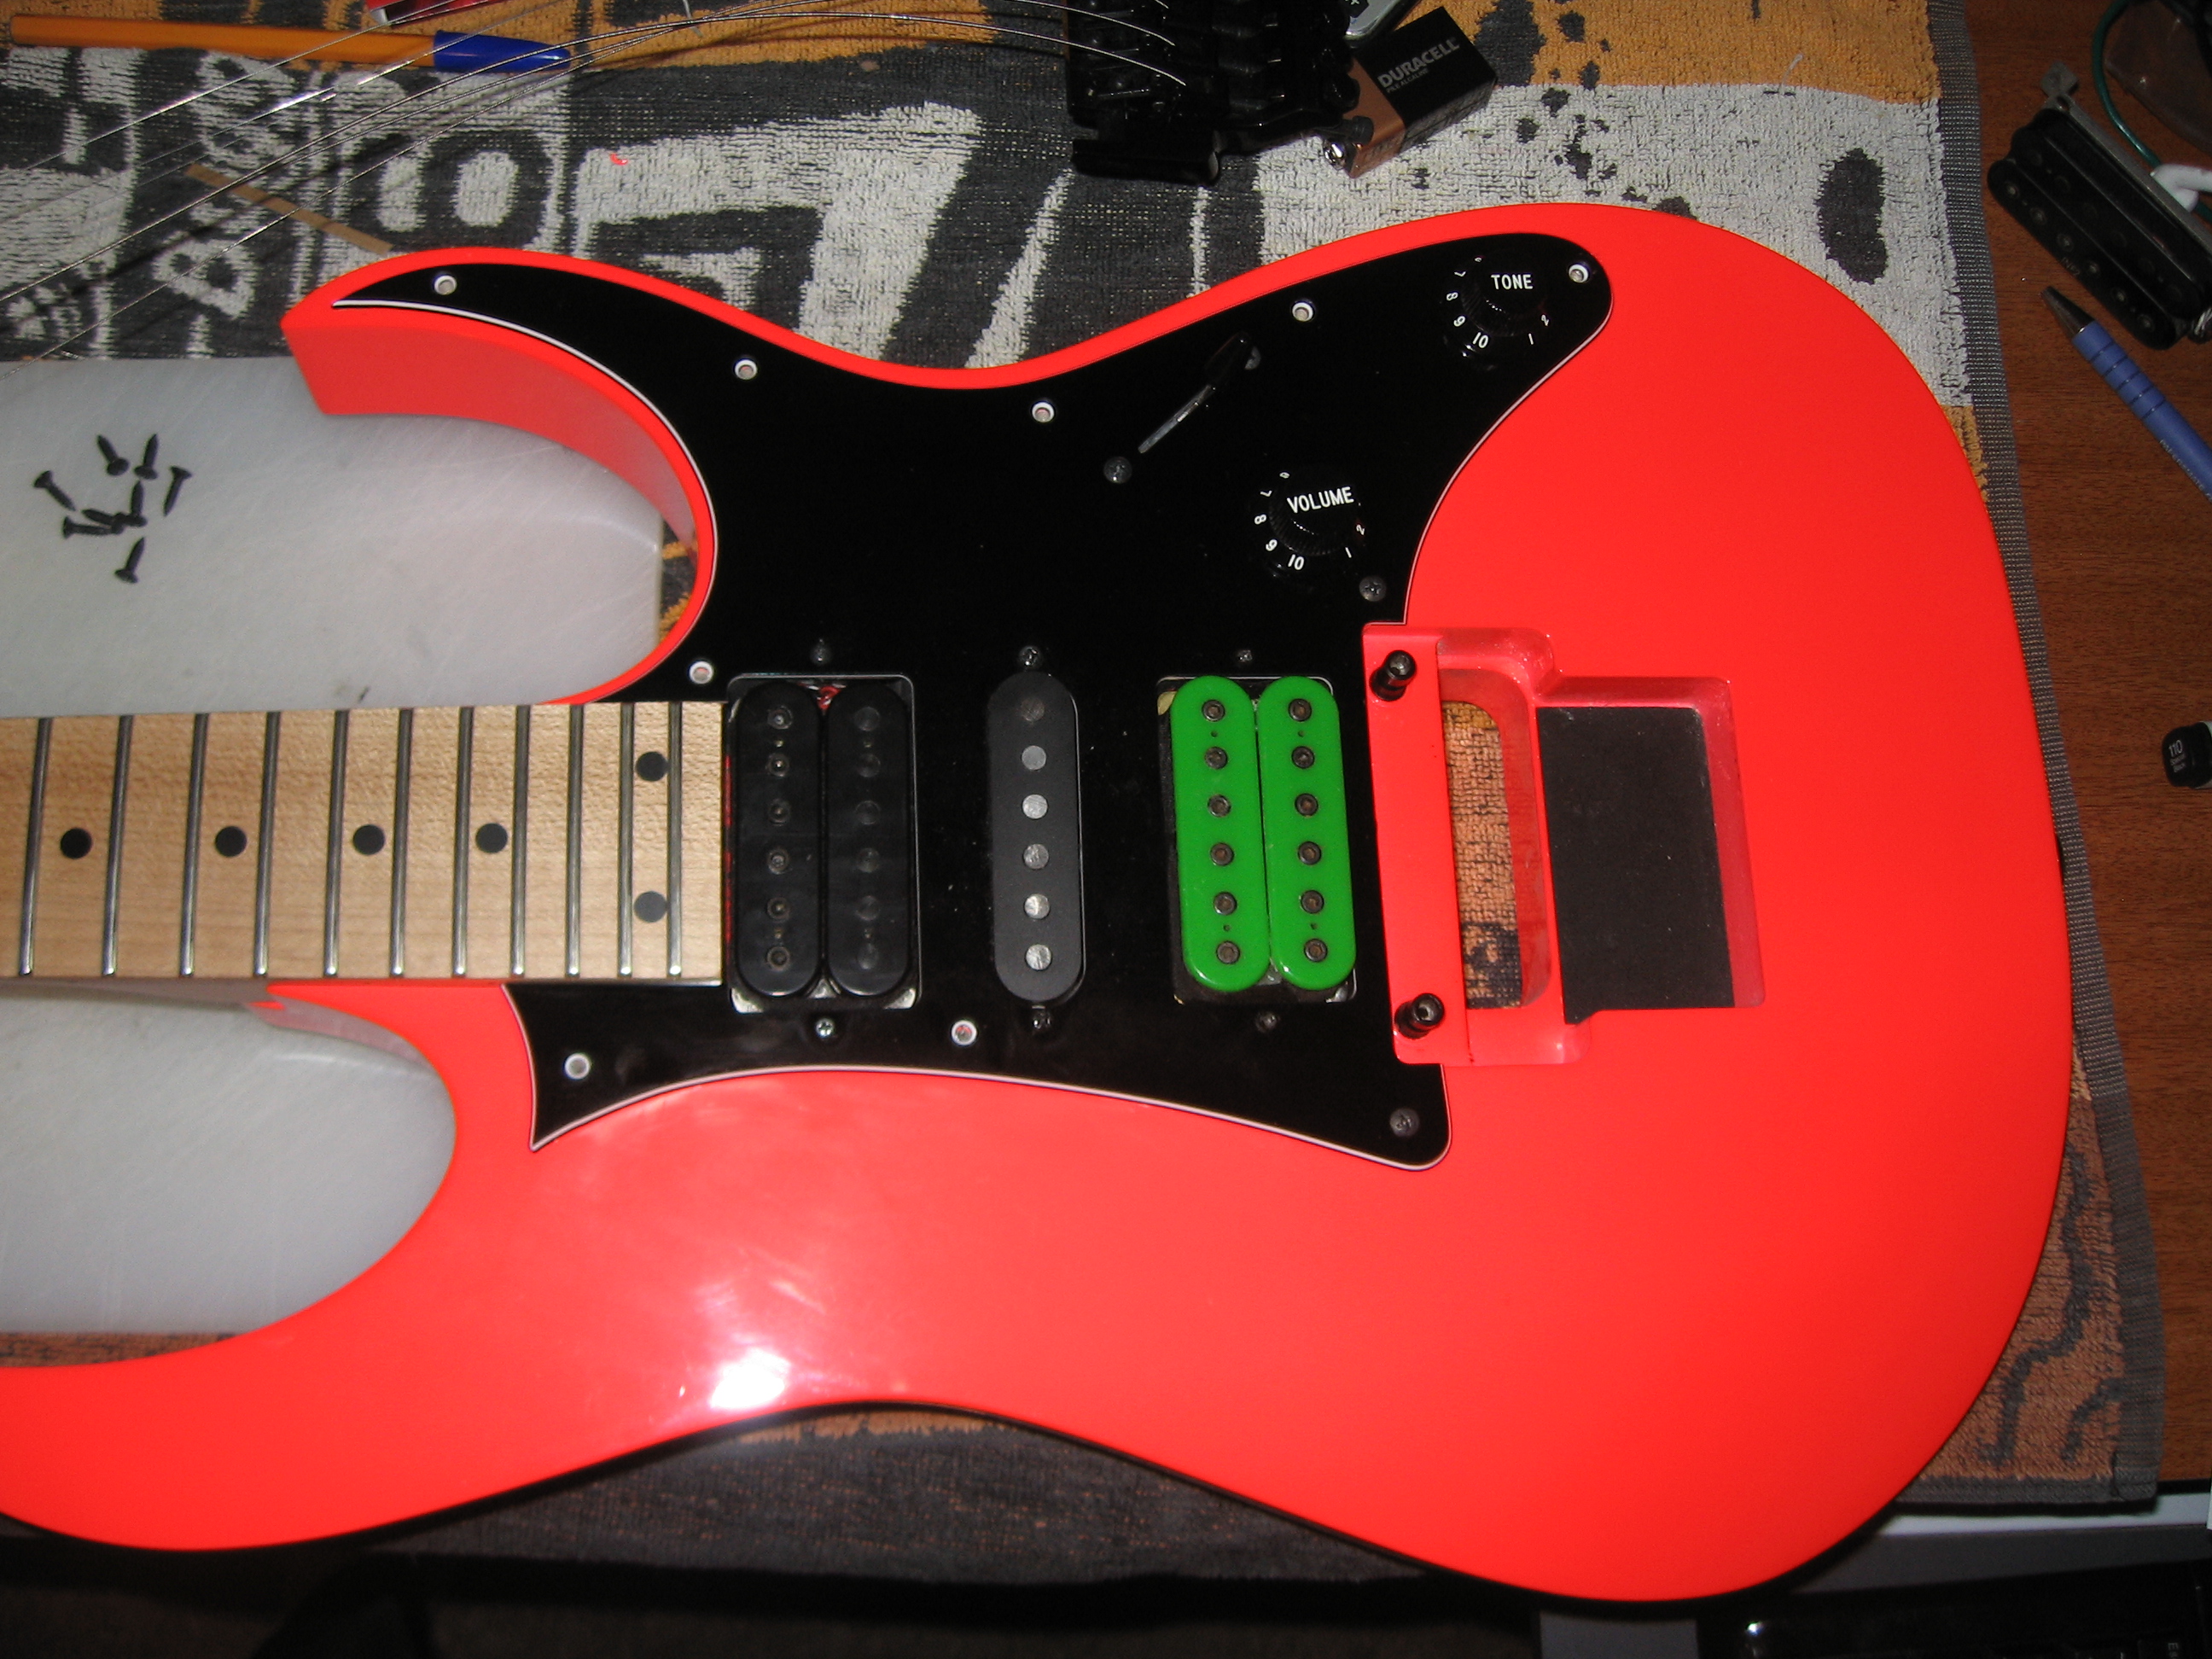
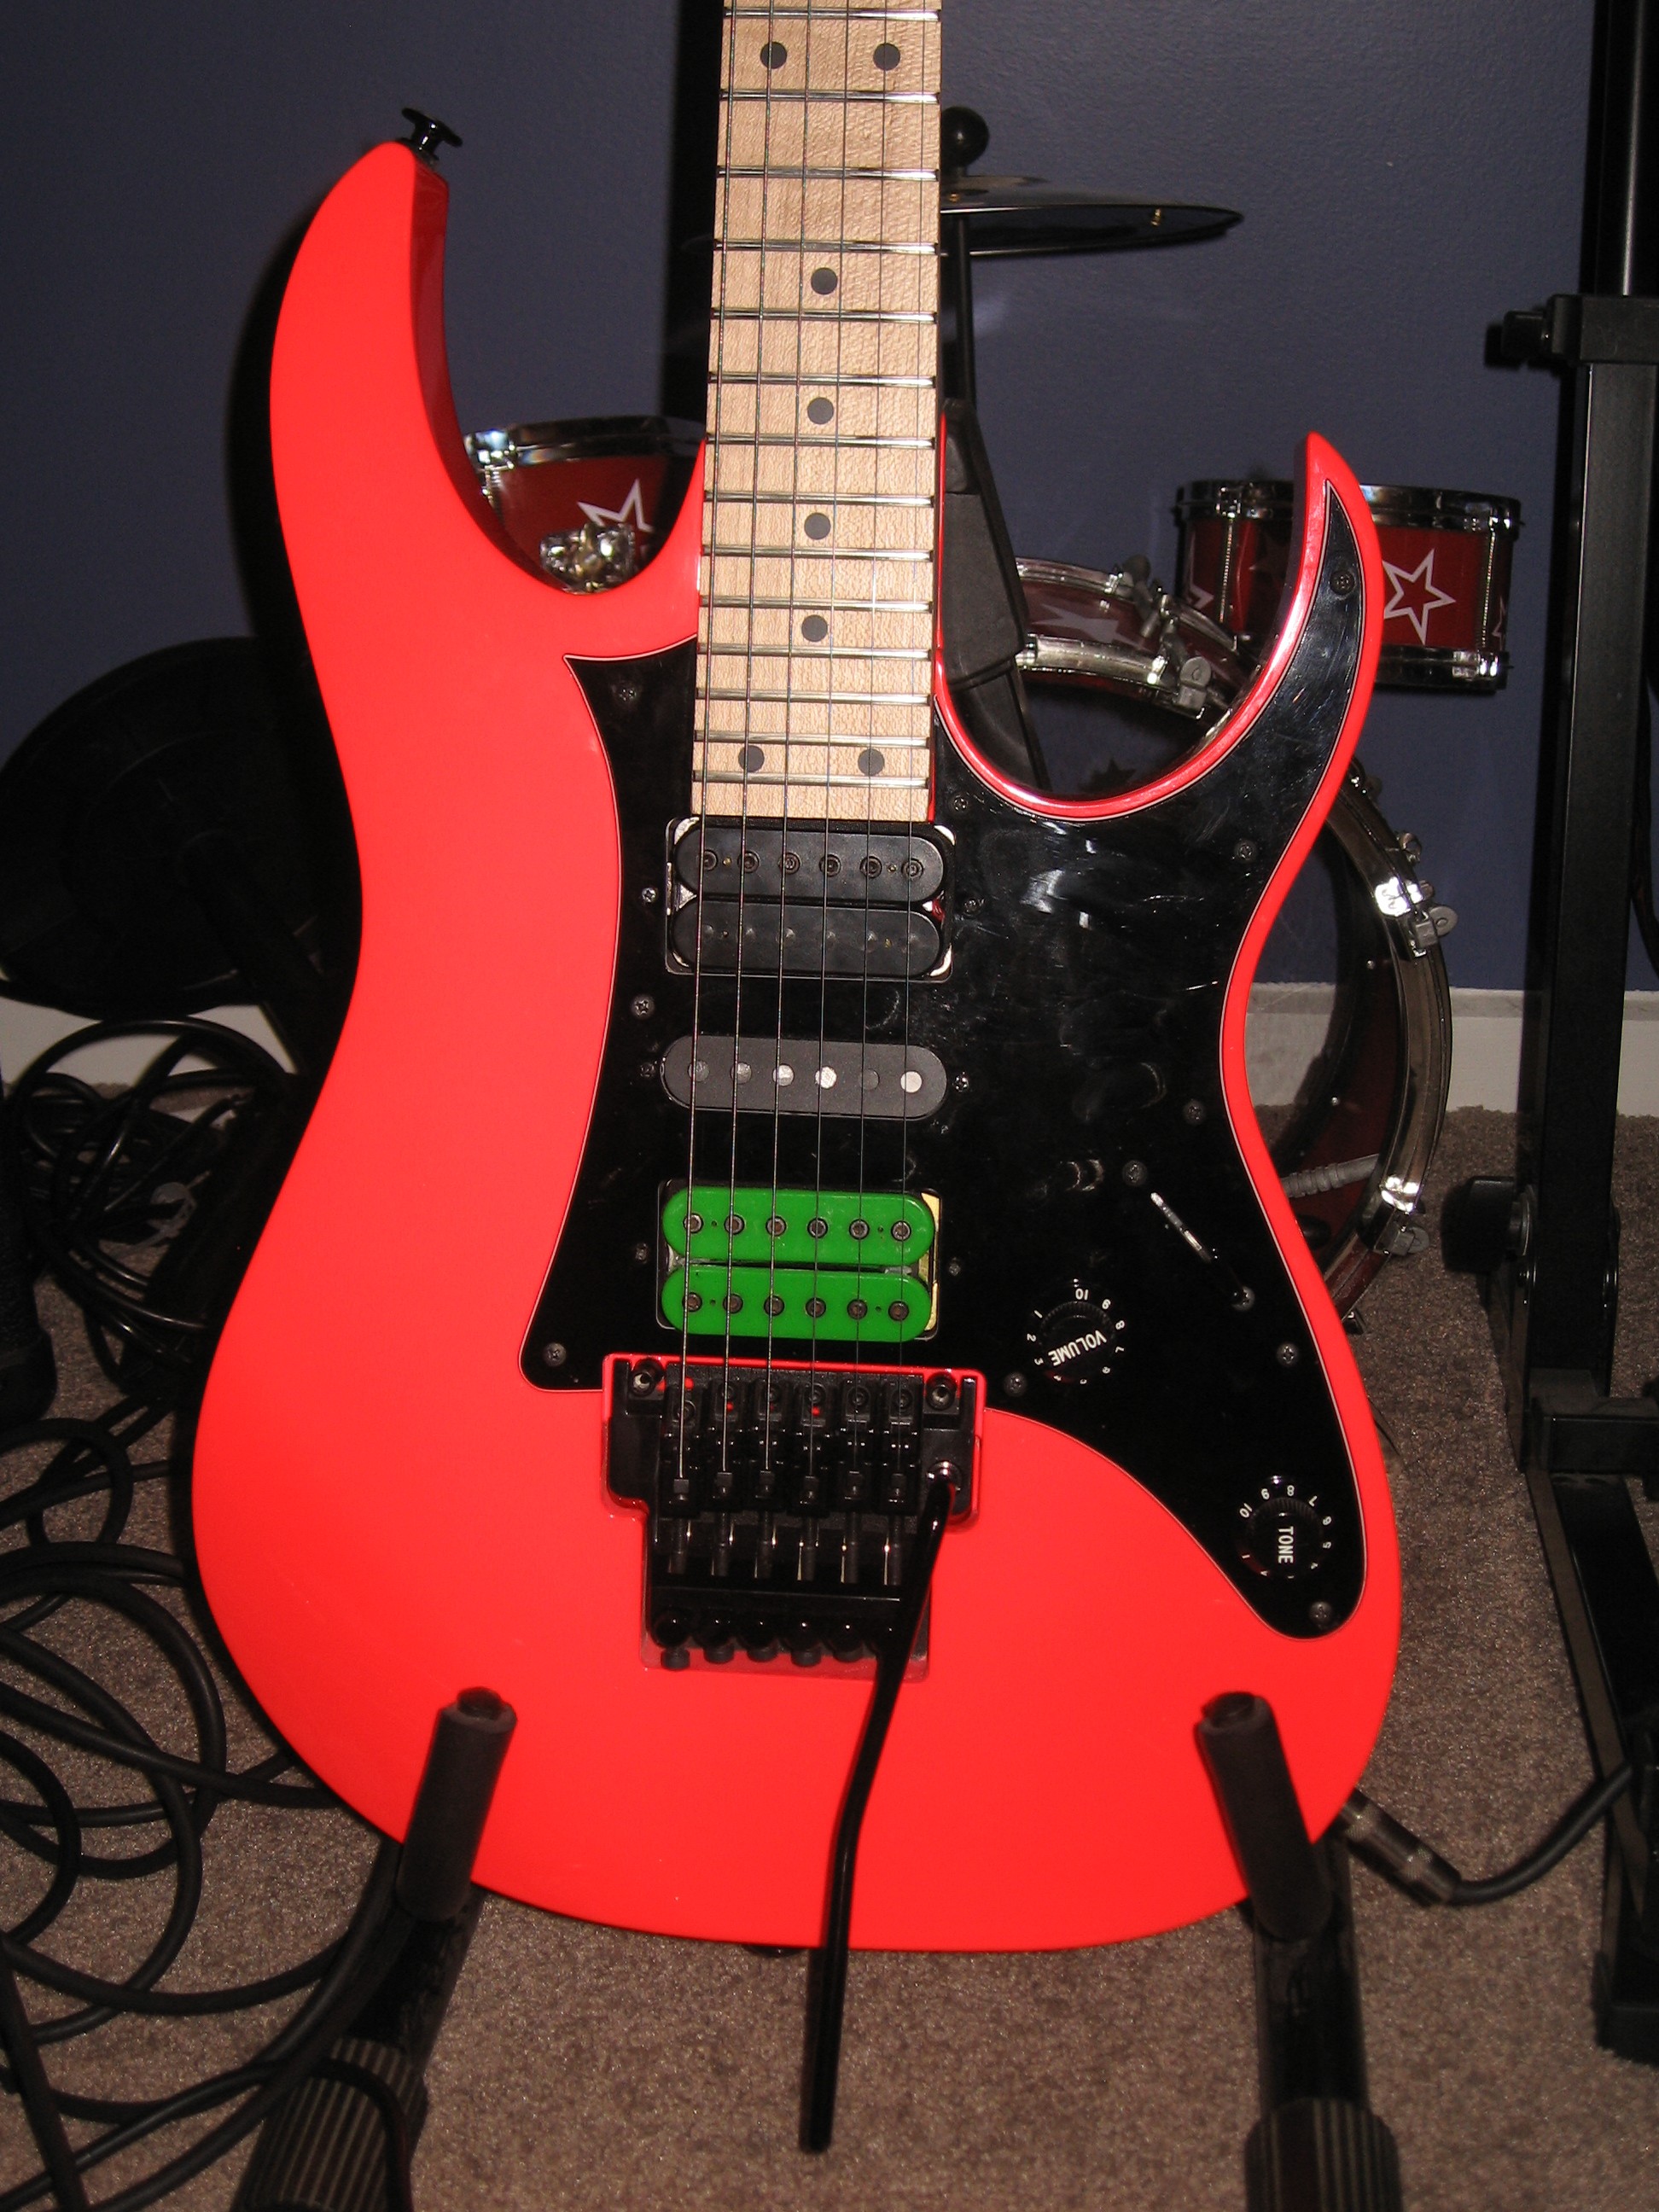
My RG550 has a pickguard, so obviously the pickguard needs to come off. Having a guitar with pickup rings would have been preferable in this instance so I didn’t have to pull everything out.
Undo the screws holding the guard or ring so you can get to the pickup.
Step 2:
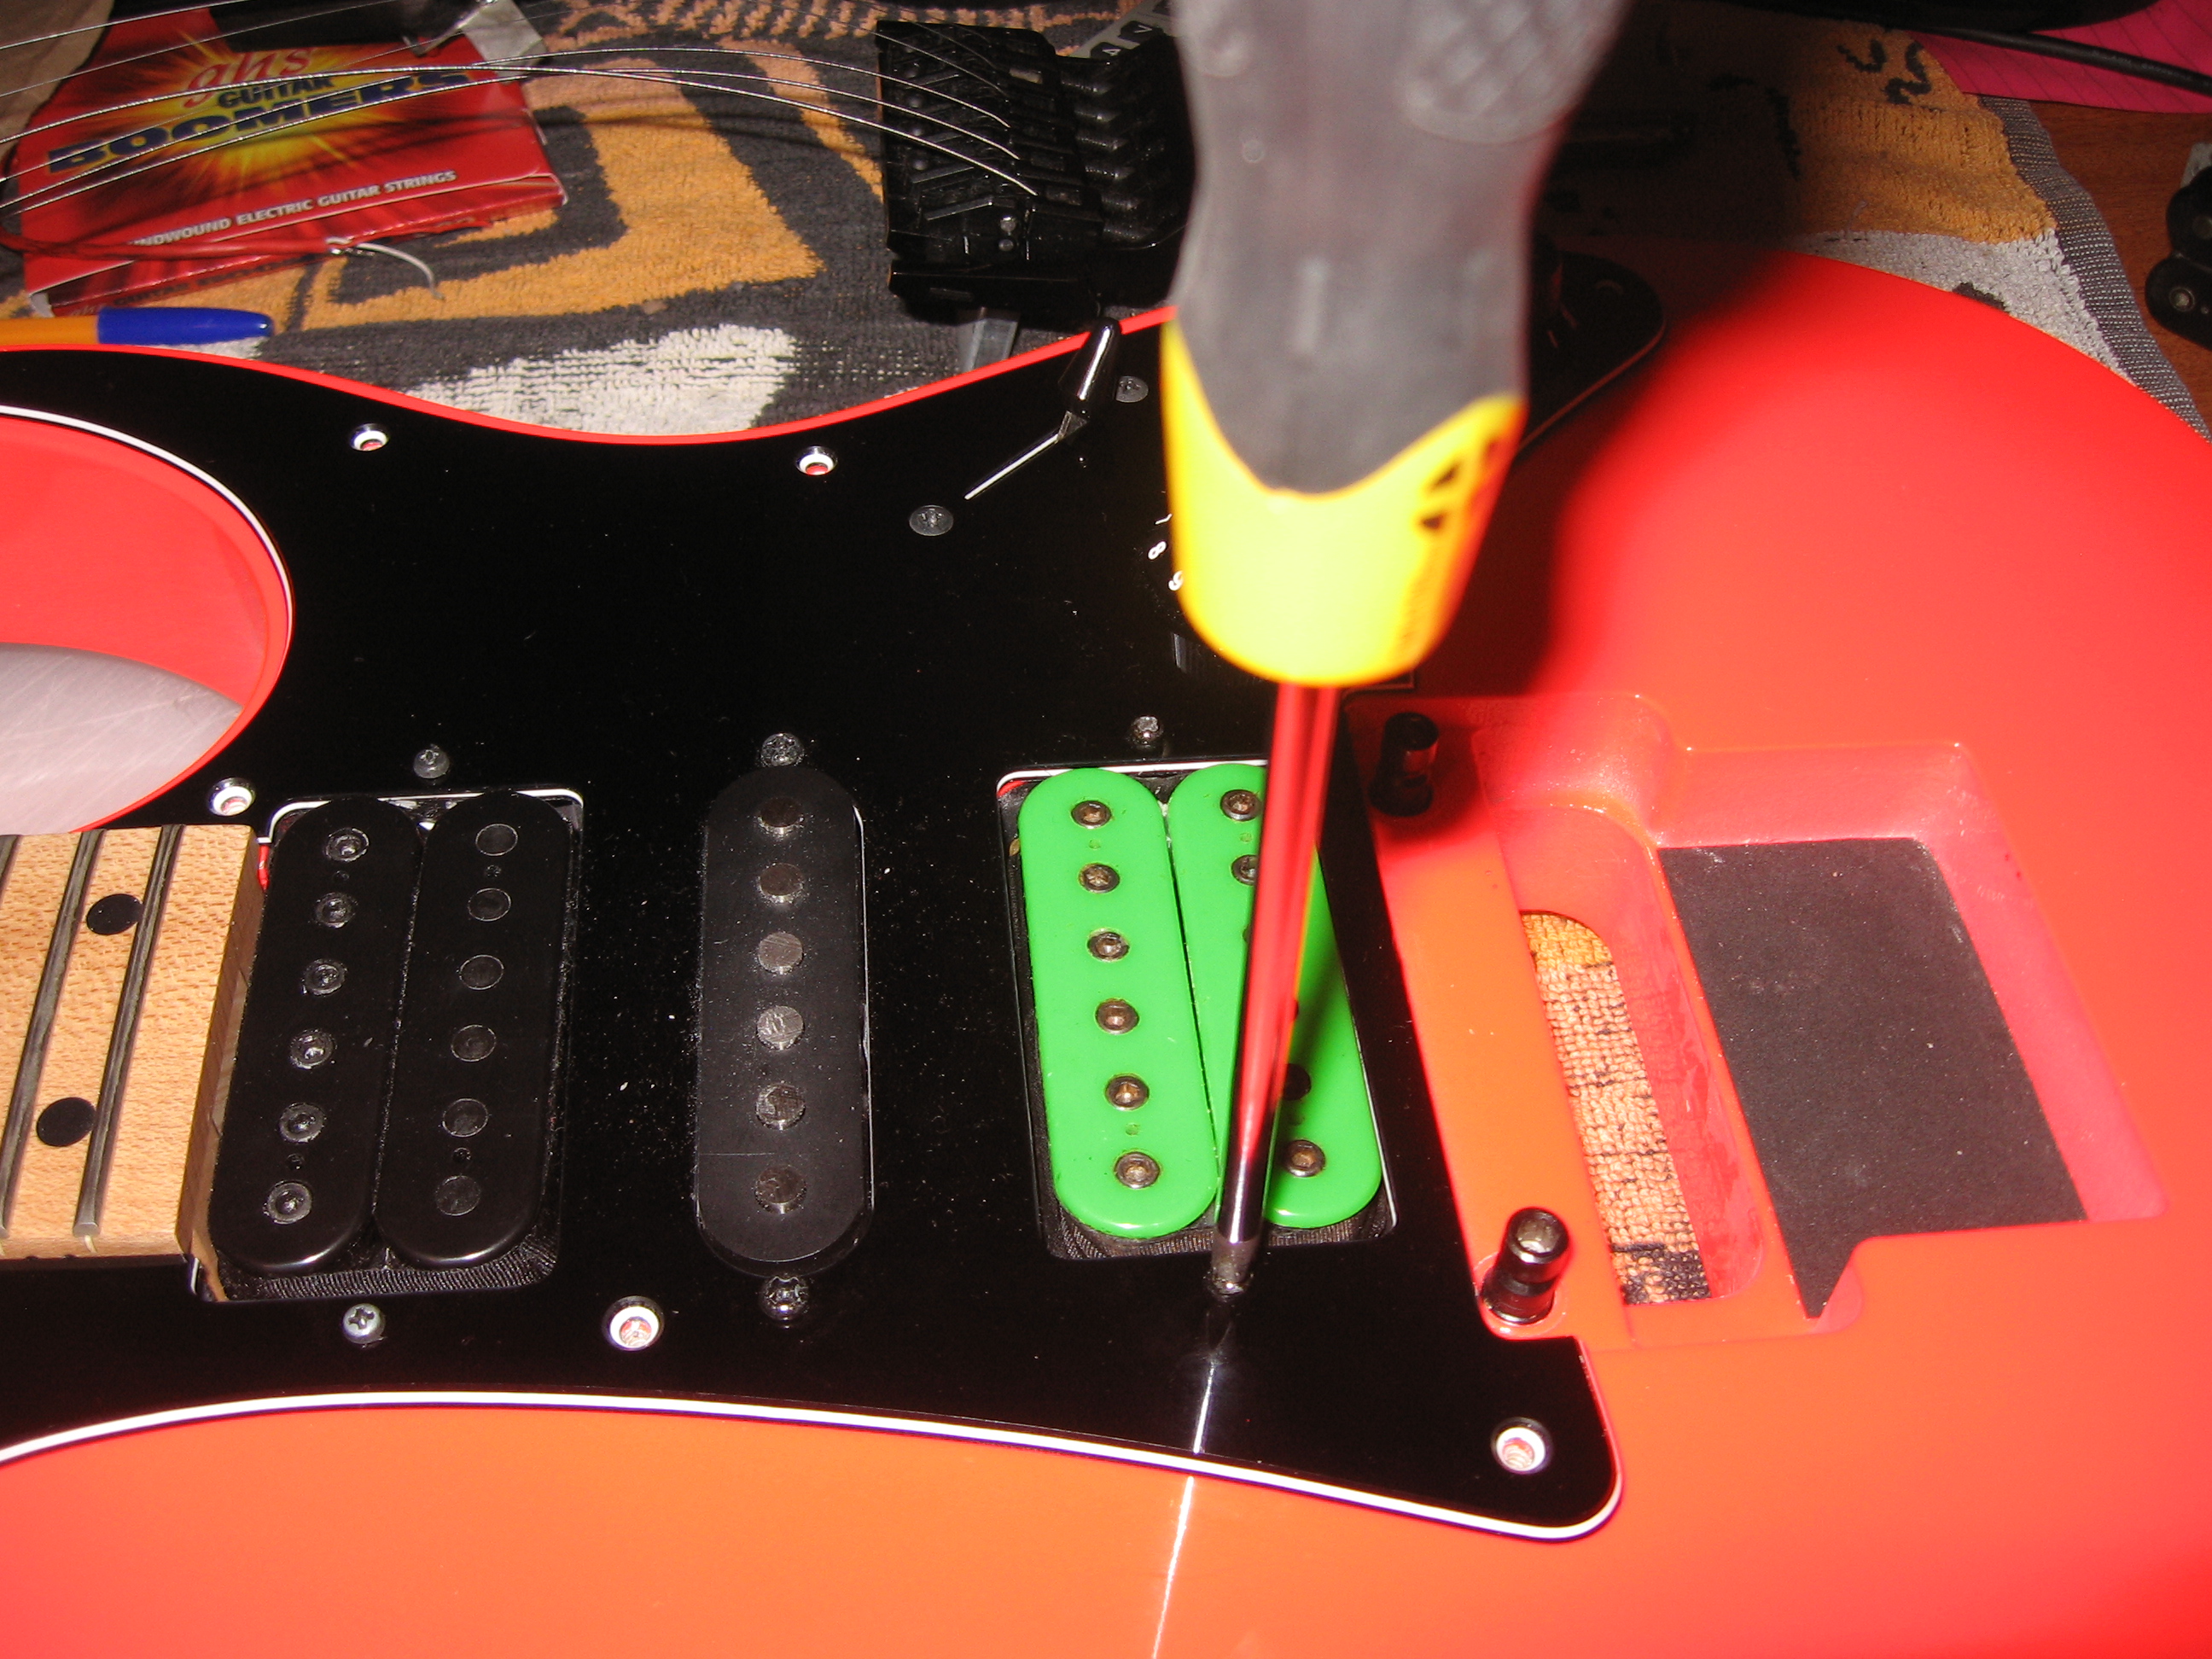
Unscrew the pickup screws so you can remove the pickup from the guard or ring. This is so you can easily undo the backing plate of the pickup to gain access to the magnet beneath the pickup bobbins.
Be careful when doing this is there are springs on the screws. You don’t want them shooting off somewhere in your room and losing them.
Step 3:
Flip over the pickup (and the pickguard if you have one) and unscrew the 4 screws that hold the pickup backplate on. Take care not to lose the little buggers.
Again, take care not to lose these screws. You probably wont have any screws in the same size if you haven’t really played with pickups before. You don’t want to have to crawl around on hands and knees for hours trying to find them in the carpet, or worse have to head down to a hardware store to try and match up screws!
Step 4:
Carefully pry off the backplate. this is where you need to be careful. You may need to cut through the pickup protective tape adhesive around the backplate with a Stanley knife.
In my case I was working with a 20-odd year old pickup, so the adhesive was very messy. I ended up making a bit of a mess of it, but at least it would be hidden under the pickguard after reinstallation.
Also be very aware of the wiring for the pickup. You are in a world of pain if you damage any of the wiring, especially if it’s the coiled wire.
Step 5:
Carefully lever out the existing magnet with a flat-head screw driver. Again take care not to damage the wiring in the pickup.
You must take note of which way the magnet is installed in the pickup. If you mix up the alignment of the poles you will end up with a pickup out of phase, and will have to go through the process of pulling everything apart again.
I just stuck some masking tape on the pickup, noting the back of it. Then I aligned the new magnet by seeing if it would stick to the old one. If the magnets repelled each other than I knew I had the alignment incorrect.
Step 6:
Put the new magnet in place.
Once you’ve done this reverse steps 4 to 1, and you should be right to go!
You may also find it worthwhile testing to make sure that none of your wiring came apart during all of this. Once you’ve got the pickup backplate back together just plug your guitar into your amp, and tap on each of the pickup coils with a screw driver, and make sure you hear a tapping noise. If one of the pickups does not make a sound through the amp then something has happened to your wiring.
Now remember I mentioned that I had noted that the new magnet was a little bigger than the ones I had been using?
Fitting the new magnet did cause me a little grief. If was a tight squeeze, and I noticed that once I had installed everything the two pickup coils had separated somewhat. Thankfully nothing was damaged in this process.
And what of the most important aspect of this exercise, the sound?
The first ceramic magnet I dropped in did give me a little more power, but it also seemed a bit weaker and had more treble when split with the middle single coil pickup.
This new fatter “distortion” ceramic pickup really made quite a difference. The pickup pushes the amp a great deal harder now. Not quite as much as an active EMG, but plenty to make me happy.
The pickup still retains a lot of the PAF Pro overtones and overall clarity, but it just sounds a lot meaner and fatter. I raised the pole pieces a little to help even out how fat the pickup sounded now, and give my tone a little more cutting treble.
Splitting the PAF Pro with the middle single coil is a lot better now than it was with the first ceramic pickup I installed. It’s a lot more like the pickup was with the original Alnico 5 magnet, just with more balls.
I’ve also found that dropping a strong ceramic pickup in the PAF Pro has made tapping, harmonic squeals and the like a lot easier to pull off than it was with a stock PAF Pro. It’s a lot more forgiving with regards to average technique, which is a good thing for me.
Changing magnets in pickups is definitely a worthwhile, and fun DIY mod that you can do quite easily with a little care. Next time you install a pickup, and find that you like the tone, but it’s either too powerful, or not powerful enough – as it was in my case – maybe think about swapping pickup magnets. The results may very well please you.


Leave a Reply to DiMarzio Tone Zone – review at Lone Phantom Cancel reply