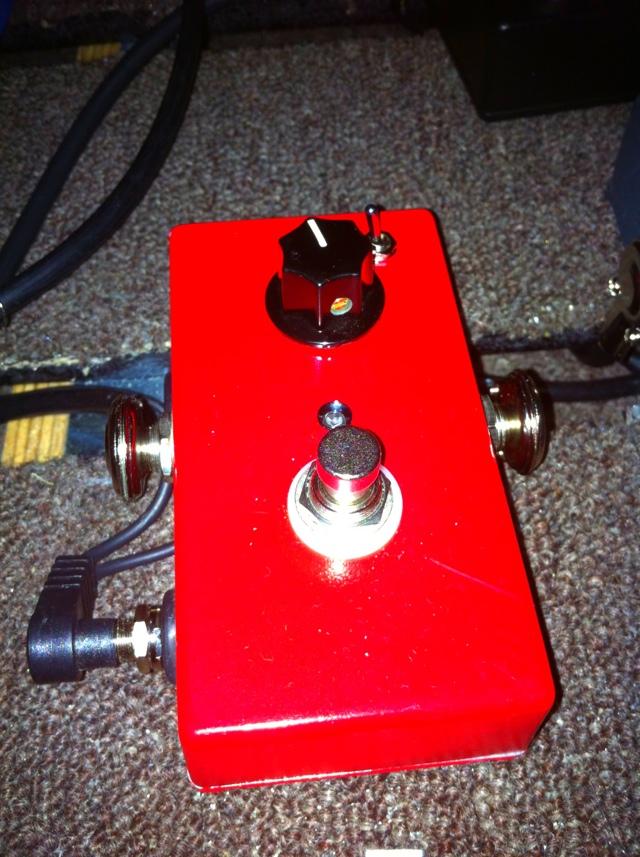
GuitarPCB.com Stage 3 Booster V3 PCB – review
Clean boosts are a pedal that are a good place for beginner DIY pedal builders to start at. They also happen to be quite useful, so there’s no reason to not try building one. The classic first build is an Electro Harmonix LPB-1 boost, one of the oldest pedal designs out there. It is nice and easy, with a minimal parts count, and one control. It’s a pretty basic design, and provides a pretty basic change to your sound.
GuitaPCB.com have what I believe is a far better sounding DIY boost build, called the Stage 3 Booster V3. It has a fairly small parts count, and one control, just like the LBP-1. You can add in a toggle switch to move between guitar and bass guitar modes. If you only need it for one purpose you can omit it from the build though.
The Stage 3 PCB is tiny, like postage stamp tiny. If you are clever enough with your builds you can fit it in a very tiny enclosure. Like the Opamp Big Muff PCB I reviewed previously, the Stage 3 PCB is very high quality, and easy to solder on.
GuitarPCB.com provide excellent, easy to read and understand guides for building their pedal projects, and the Stage 3 is no exception. The PDF has excellent diagrams showing where to install all components, and wire up the pedal. The GuitarPCB.com forums give you access to a wealth of experienced, helpful builders who can guide you through the build if you are having difficulties.
I personally had a little difficulty neatly soldering all components and wires to the PCB, but it all still works nicely as it should. I narrowed this down to recently replacing my cheap soldering iron with a better quality Weller soldering iron. It has a far faster heat up time, and better heat transfer than my old one, and I dare say my difficulties were as a result of holding the iron on the board longer than was actually necessary. Now that I’m getting used to my new iron I’m sure my builds will become a bit more tidy again.
I wired the PCB up to the necessary switches, jacks, and potentiometer, and installed it into an enclosure. The Stage 3 needs a steady 9 volt power supply to run, so no batteries here. The JFET used needs to be biased correctly to 4.5V, and fluctuations in voltage from batteries will mean that the pedal will not work correctly.
I plugged the Stage 3 into my Blackstar HT-5, putting it in the last place before my amp’s input. It is said that the Stage 3 works at it’s best last in line, and I saw no reason to not follow that advice.
On the clean channel the stage 3 provided a healthy volume boost, and added a little top end sparkle to my tone. Crank the boost, and it started to provide a little clean crunch.
Switching over to the dirty channel, where I spend most of my time playing, I was amazed by the transformation of my tone. My tone was still the same for the most part, no colouring whatsoever, but it seemed so much more three dimensional, with a new level of clarity and sparkle. I hesitate to use the term, but it really was like lifting a blanket up off my amplifier. Push the boost and the Stage 3 pushed my amp harder, piling on more and more tight, usable distortion.
The beautiful thing with the Stage 3 Boost is that it makes your dirt pedals sound better as well. Everything sounds more full of life and three-dimensional.
Higher levels of boost did introduce a bit of noise to my signal, but that is expected of any pedal that distorts or overdrives your signal. Nothing major though, and I could control it to some extent with my MXR Noise Clamp.
Overall the GuitarPCB.com Stage 3 Booster V3 PCB is not only a great beginners effects pedal build, but also a very useful pedal that will really make your rig sound like a million bucks. It’s definitely worth adding to your board.


Leave a Reply