
The Ibanez RG450 project – part 3
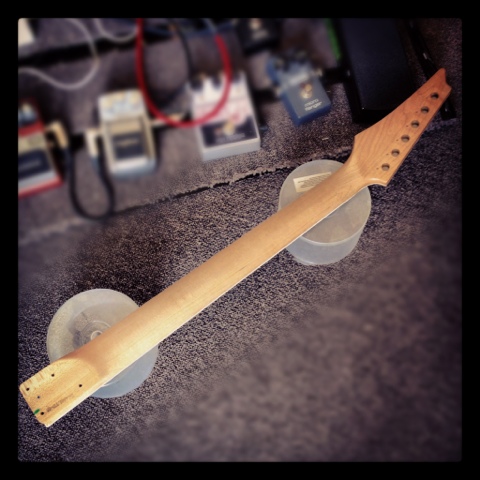
Three coats of spray on polyurethane down. Looking good, ready for final finishing.
I got some more work on the RG450 done today. The weather held out, although my can of white paint didn’t.
As of last night I had applied two coats of clear satin polyurethane to the neck. It was looking and feeling pretty good, so I figured I would do just one more, and then finish off the neck.
While things were going great with the neck, finishing the body wasn’t. I had applied 8 coats of colour to the body, and thought I had enough to allow me to sand out most imperfections, which I would have been happy with. I started on the wet-sanding and discovered very early on that I hadn’t.
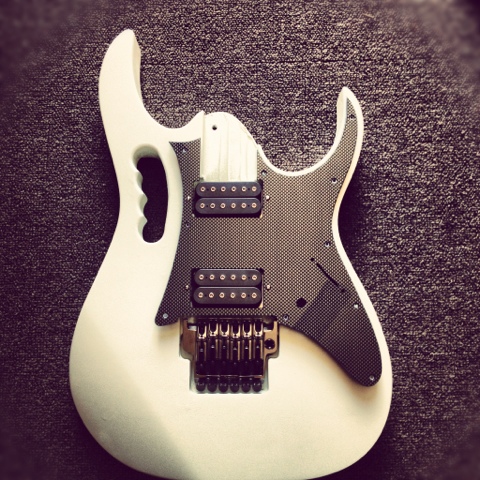
The paint needs a lot more work before this is ready, but it should look good once done.
I ended up working my way through the colour in a number of places while trying to sand out runs, dimples and pimples of paint. I’m going to have to buy some more paint this week, which is a bit disappointing, as I had hoped to have this guitar finished this week.
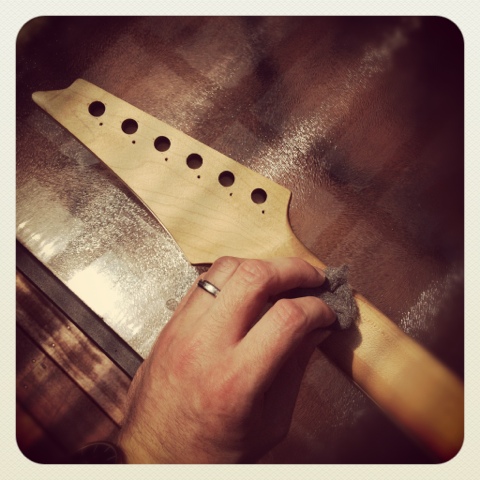
Cleaning up any contaminants in the clear coat with some 0000 steel wool. This neck is going to feel slick!
After the third coat of clear on the neck had dried enough I got onto cleaning up the bits of dust and spots in the clear. I lightly used some 0000 steel wool to remove the contaminants and smooth out the finish.
The back of the neck came up beautifully after this, and looks and feels quite a bit like my RG20th. I’m sure after a bit of play this neck will feel just like home.

Making sure all residue from the masking tape is gone, and conditioning the fretboard.
I got onto cleaning up the fretboard, and removing any residue left over from the masking tape. Dunlop 02 Deep Conditioner is great for cleaning up, and restoring rosewood fretboards, and it made quick work of cleaning up this one.
The hardware that came with the RG450 was a Cosmo black finish. It has a tendency to go pretty ratty after a while if not looked after, and this batch of Cosmo chrome hardware was certainly looking pretty ratty!
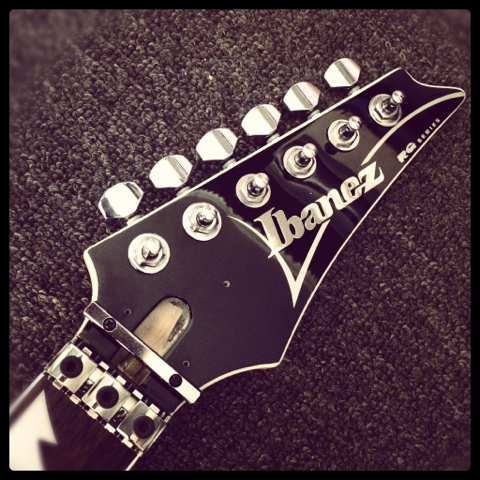
Cosmo black locking nut and string retainer polished to a nice chrome finish, and some chrome machine heads from my spares draw installed.
I previously wrote a DIY on polishing up hardware to a nice chrome finish using metal polish, the Edge Pro bridge I used in this DIY was from the RG450. I got onto polishing up the locking nut parts, and the string retainer. They don’t look brand new, but they came up very nice.
I started on polishing up the Gotoh machine heads that came with the guitar, but they were going to take quite some time. I had a spare set of Gotoh look-a-likes that are actually fairly decent, so I decided to just use these for the time being.
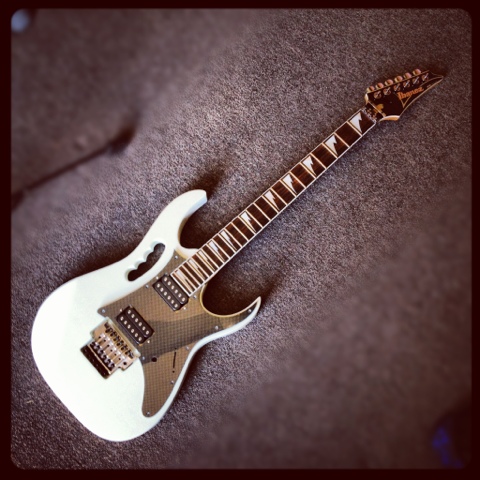
And finally a full mock-up of the guitar. I think it's going to look great once done!
Once I got everything installed the neck really looked quite good. The locking nut and string retainer bar don’t perfect, but they will do quite nicely.
I decided to mock everything up to see if the final look would be as I had hoped. The paint on the body is looking pretty average, but it’s not noticeable in pictures at this zoom. I really hope that I get the paint looking a little better, because this guitar is going to look really nice with all the components I have selected for it.
I’ll be picking up some more paint this week, and hopefully getting the body looking a bit more acceptable.
Leave a Reply to Ryc Cancel reply