
The Ibanez RG450 project -part 1
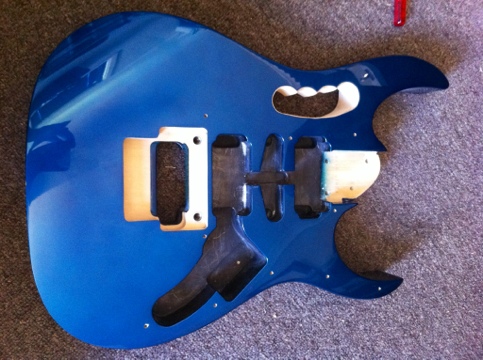
The body from the 2003 MIJ Ibanez RG470, modified with a Jem style monkey grip and output jack route.
A while back I had a Japanese made 2003 Ibanez RG450 with Edge Pro donated to me by a good friend of mine from Jemsite. It was in quite rough condition when he bought it as a project guitar. He cut a Jem style monkey grip, and rerouted the output jack to also be a Jem style one. It was just about ready paint when he passed it on to me. The Japanese Wizard II neck was re-profiled to a Wizard spec too.
So I finally got around to starting work on it this weekend. I had polished the previously ratty looking Edge Pro quite some time ago, but that was all until now.
I’m not expecting my paint work to be perfect, but it will be good enough for me to use as my test bed for pickups, and as a backup stage guitar. I’m also thinking about trying to build an in-guitar boost circuit for it.
The first thing I had to do was fill the old output jack mounting screw mounting holes. I used some building filler for this. It didn’t quite end up filling flush with the body, but I’ll see what happens over the course of painting the body. Once I did that I taped off the pickups and electronics cavities, and neck joint
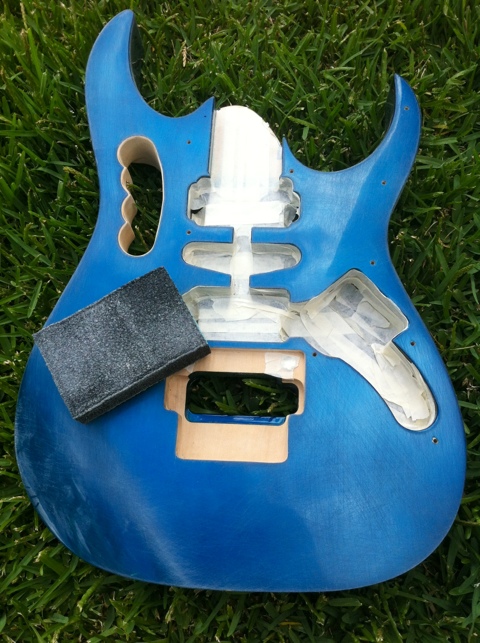
Scuffed up and cavties and neck joint tapped off.
Next was scuffing up the body, ready for primer. I got a course grit sanding block for the task, and passed over the body a few times to rough it up.
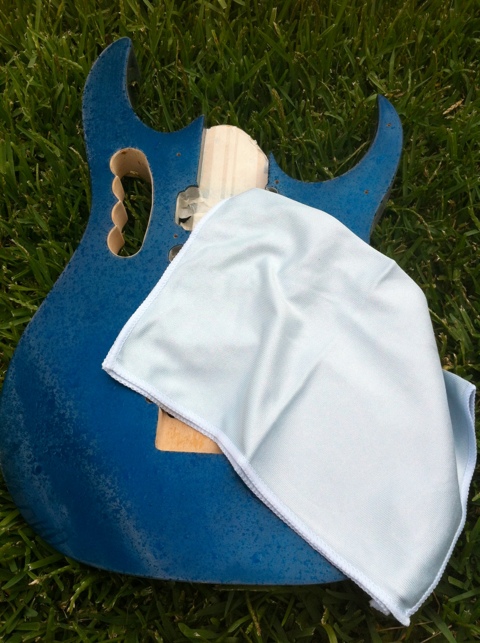
Sprayed with a fine mist of water and cleaned off with a microfibre cloth.
Next up is to clean up the dust left on the body from sanding it. I got a microfibre cloth for the job. Microfibre cloths do a good job picking up dust, and to help with this I sprayed a fine mist of water on the body and wiped over it with the cloth.
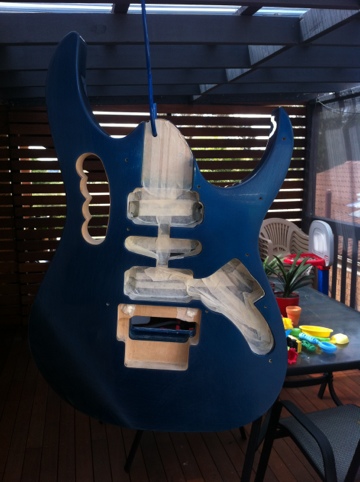
Drying off in anticipation for the first coat of primer.
I then hung the guitar up to dry off before painting it.
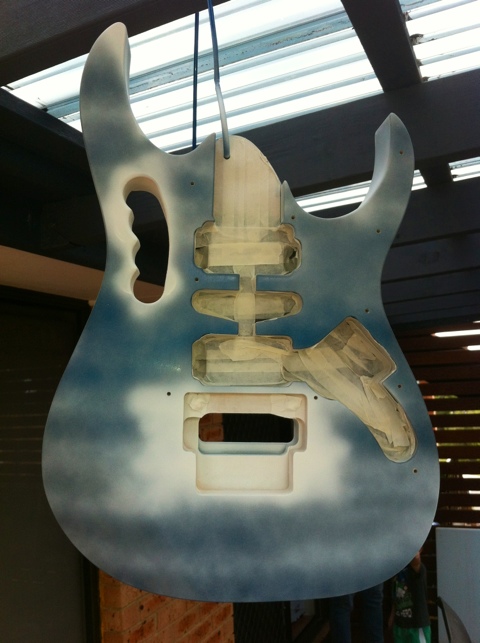
First coat of primer on.
After all this I was finally able to get started on priming the body. I’ve covered it with four coats, and a few runs to take care of.
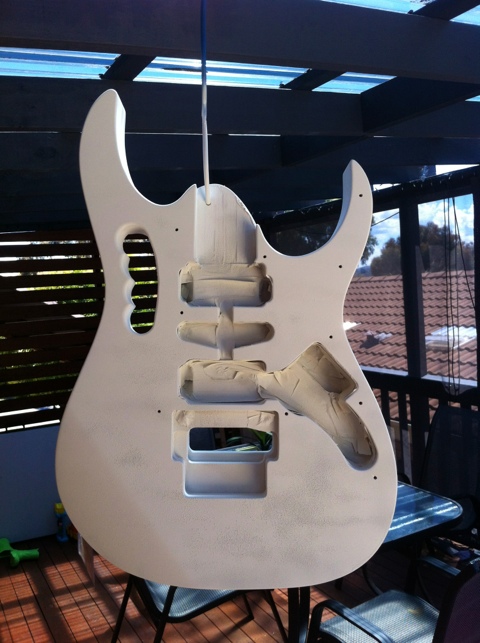
After four coats of primer it's ready to be sanded.
I’m going to let this dry for a day or two, and then I’ll get onto sanding it. Hopefully I won’t work my way through the primer. I used the can up doing these coats, and I don’t really want to have to buy another can just to touch it up.
Hopefully this all turns out good!
Leave a Reply