
The Charvel build project – part 4
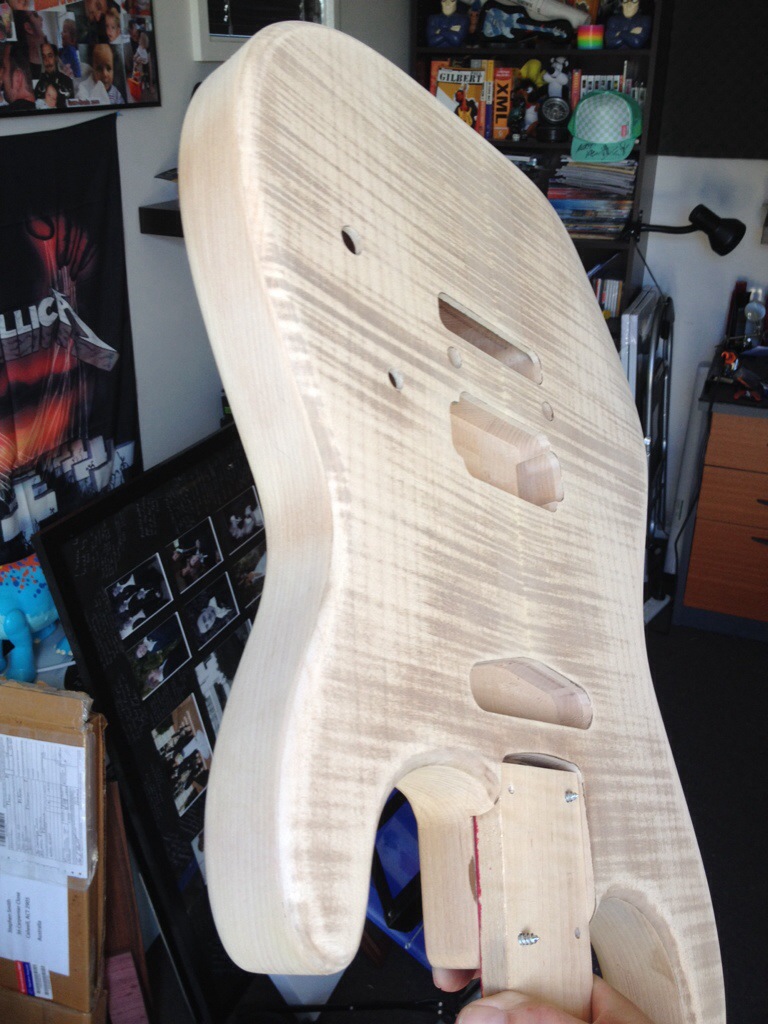
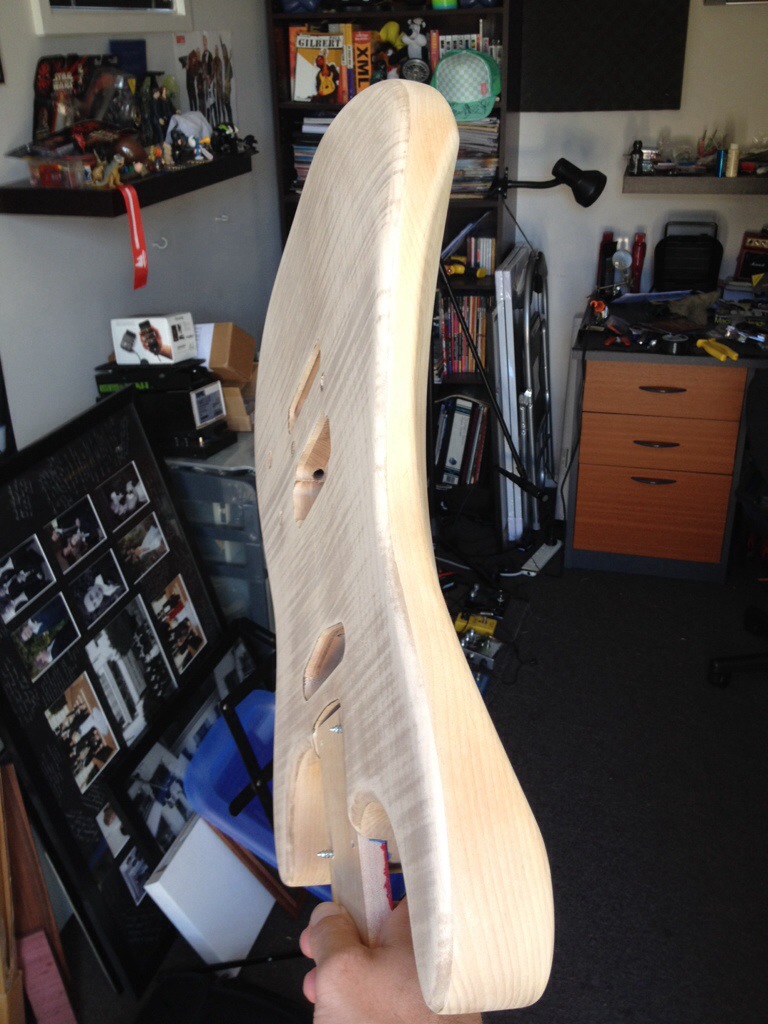
 So I haven’t talked too much about the Charvel project lately. To be honest I’ve been a bit nervous about working any more on it, feeling like I had bitten off more than I could chew. I had started off the sand back on the body after the brown dye and wasn’t too happy with how things were looking, or how I was going with it. I talked to a few online friends before Christmas, and they put me at ease with how it was looking and where to go with it, and finally yesterday I had an hour to do some work with it. The pictures below show what it was looking like after my initial sand back. The edges were looking a little crappy, and I thought the top would have looked a little more even with the grain. I was assured that what I had was pretty much as would be expected, but just to work on the edges a little more.
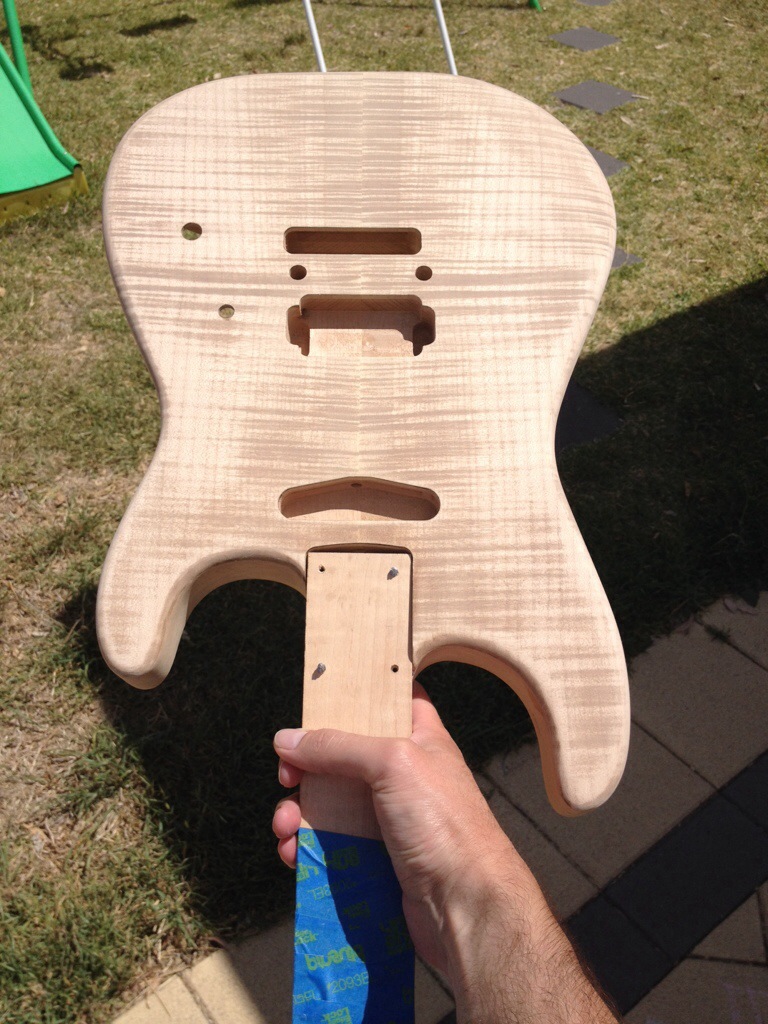
 Fast forward to yesterday, and I gave the edges of the maple top a bit more of a sand and then set about dying the top. I laid down three coats, with the results below: First pass:
 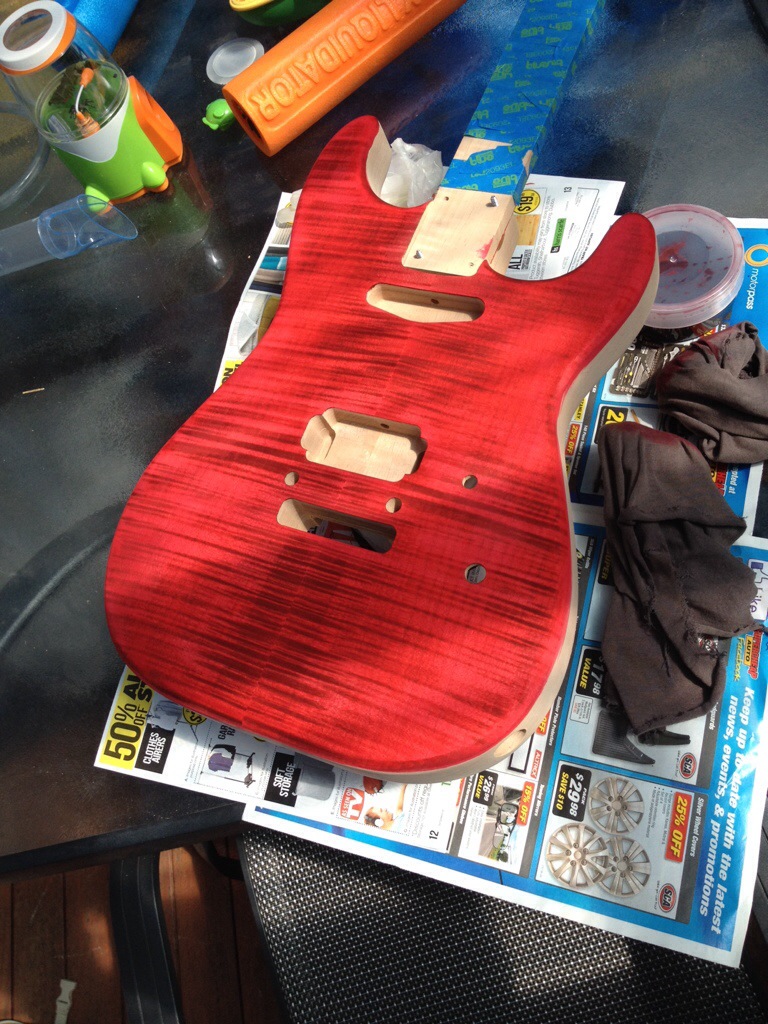 Second pass:
 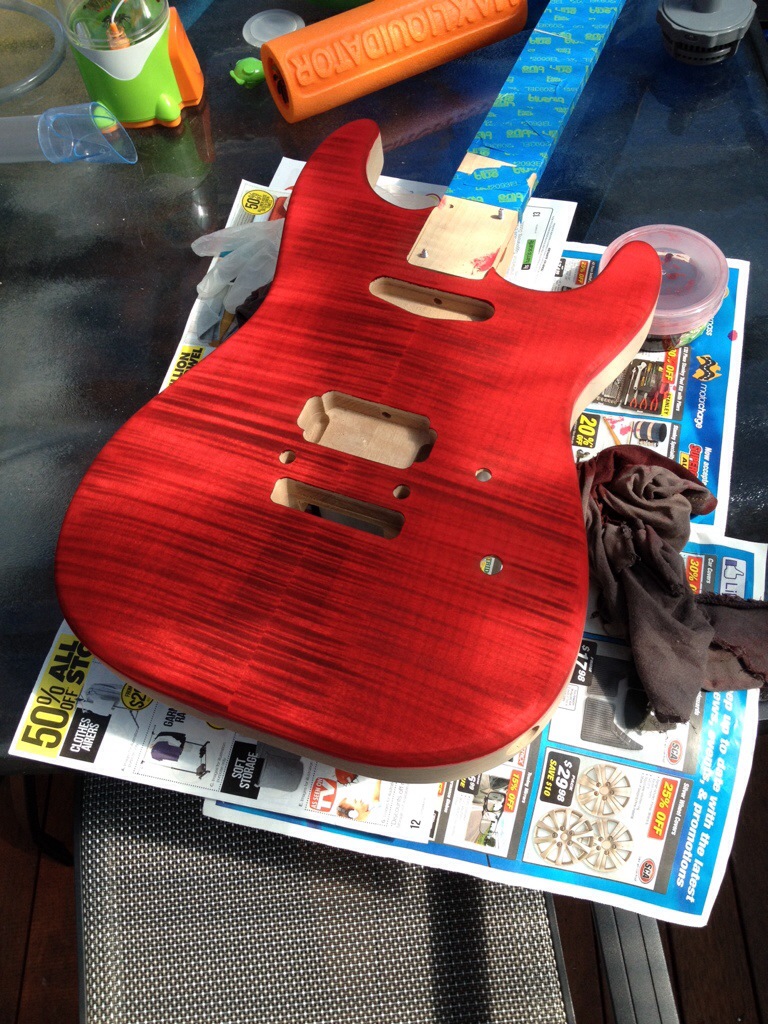 Third pass:
 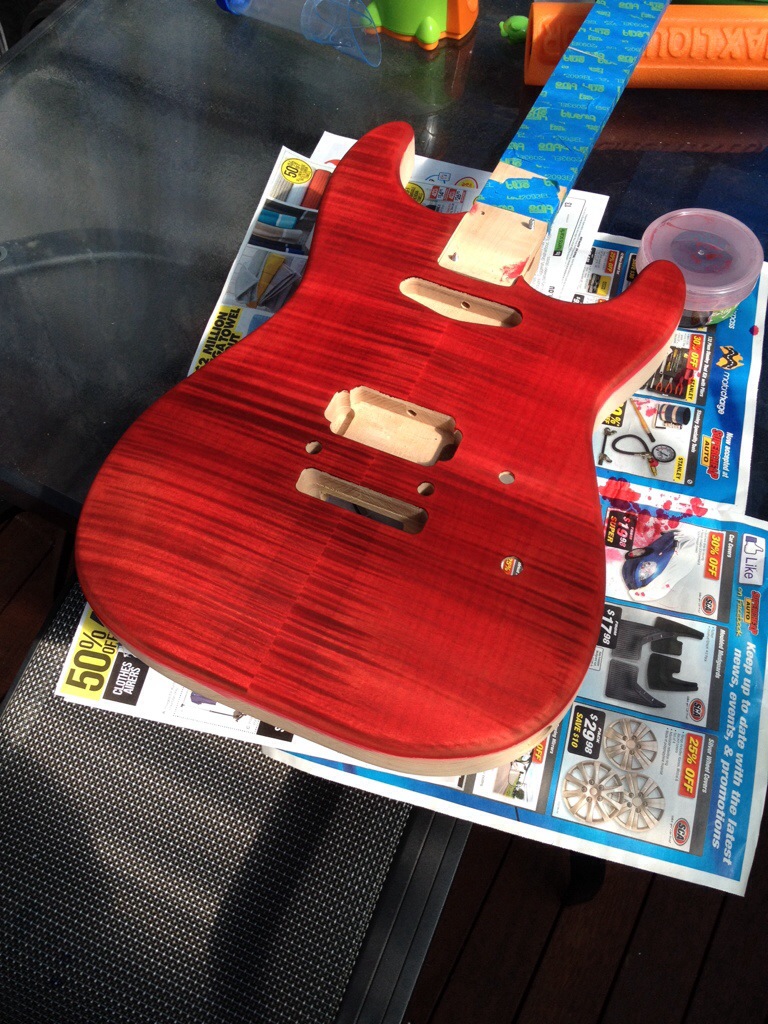 And dry:
 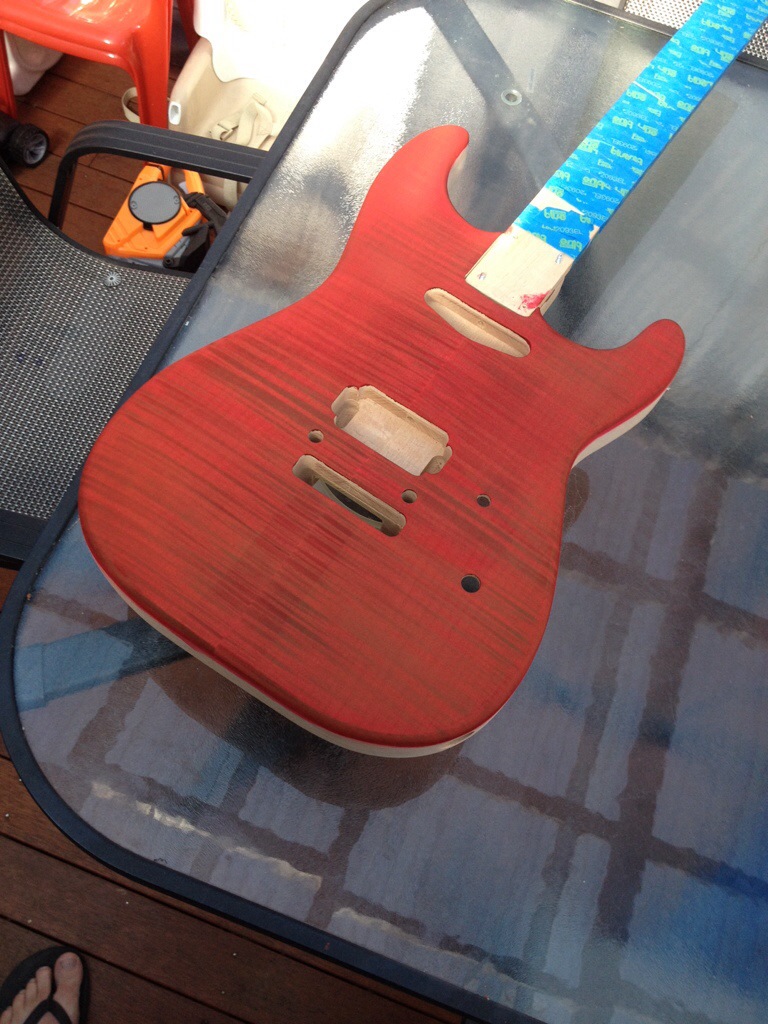 It’s not looking too bad at all. I’m going to lightly sand it back a bit to even up the top and I may do one more coat before hitting the back and sides. After that, sorting out the clear coat!
The pickups for this project also arrived over the Christmas break. I’m trying a Seymour Duncan Full Shred bridge and Little ’59 in the neck. I didn’t think about it when I ordered the Full Shred, but I should have gone with a reverse zebra. I’ll take the logo off the pickup and It should look flipped.
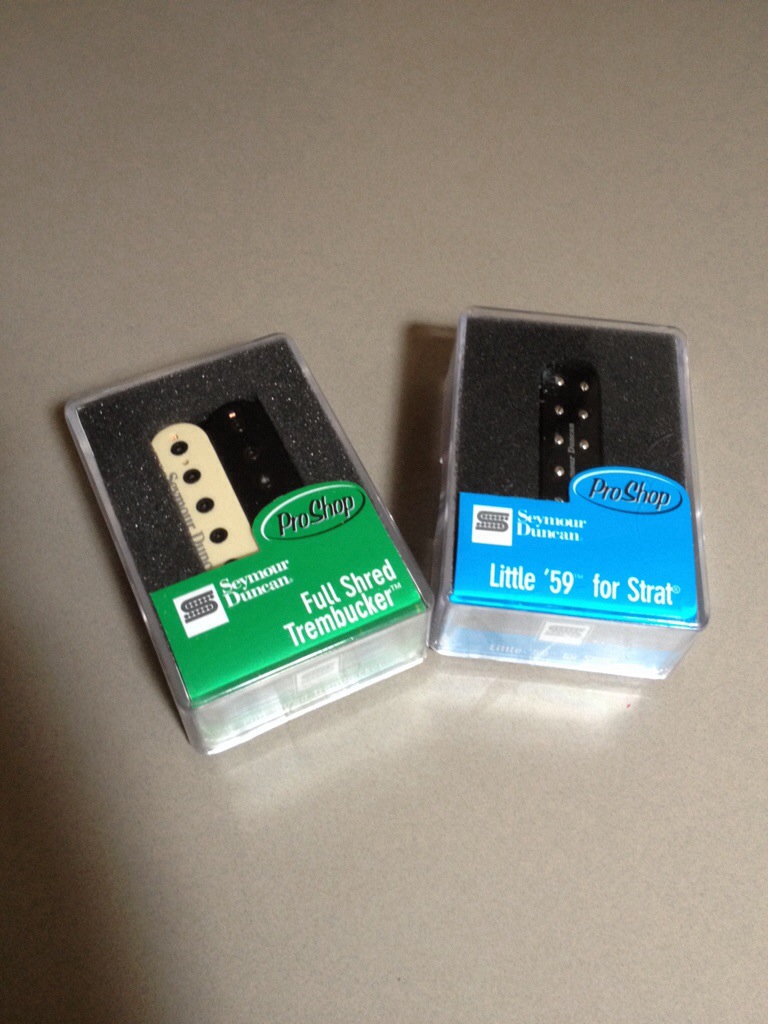 Hopefully these will sound killer.
Leave a Reply