
The Squier Bullet Strat project – part 3
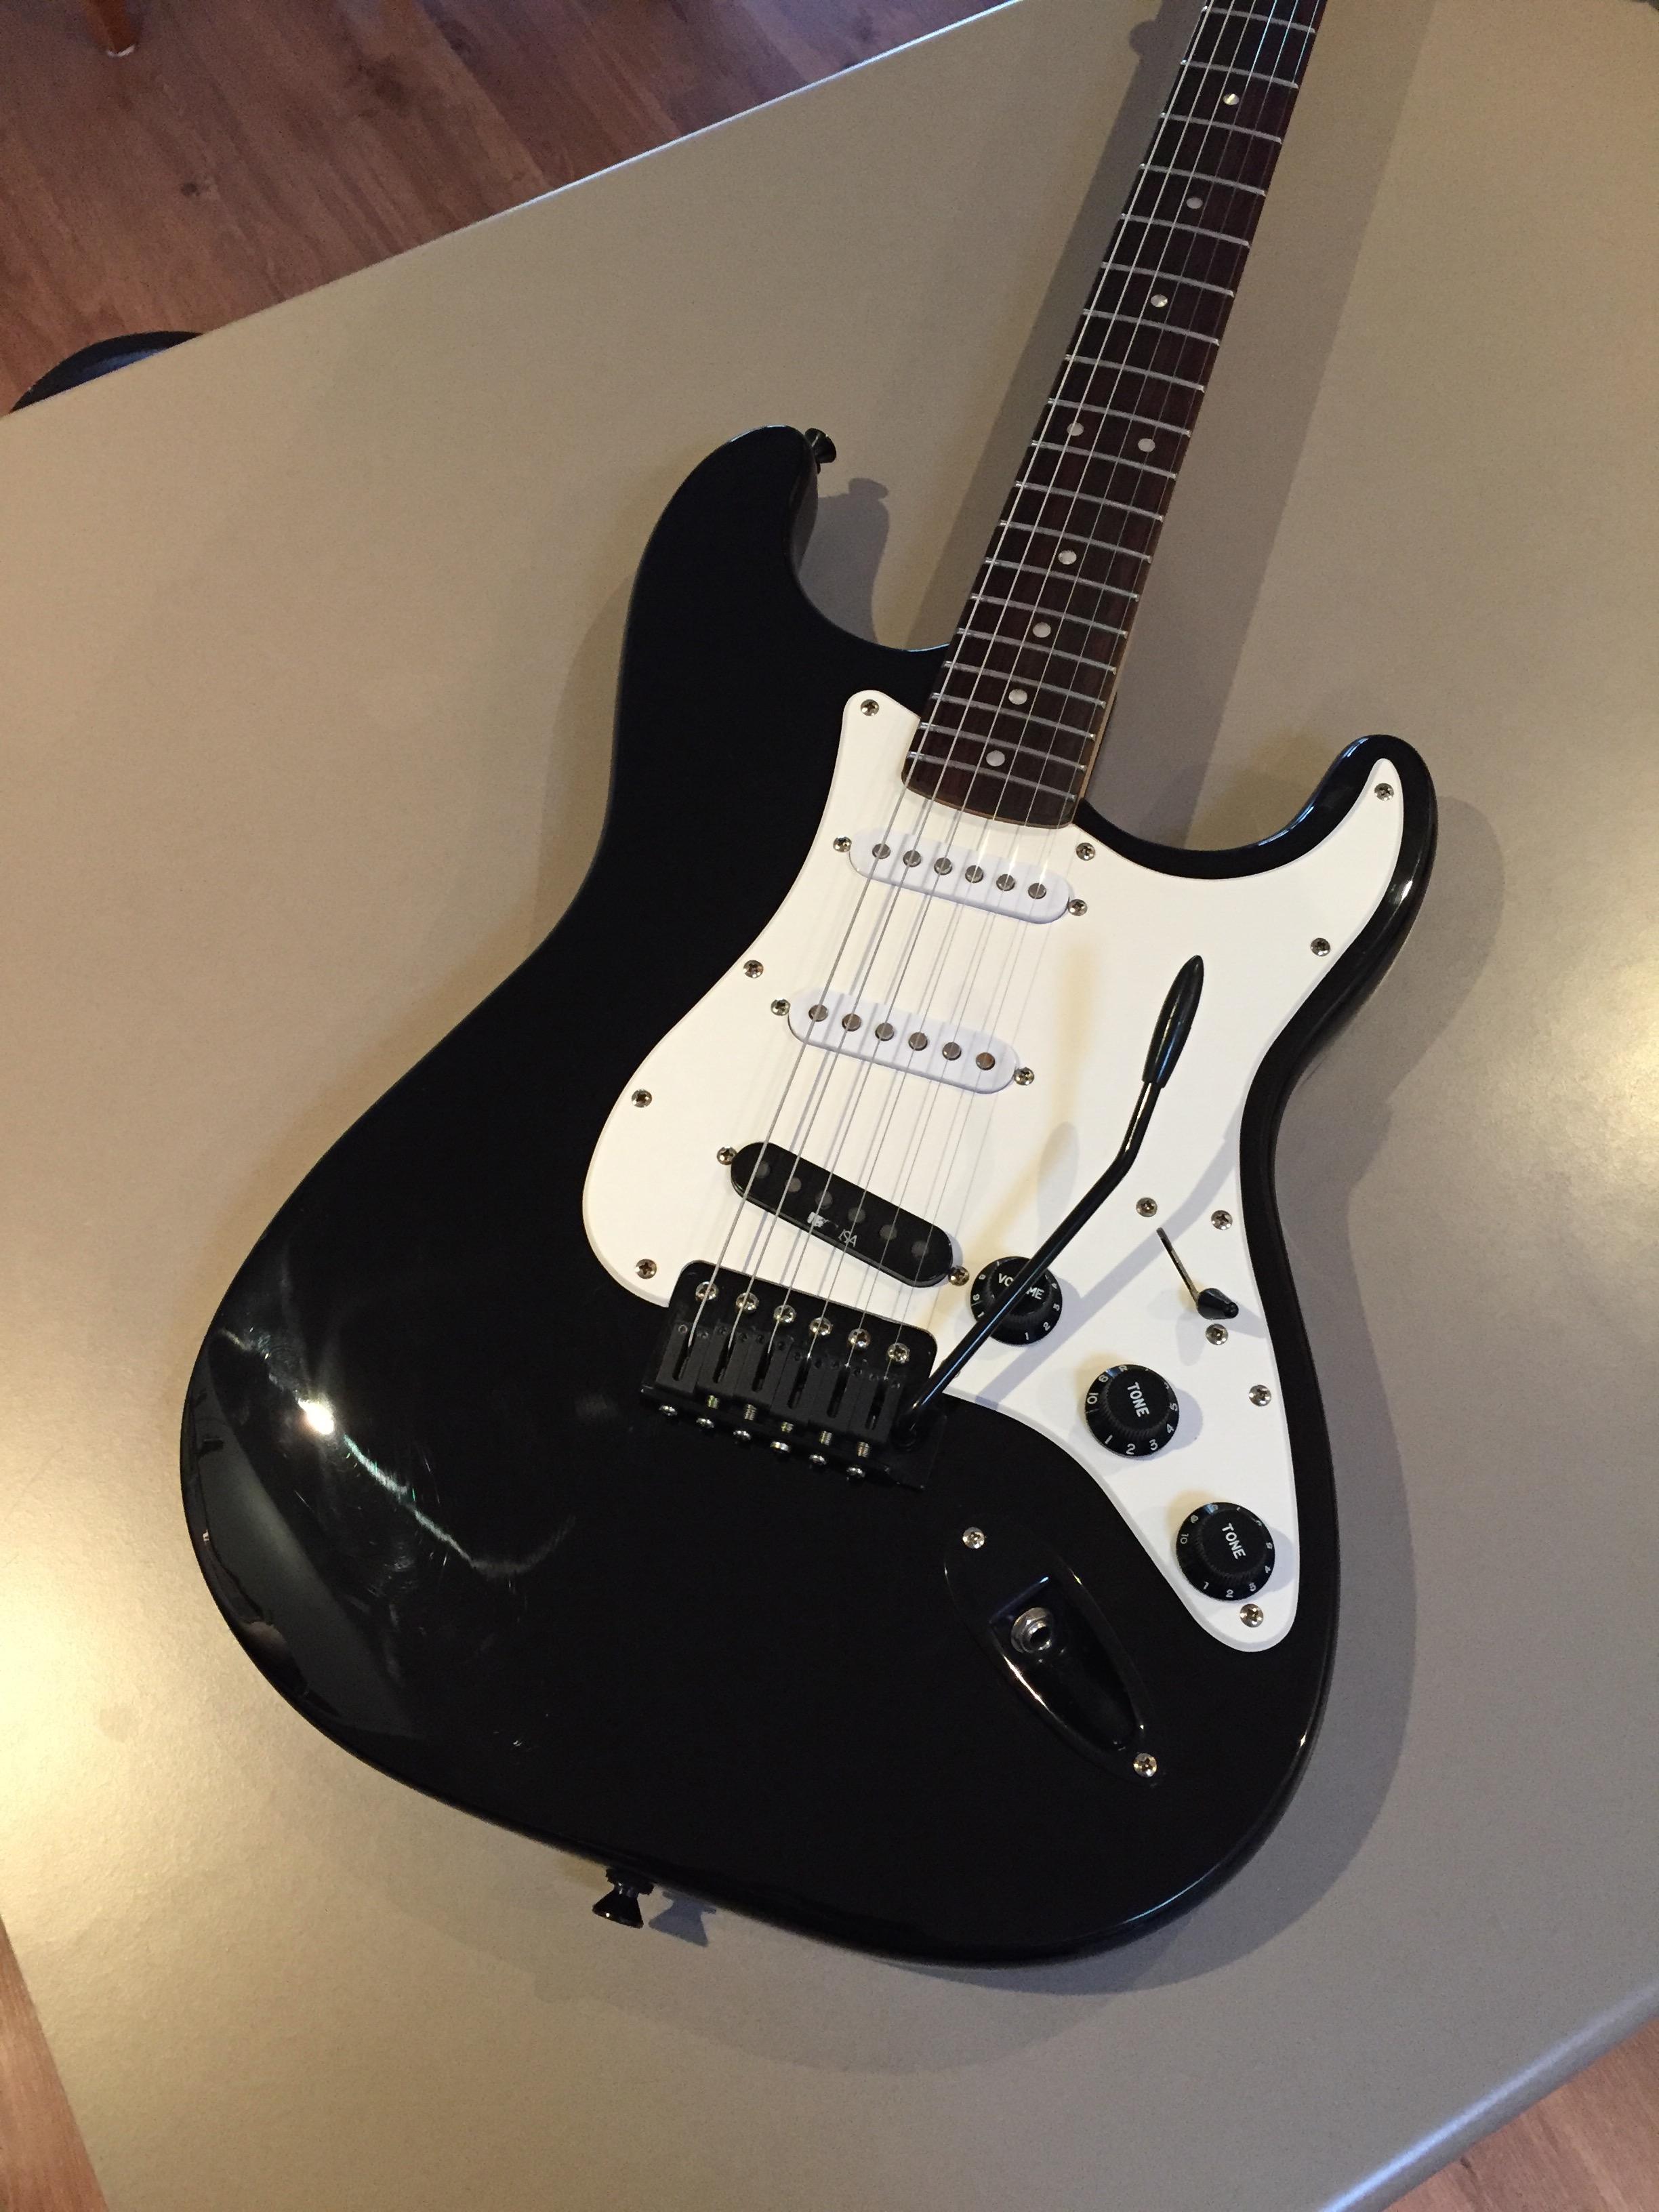
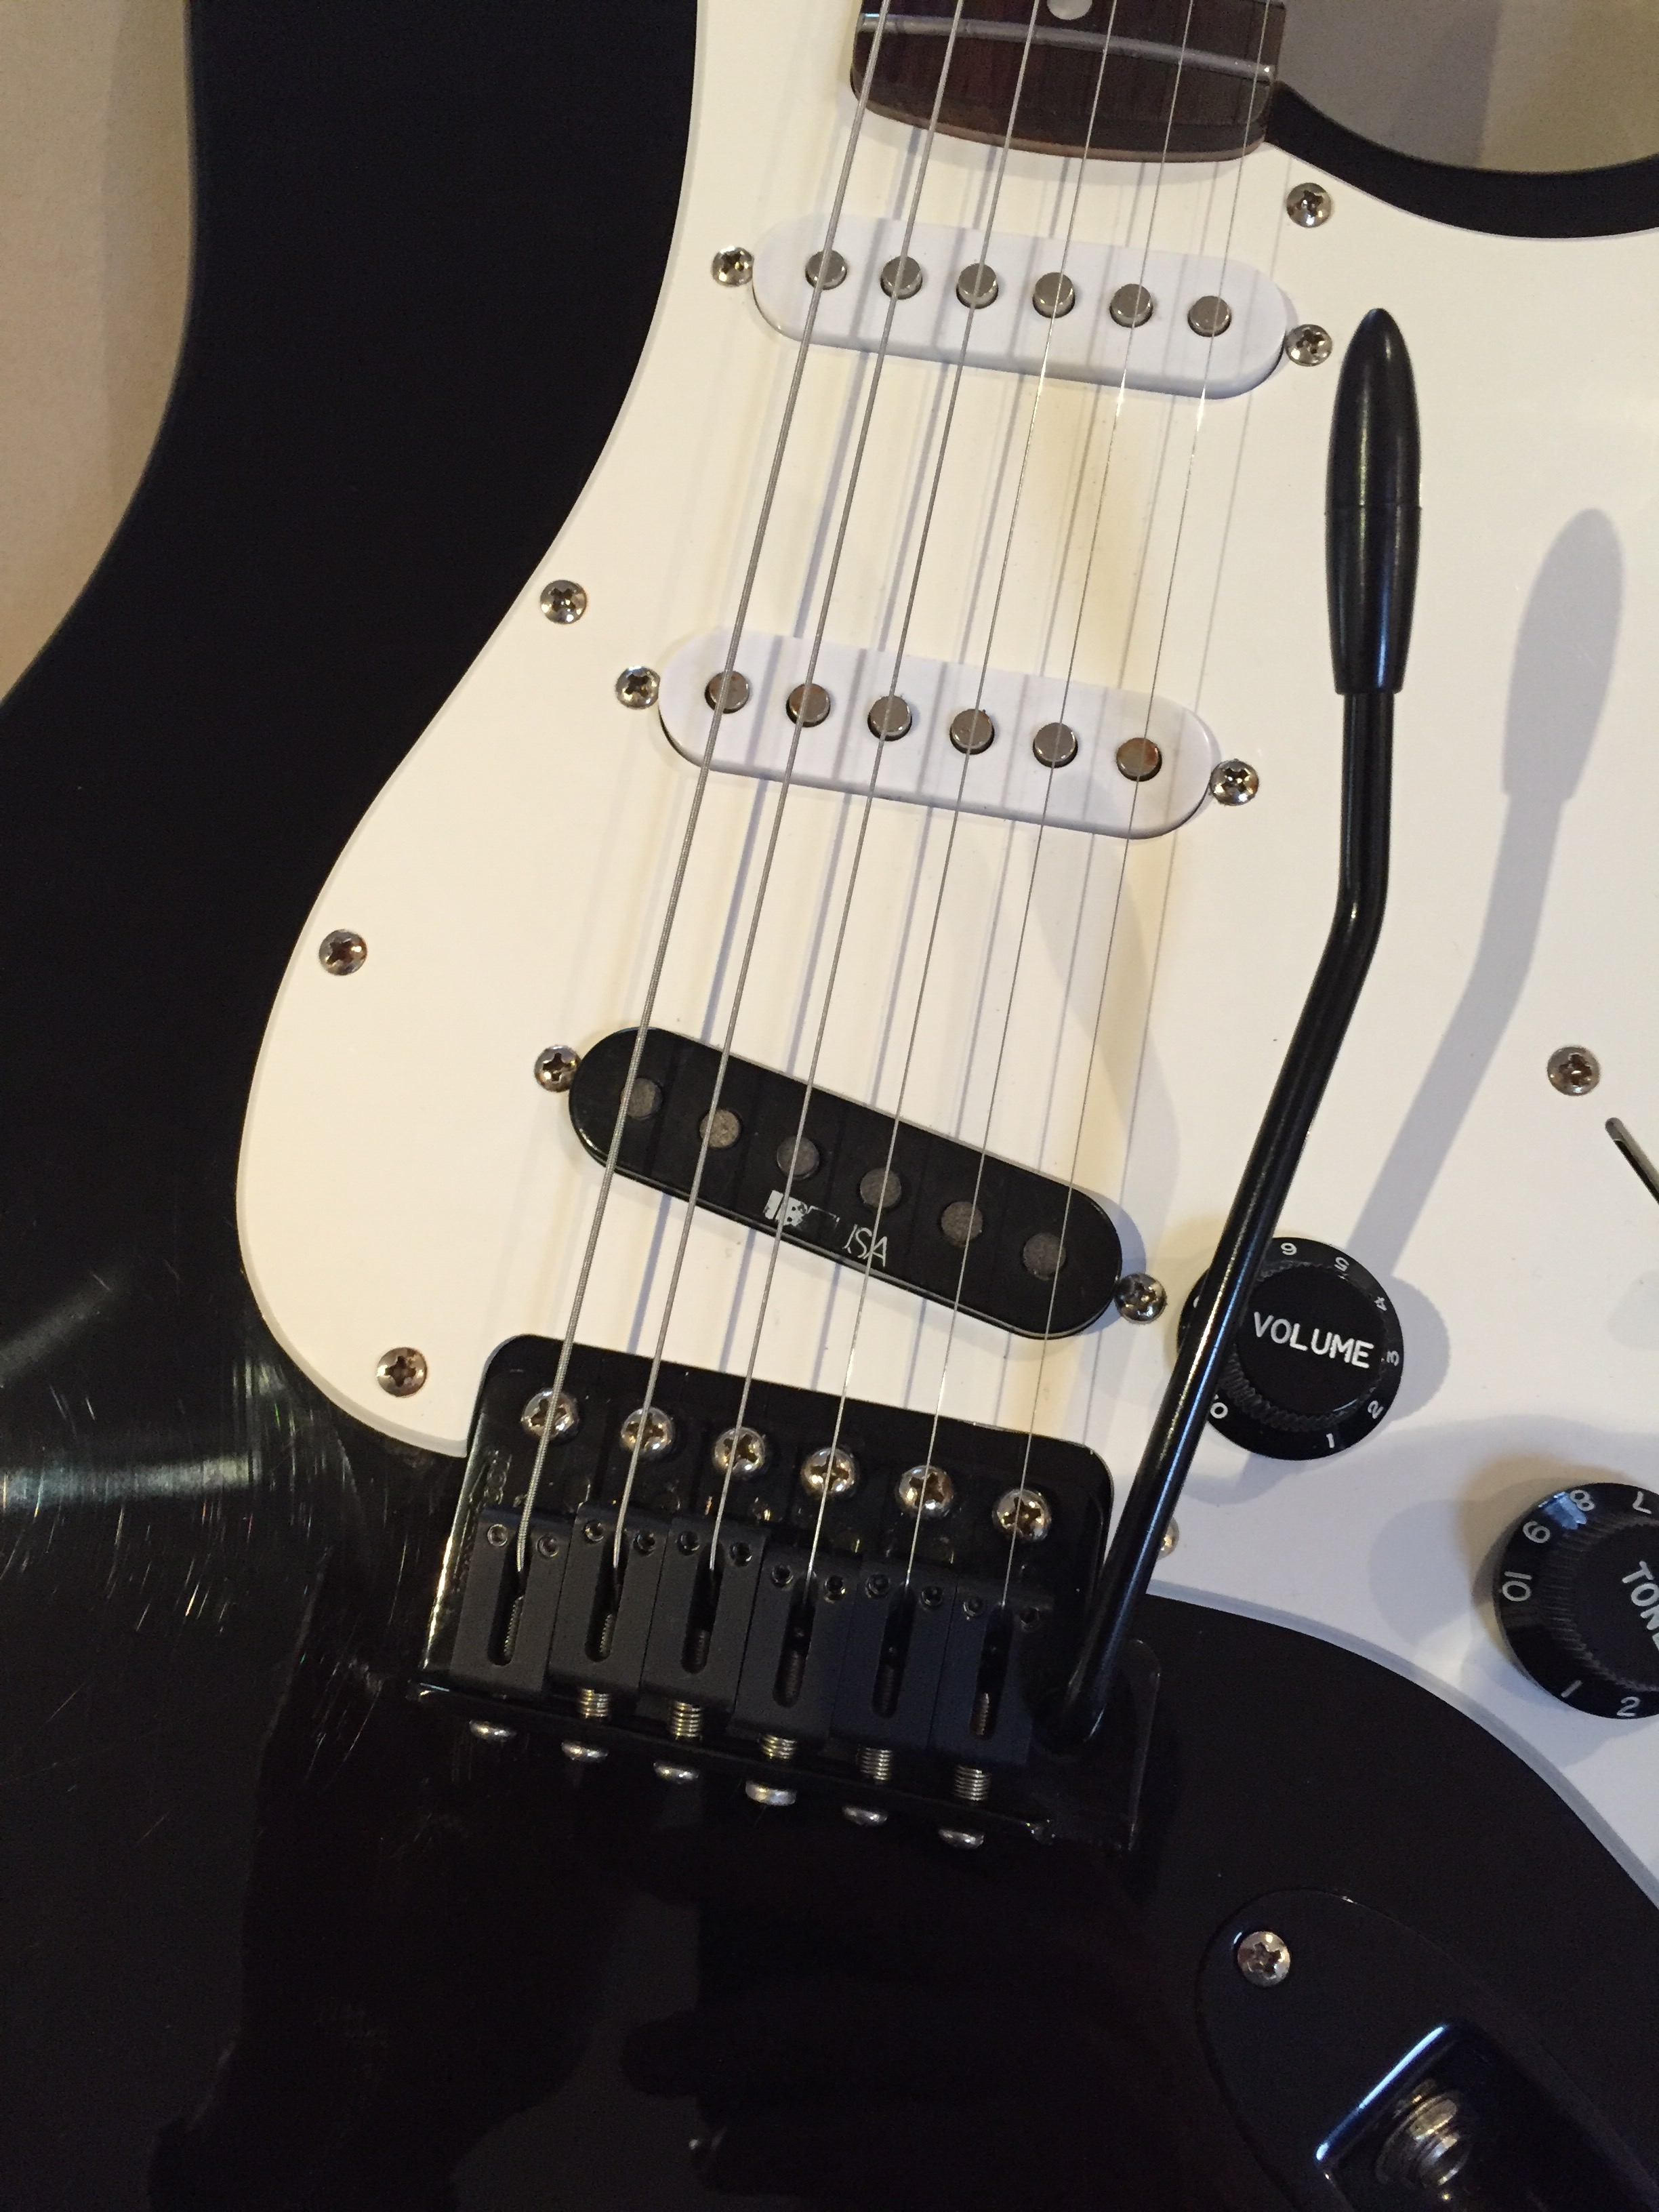 The Squier Bullet Strat project has been coming along nicely. With the aid of the Wilkinson bridge’s full size sustain block, Hantug Custom Guitars brass saddles and titanium spring claw, the guitar sounds great unplugged. The DiMarzio made IBZ/USA stacked single coil, in conjunction with the stock Squier pickups are sounding pretty sweet, and the upgrade to the Graphtech Black TUSQ XL nut means the guitar is staying in tune better than it previously did. The next step was to get the bridge mounted properly on all six screws, and shield the pickup and control cavity.
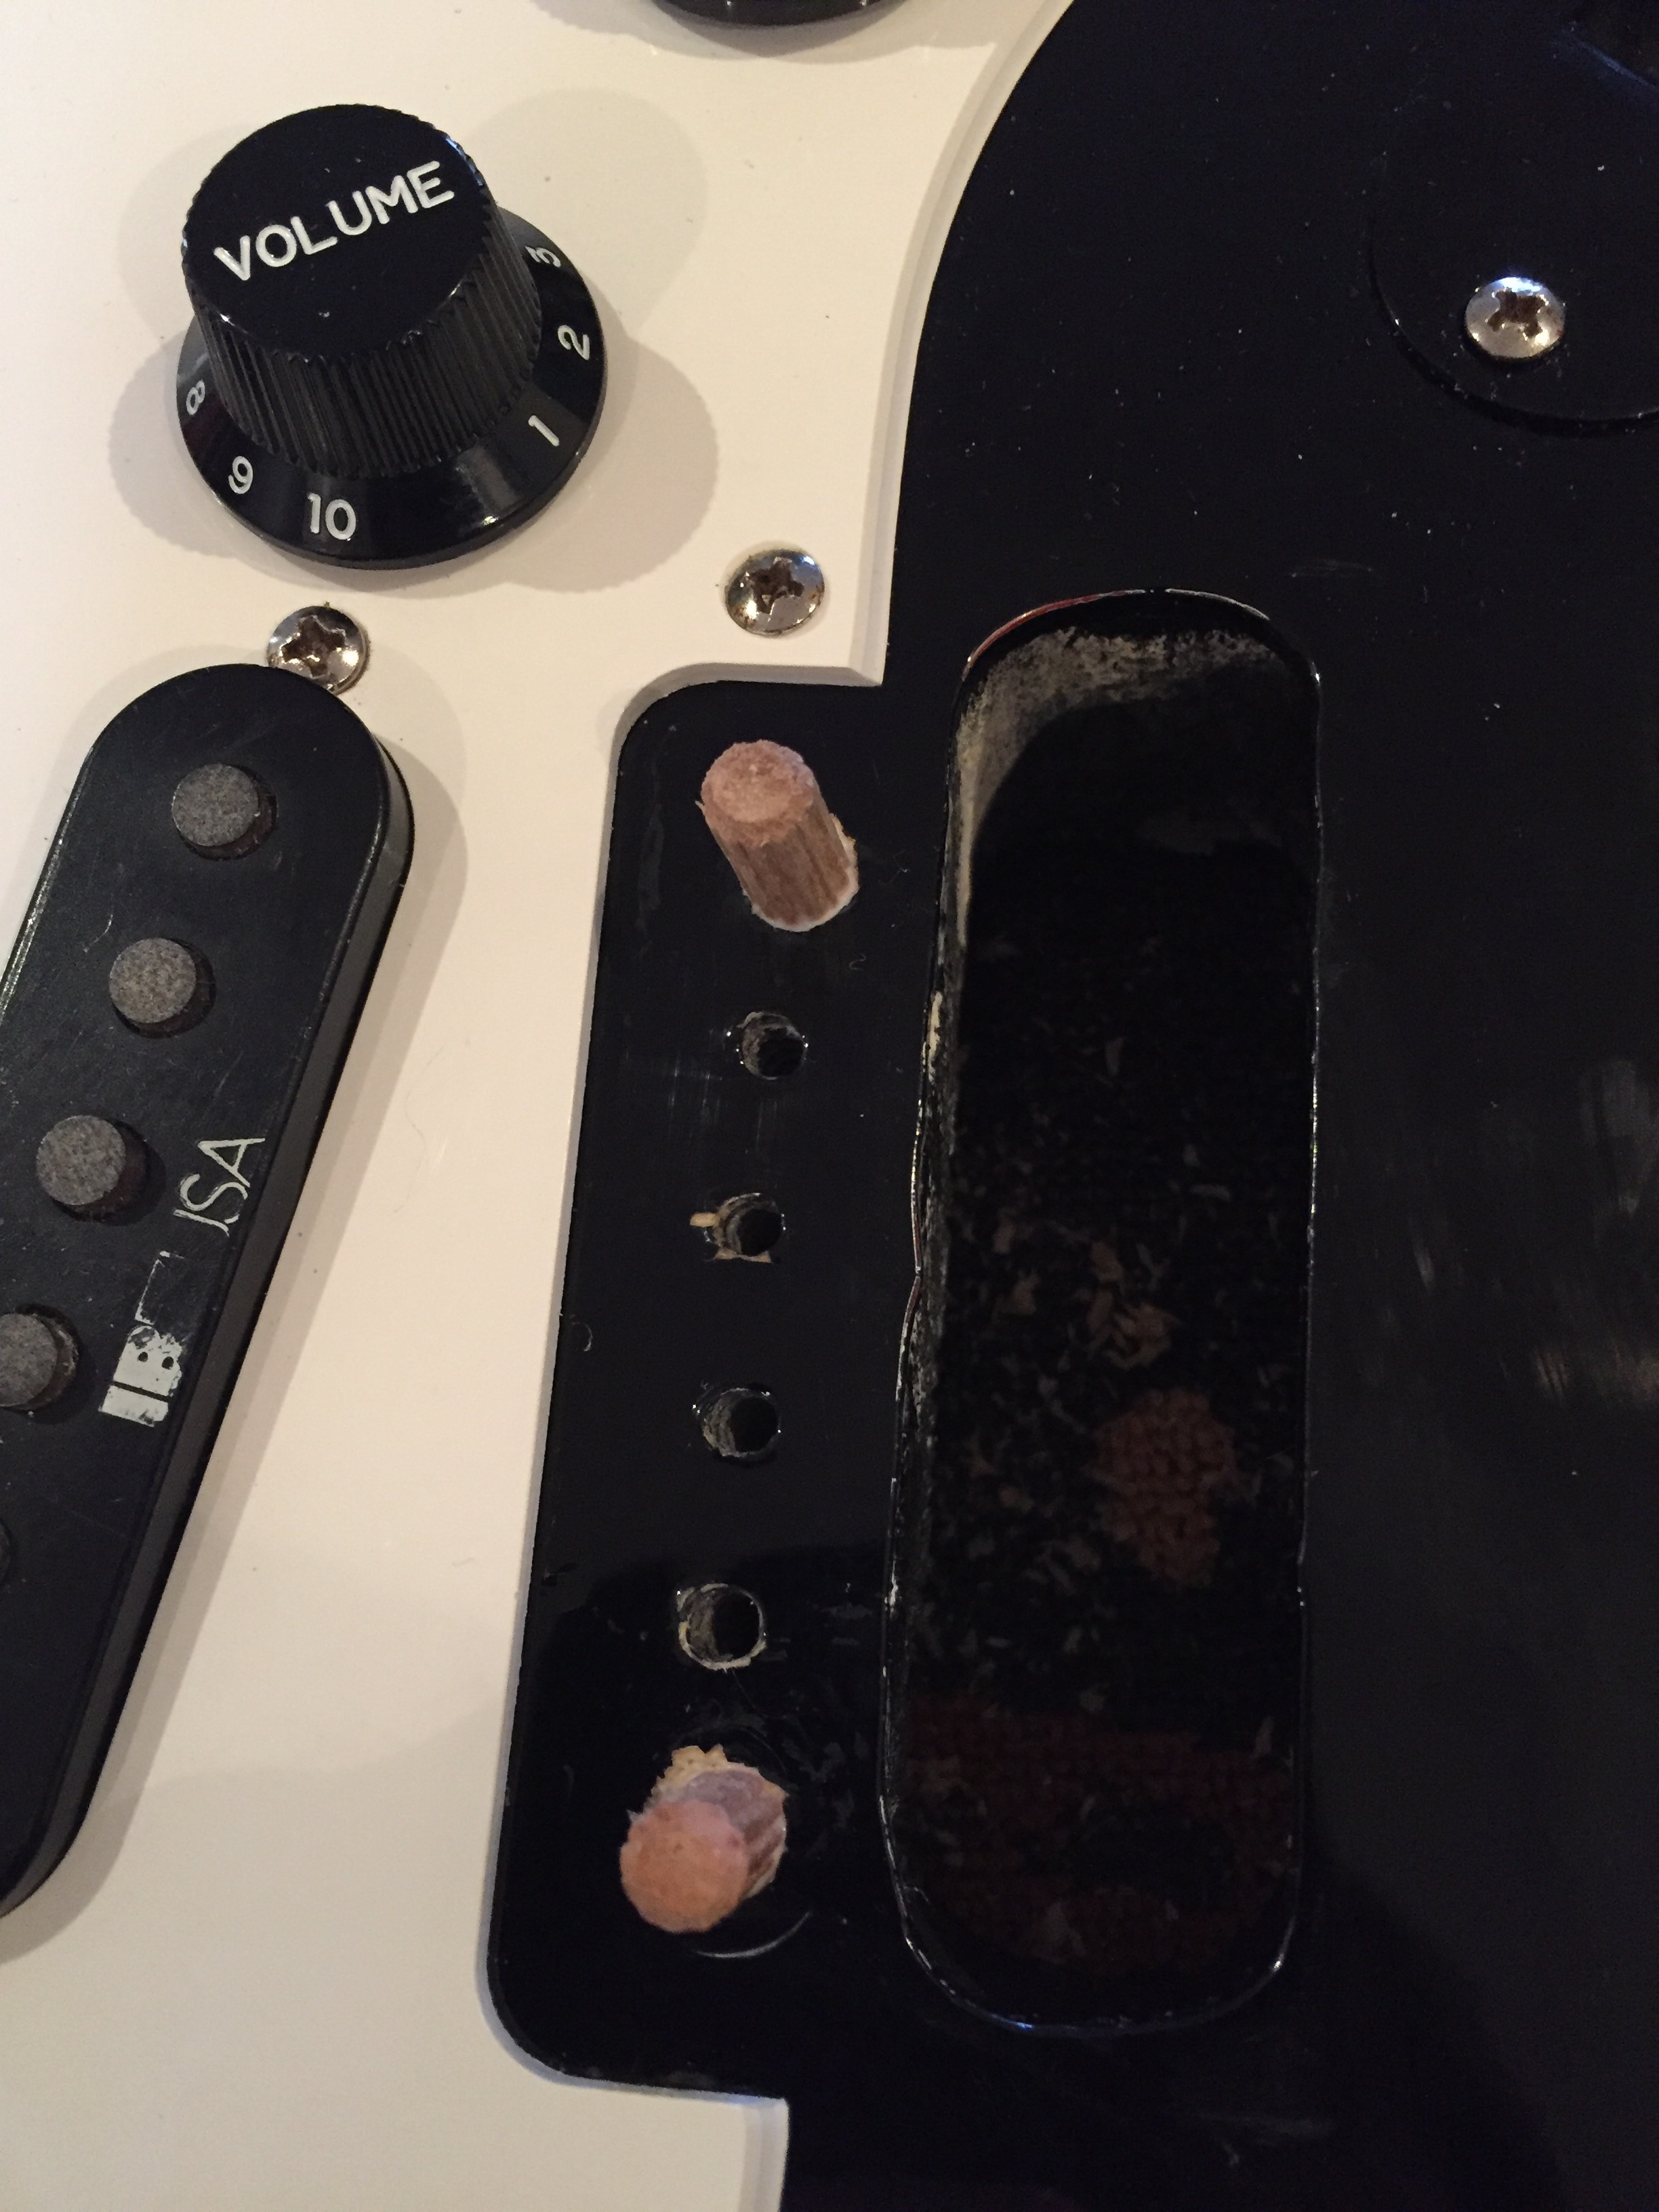
Filling and drilling holes to mount a vintage-style 6 screw Strat bridge is a bit of a daunting piece of DIY work, even when there’s only two of the six holes that need to be taken care of. The holes need to be lined up perfectly, and drilled perfectly level, a job best done with a bench drill. I don’t have one of these, but I decided to give it a go with my hand drill, using a clever trick to try and get the hole drilled as accurately as possible. But first off, the original outer holes needed to be filled.
To take care of the holes I picked up a dowel joining kit, as well as some wood glue from my local hardware store. I measured the existing hole depth using a bamboo skewer, marking the depth on the side of the skewer. I then lined up the guide on the dowel kit drill bit to ensure I didn’t drill too far. I then drilled out the holes, ready for the dowels to be inserted.
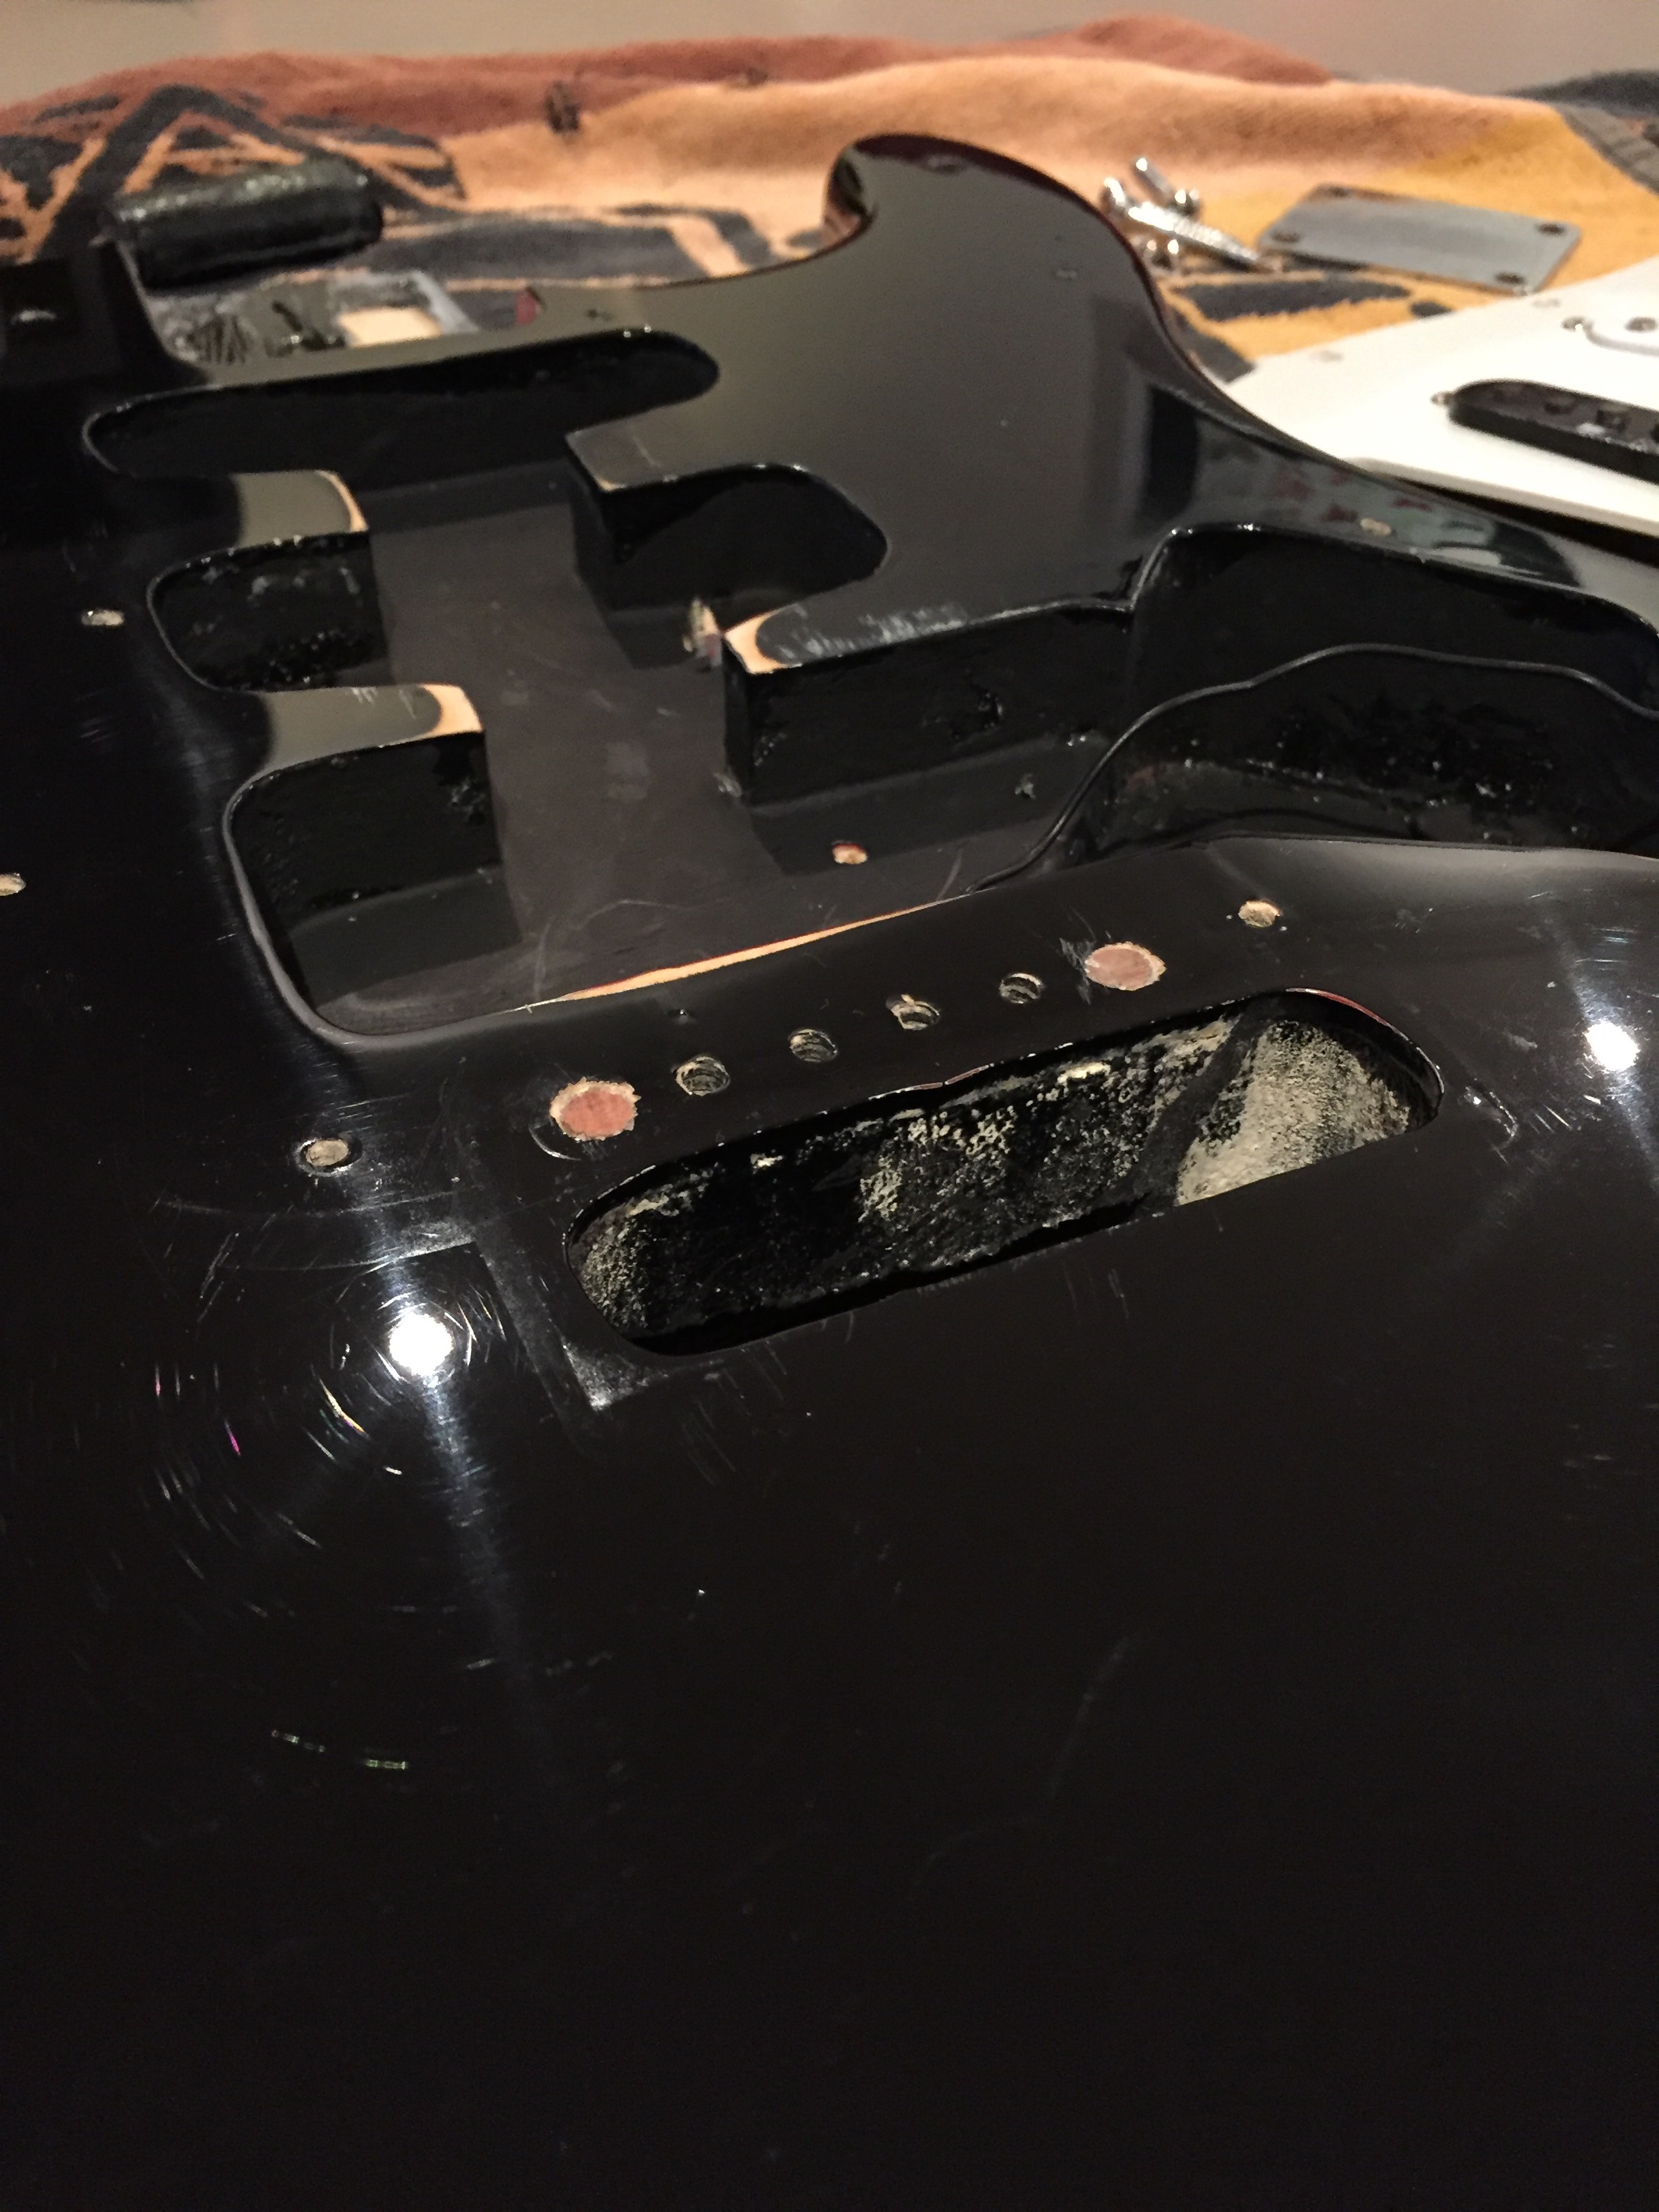
After cleaning out the holes I placed a bit of wood glue into holes, followed by the dowels. Once the glue started to set I realised that I stupidly forgot to trim the dowels to suit the hole depth, making my life a lot harder than I really needed to. Upon the glue setting, I had to cut the dowels close to body level, taking care not to accidentally mess the body up. I then taped of the body around the dowels and started sanding with a 220 grit sandpaper, until the dowels were level with the body. A Dremel would have been super handy to take care of cutting and sanding the dowels, but unfortunately I didn’t have one on hand.
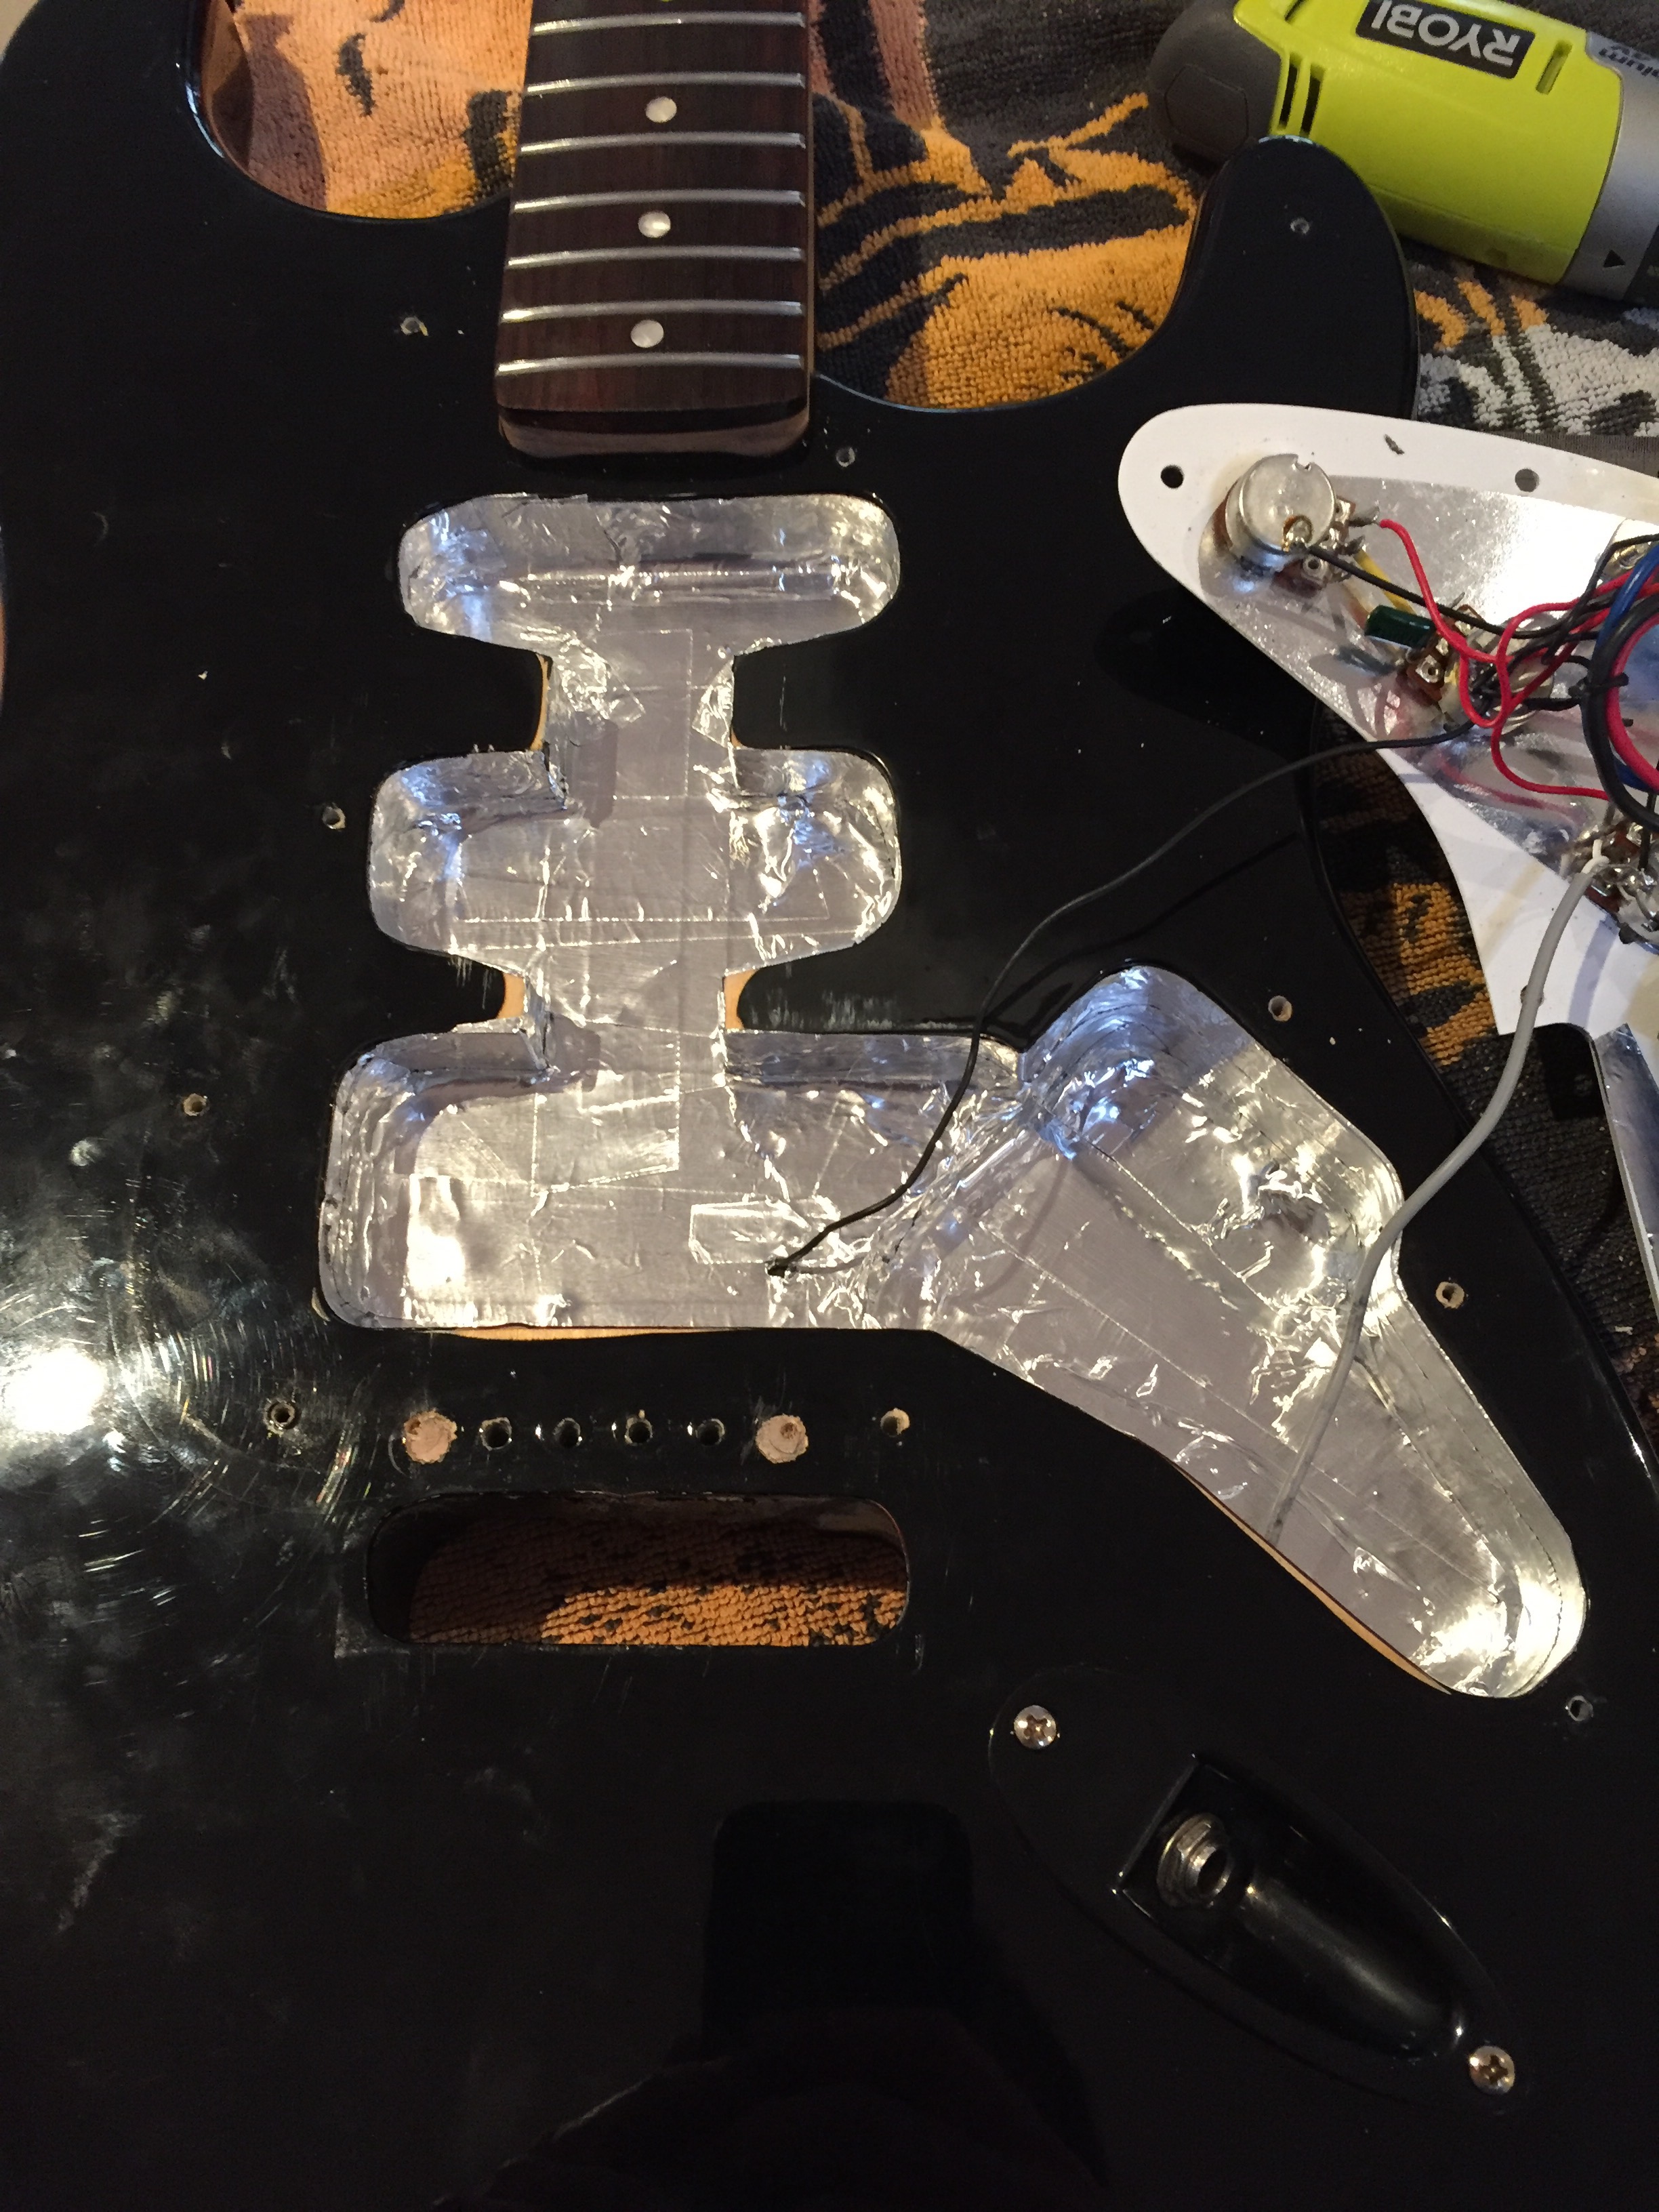
I got onto shielding the pickup and control cavities while I had the pickguard off. I used aluminium foil tape to take care of the shielding duties since it’s easy to cut to size and apply, and you don’t have wait anything to dry, as you would if you applied shielding paint. I also put some tape on the pickguard so I could minimise any interference.
Once all of this was done I was ready to properly install the bridge. I put the bridge back in place, using the four inside screws to line it up. I then carefully marked where the new holes were to be drilled with a small tipped hole punch. I removed the bridge and got ready to drill the starter holes for the screws.
I wanted to see if I could find a way to accurately drill the holes with a hand drill since I didn’t have a drill press on hand. A quick google search found a good hack to getting a hole drilled as straight as possible, by using a CD or DVD. Basically You sit the disk on the surface to be drilled, data side down, and use the reflection to line the drill bit up. Since I was drilling into fairly soft timber, and the Strat bridge uses wood screws, I just drilled starter holes, and then used my electric screwdriver to drive the screws in. I brought the strings back to tune and stretched them again, and was pleasantly surprised by how well the guitar stayed in tune after a bit of work on the whammy bar. Even with the stock tuners, the guitar was capable of staying in relative tune.
It was great to see that I could install the bridge properly with only the most basic of hand tools, and a bit of clever life-hacking. The shielding will help with noise-related issues, and is a cheap upgrade that anyone can do at home. The next upgrades will be replacing the nasty stock tuners with some better quality units, string trees, and finishing off the white to black transformation.
Leave a Reply