
The Charvel build project – part 3
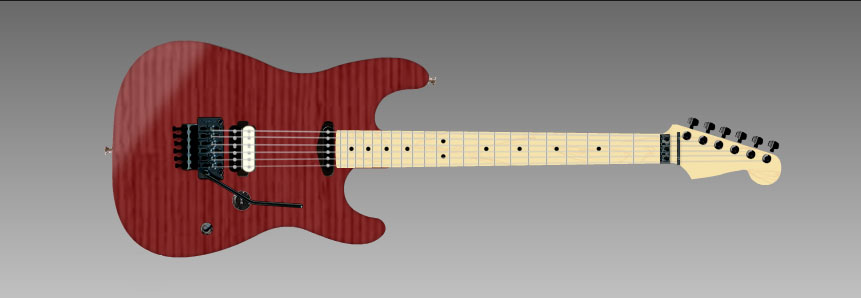
I had my first shot at dying some wood today. I mixed a basic mix of red and black dyes, and hit up some scrap pieces of maple. I will do some “proper” mixing later on with the next batch.
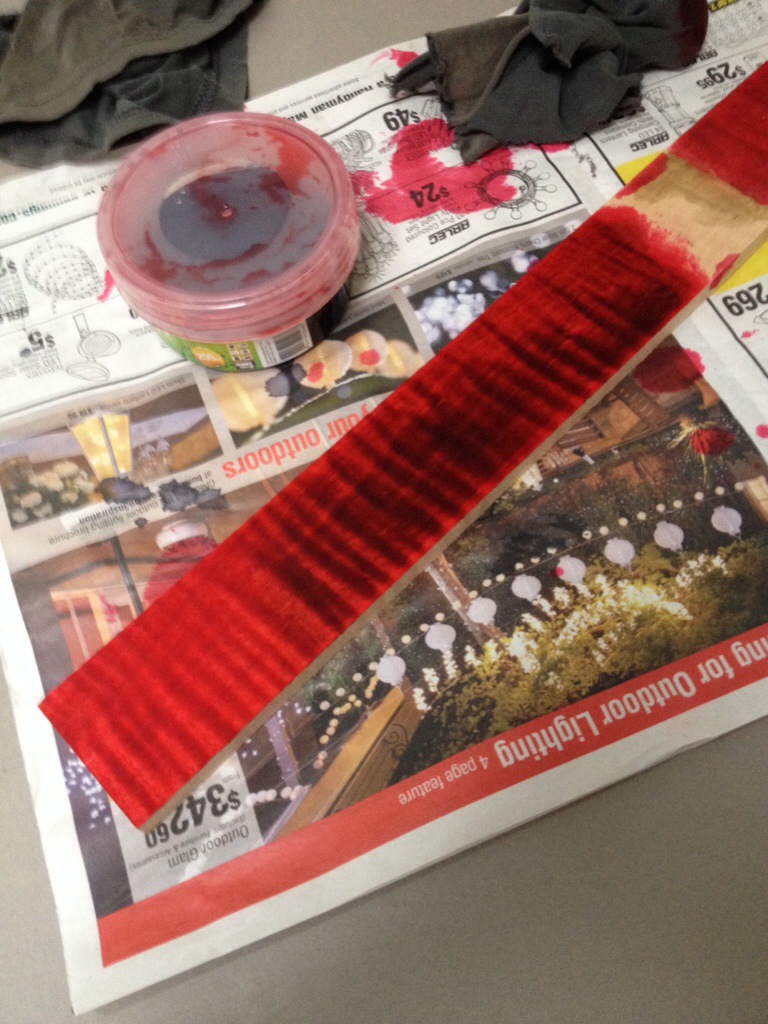
Here are some photos of the results:

This is the basic red I mixed this time, two coats in. A little brighter than I plan on.

Here’s a basic coat of black

Forgot to get a shot of the black after sanding. I may have left a bit too much on. This is one coat of red was too purpley-pink for what I want. So I tried one more coat of red.

And got this, while wet it looked pretty much exactly what I wanted. But when it dried it changed again.

Had some old spray can clear, so I thought I might hit it with some clear to see what the finish looked a bit “wetter”. Wasn’t quite there, but still looks pretty cool.
I’ll try and do some more experimenting, with some proper measuring of dye and water this weekend. It’s been suggested that I try a brown sand-back coat rather than the black, so I might give that a go. Results will be posted up here, so watch this space.
Update 16th November
I played a little more with some test pieces of maple and the dyes. I used a brown sandback coat, and a new mix up of red. The picture below shows just two coats of red on the lower left, and the sanded back brown with two coats of red. Still not quite as dark as I was planning on, but I’m digging the red in these samples.
I think I might go with these colour mixes for the guitar body. I’ll start getting things ready and hopefully next weekend I can get started for real.
Leave a Reply