
Number one with a bullet. The Squier Bullet Strat project
 It’s been a while since I had a project on the go, budgets have been a bit tighter, and life a bit more hectic. One thing I’ve wanted for a while is an actual “stratty” Strat, and whilst I have built a couple of Statocaster type guitars (see my Charvel San Dimas style build project and my Strat build project), they are far more hot-rodded than traditional. I’ve been wanting something far closer to the Stratocaster blueprint, with the three single coil pickup setup.
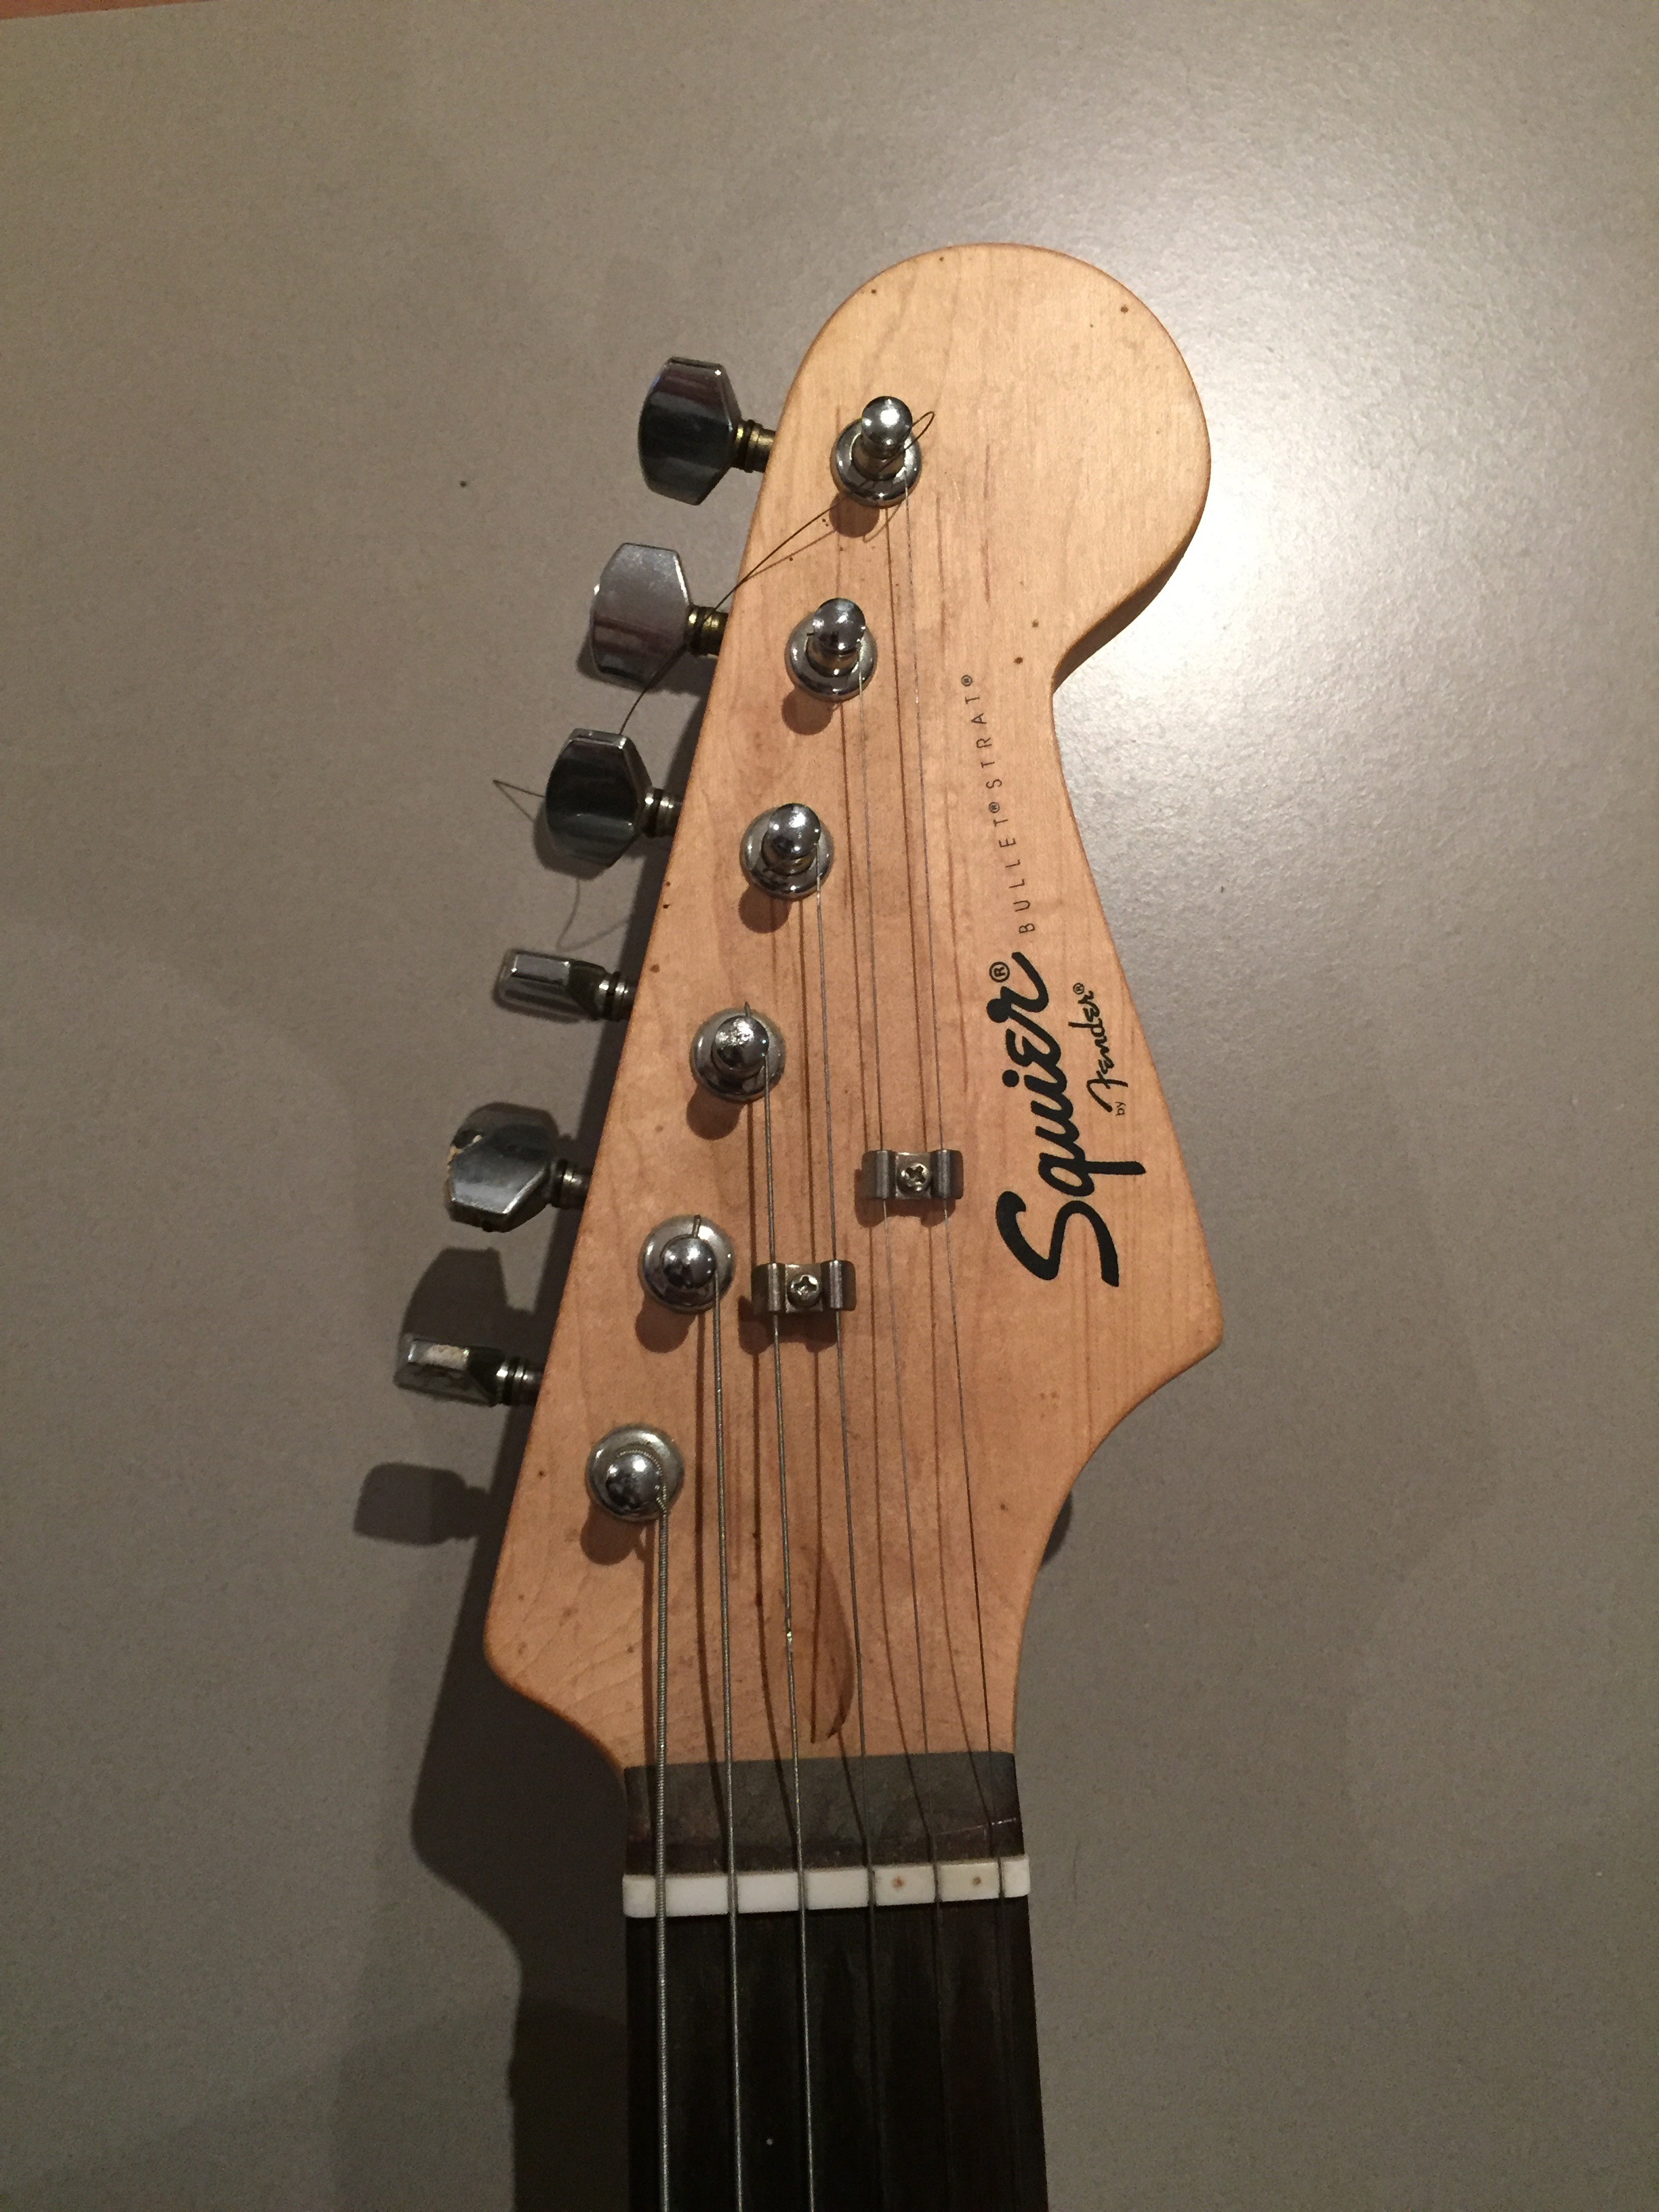
A couple of weeks ago I was browsing in Cash Converters during my lunch break, and on the wall was a filthy looking black Squier Bullet Strat. I had read that some years were sought after for their great necks and general build quality that was above their price point, and with a few modifications they could be transformed into killer guitars.
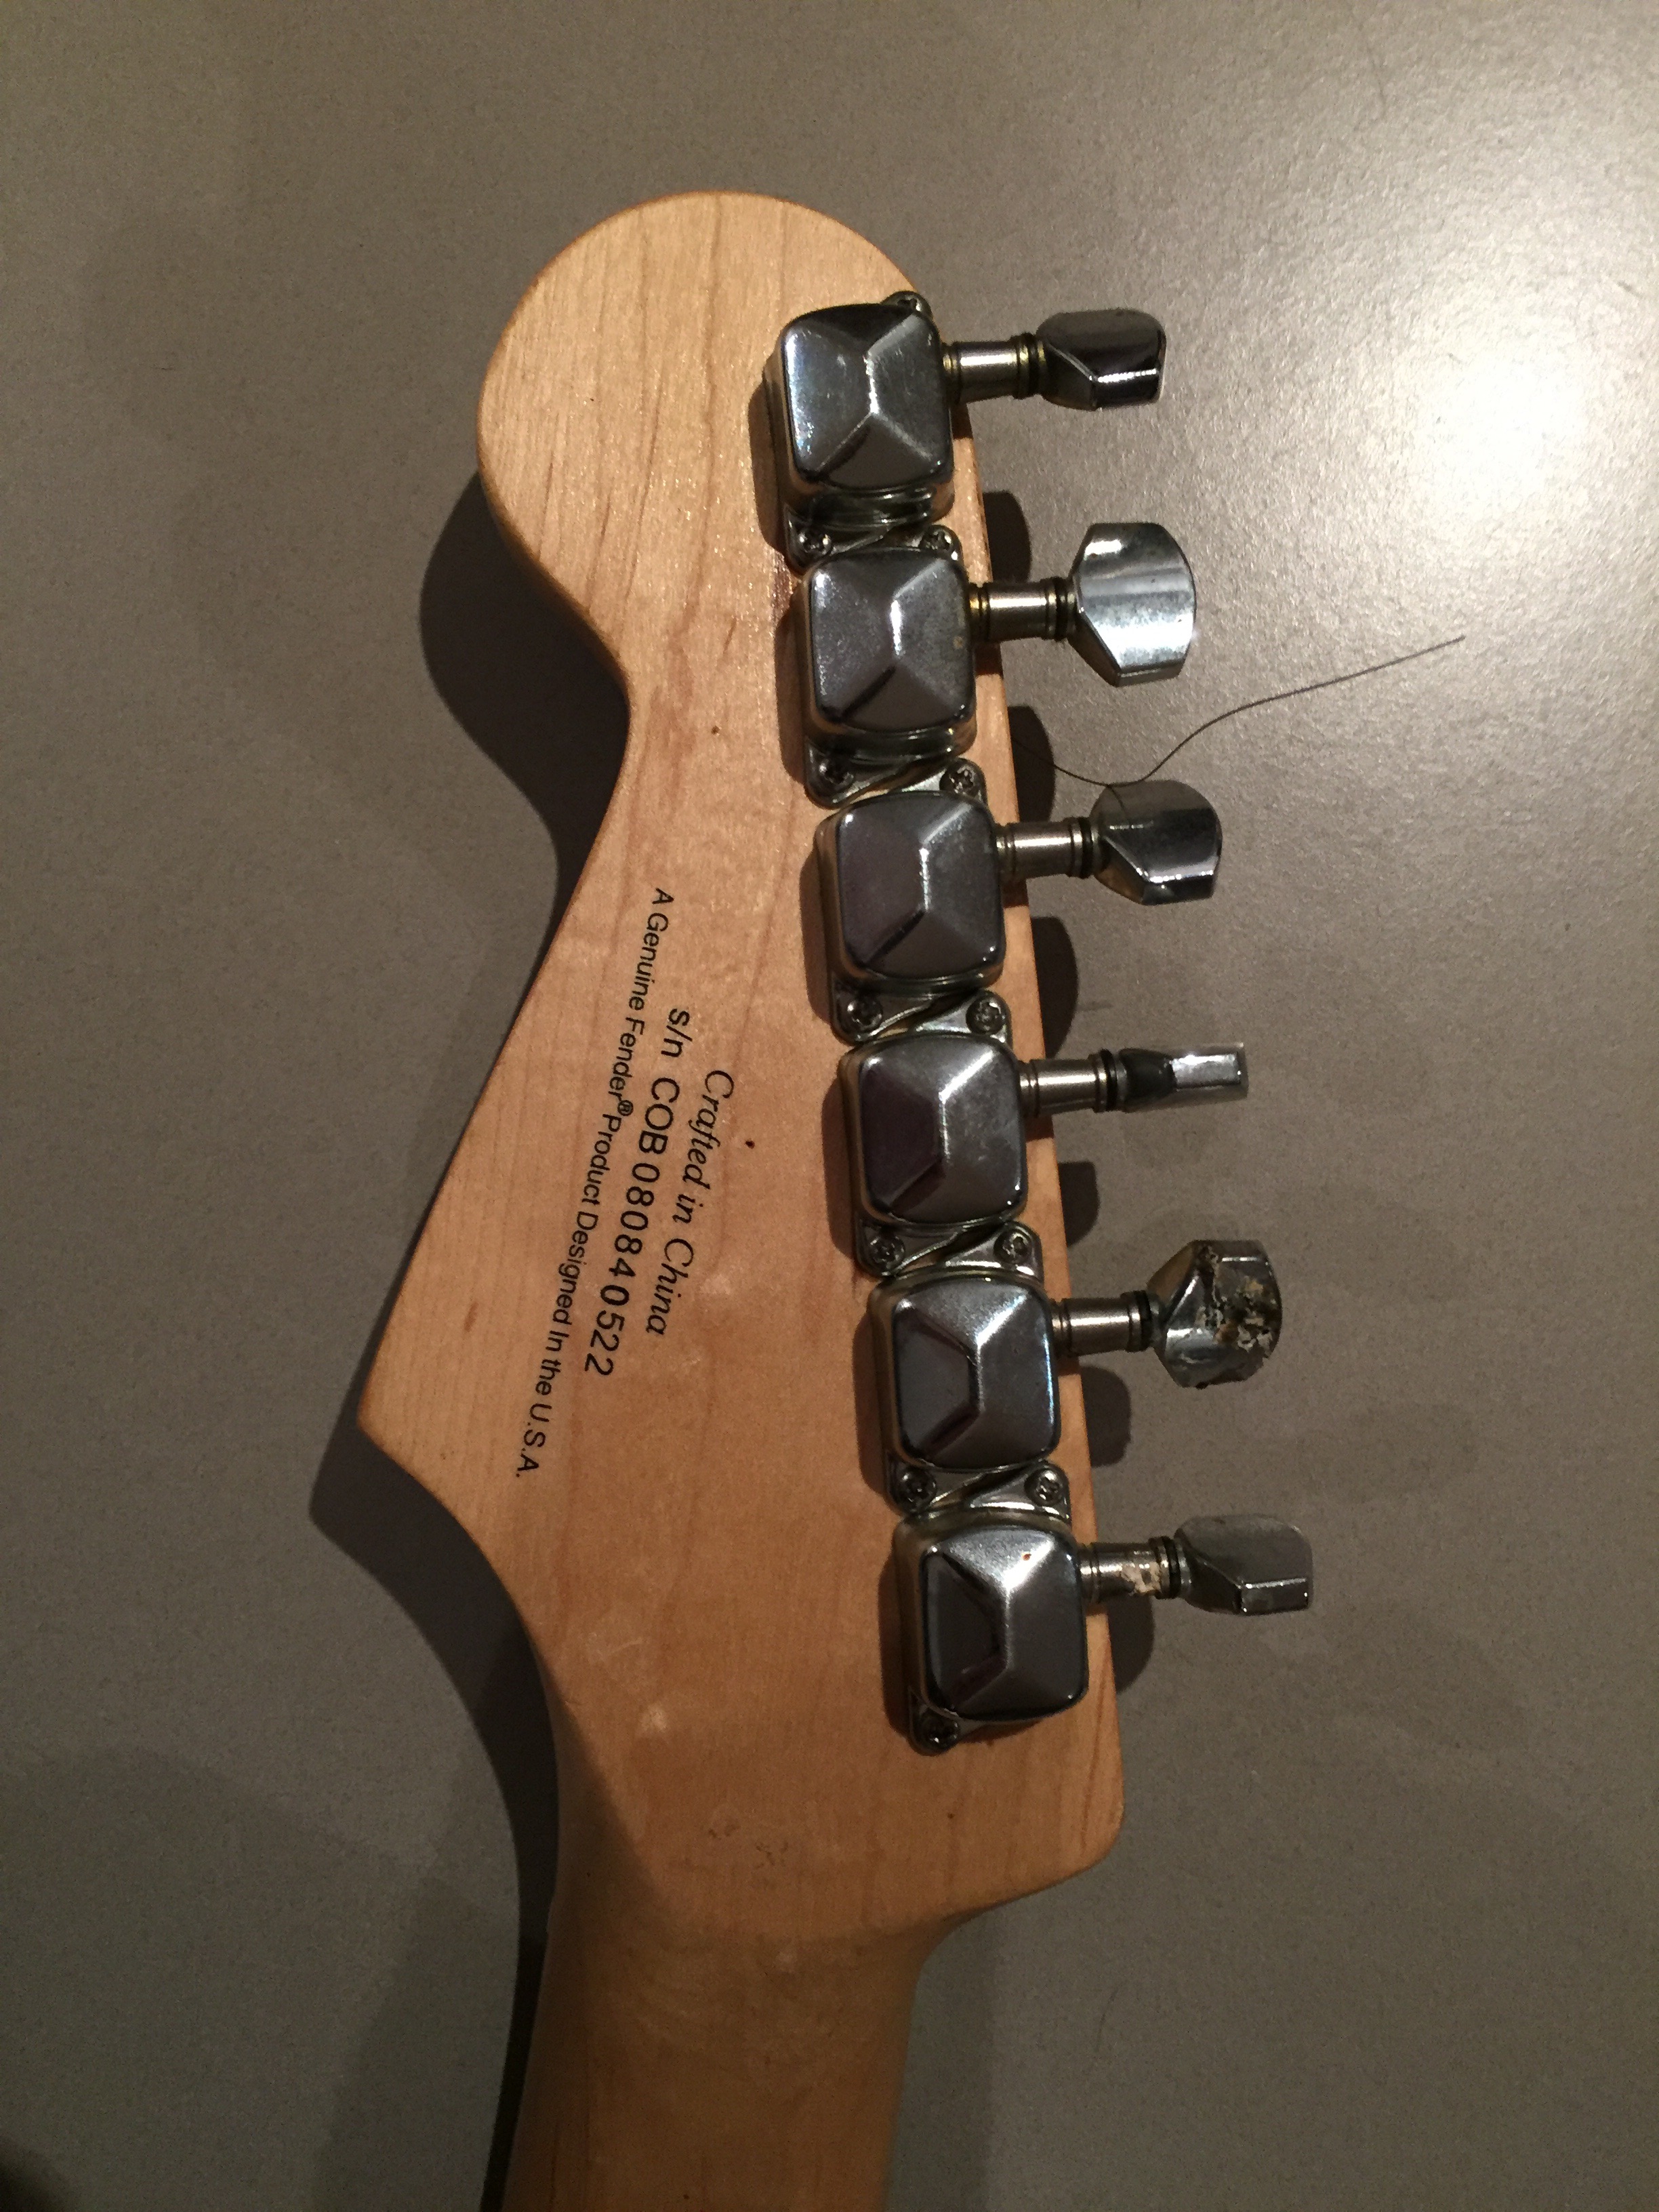
I quickly looked up the serial number, and sure enough, this was a 2008 “COB” Chinese made Bullet, which are known to be pretty good. The neck looked straight, and the fretwork was pretty reasonable so I went ahead and bought it. Knowing that I already had a few parts at home that would be perfect for this guitar, I could get started straight away with the transformation.
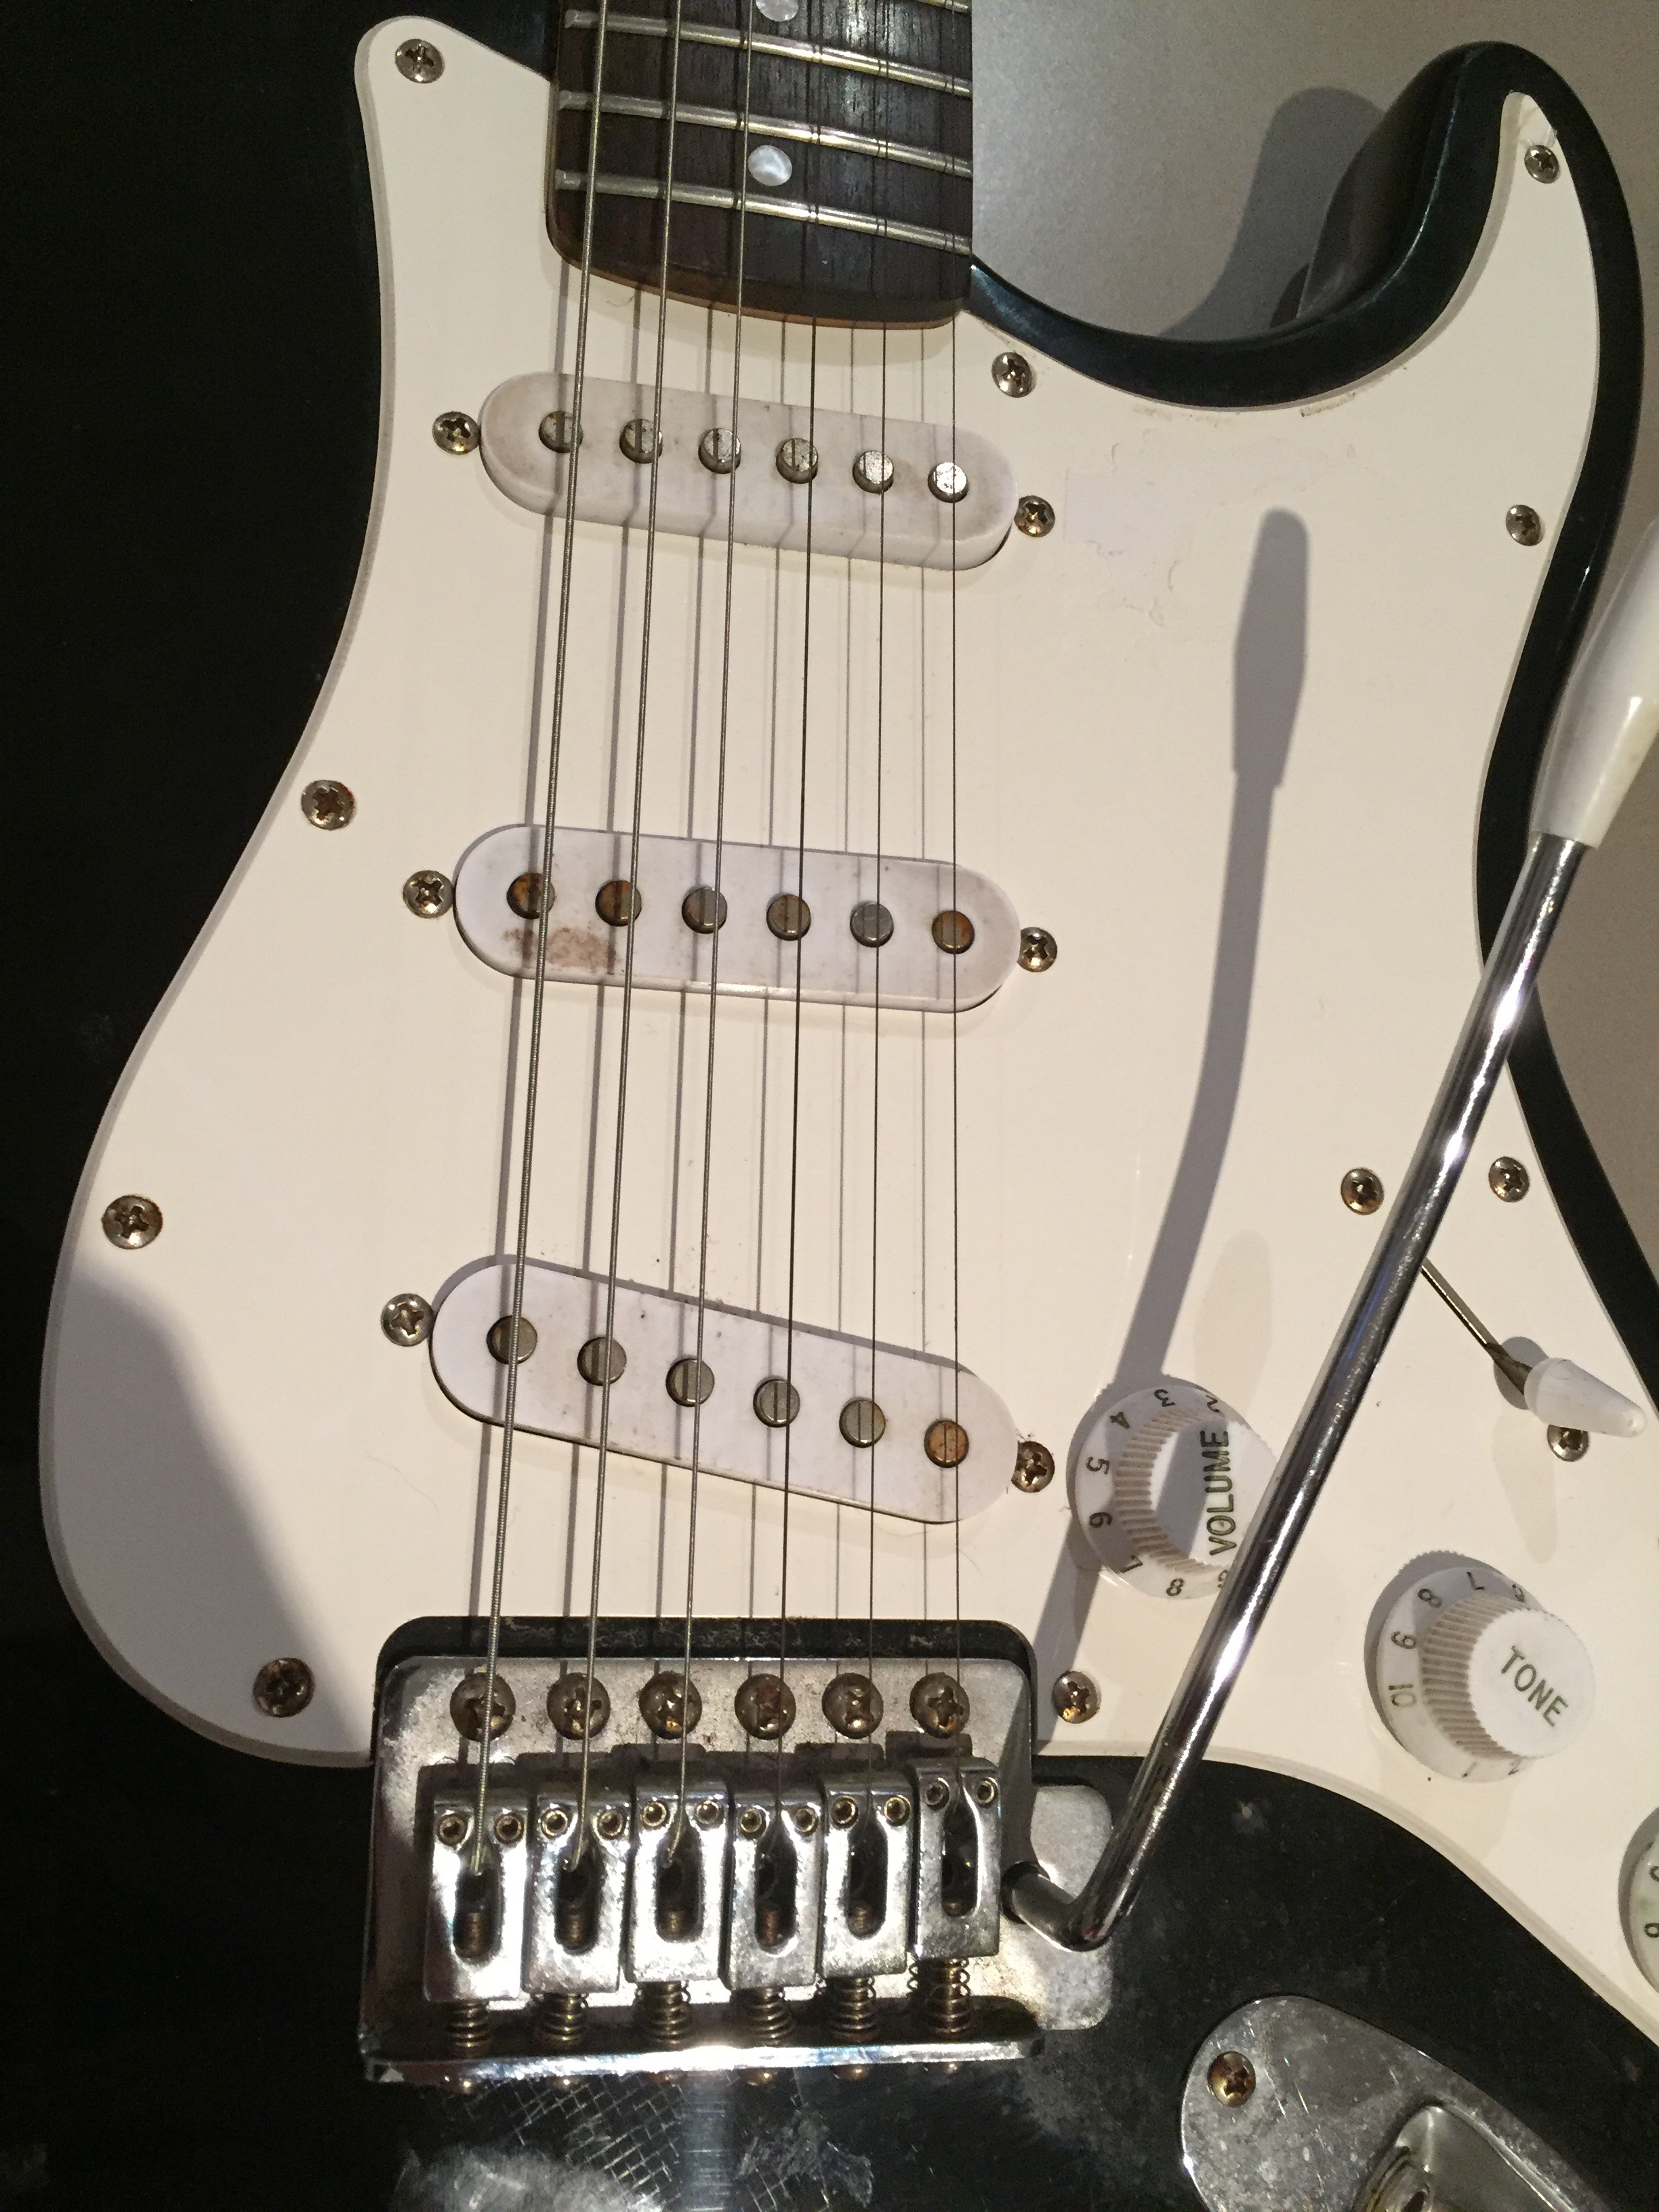
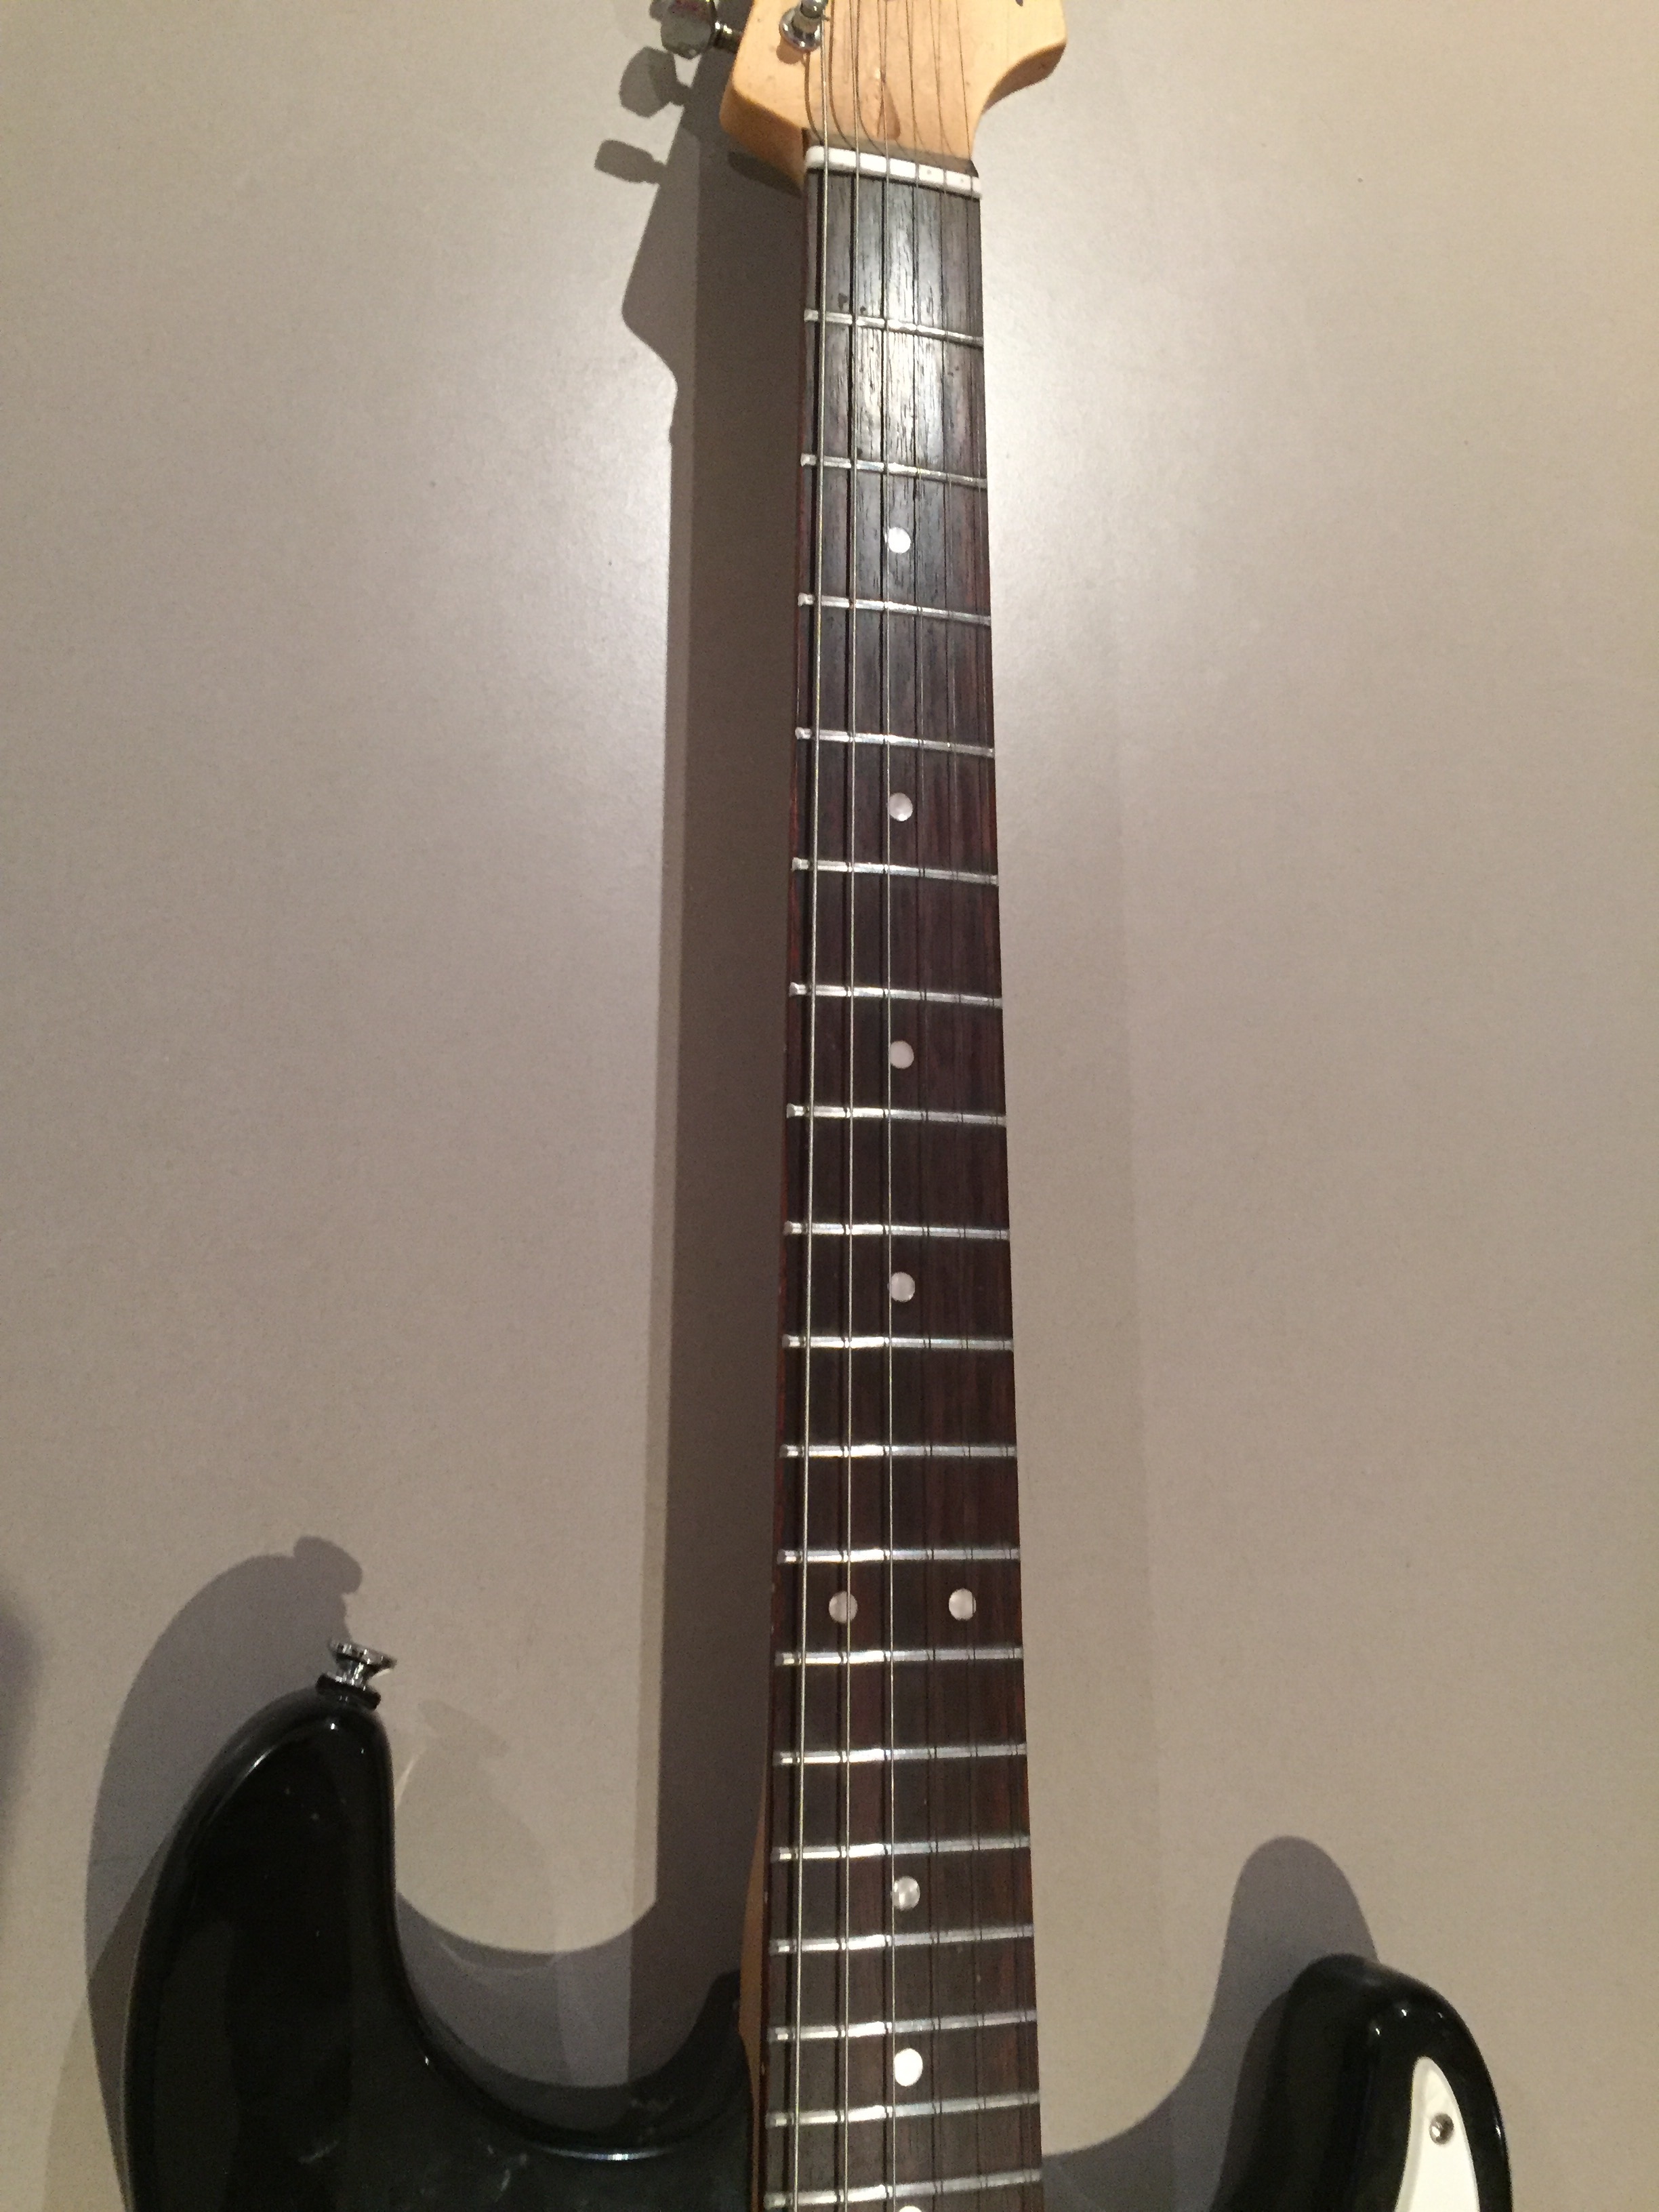
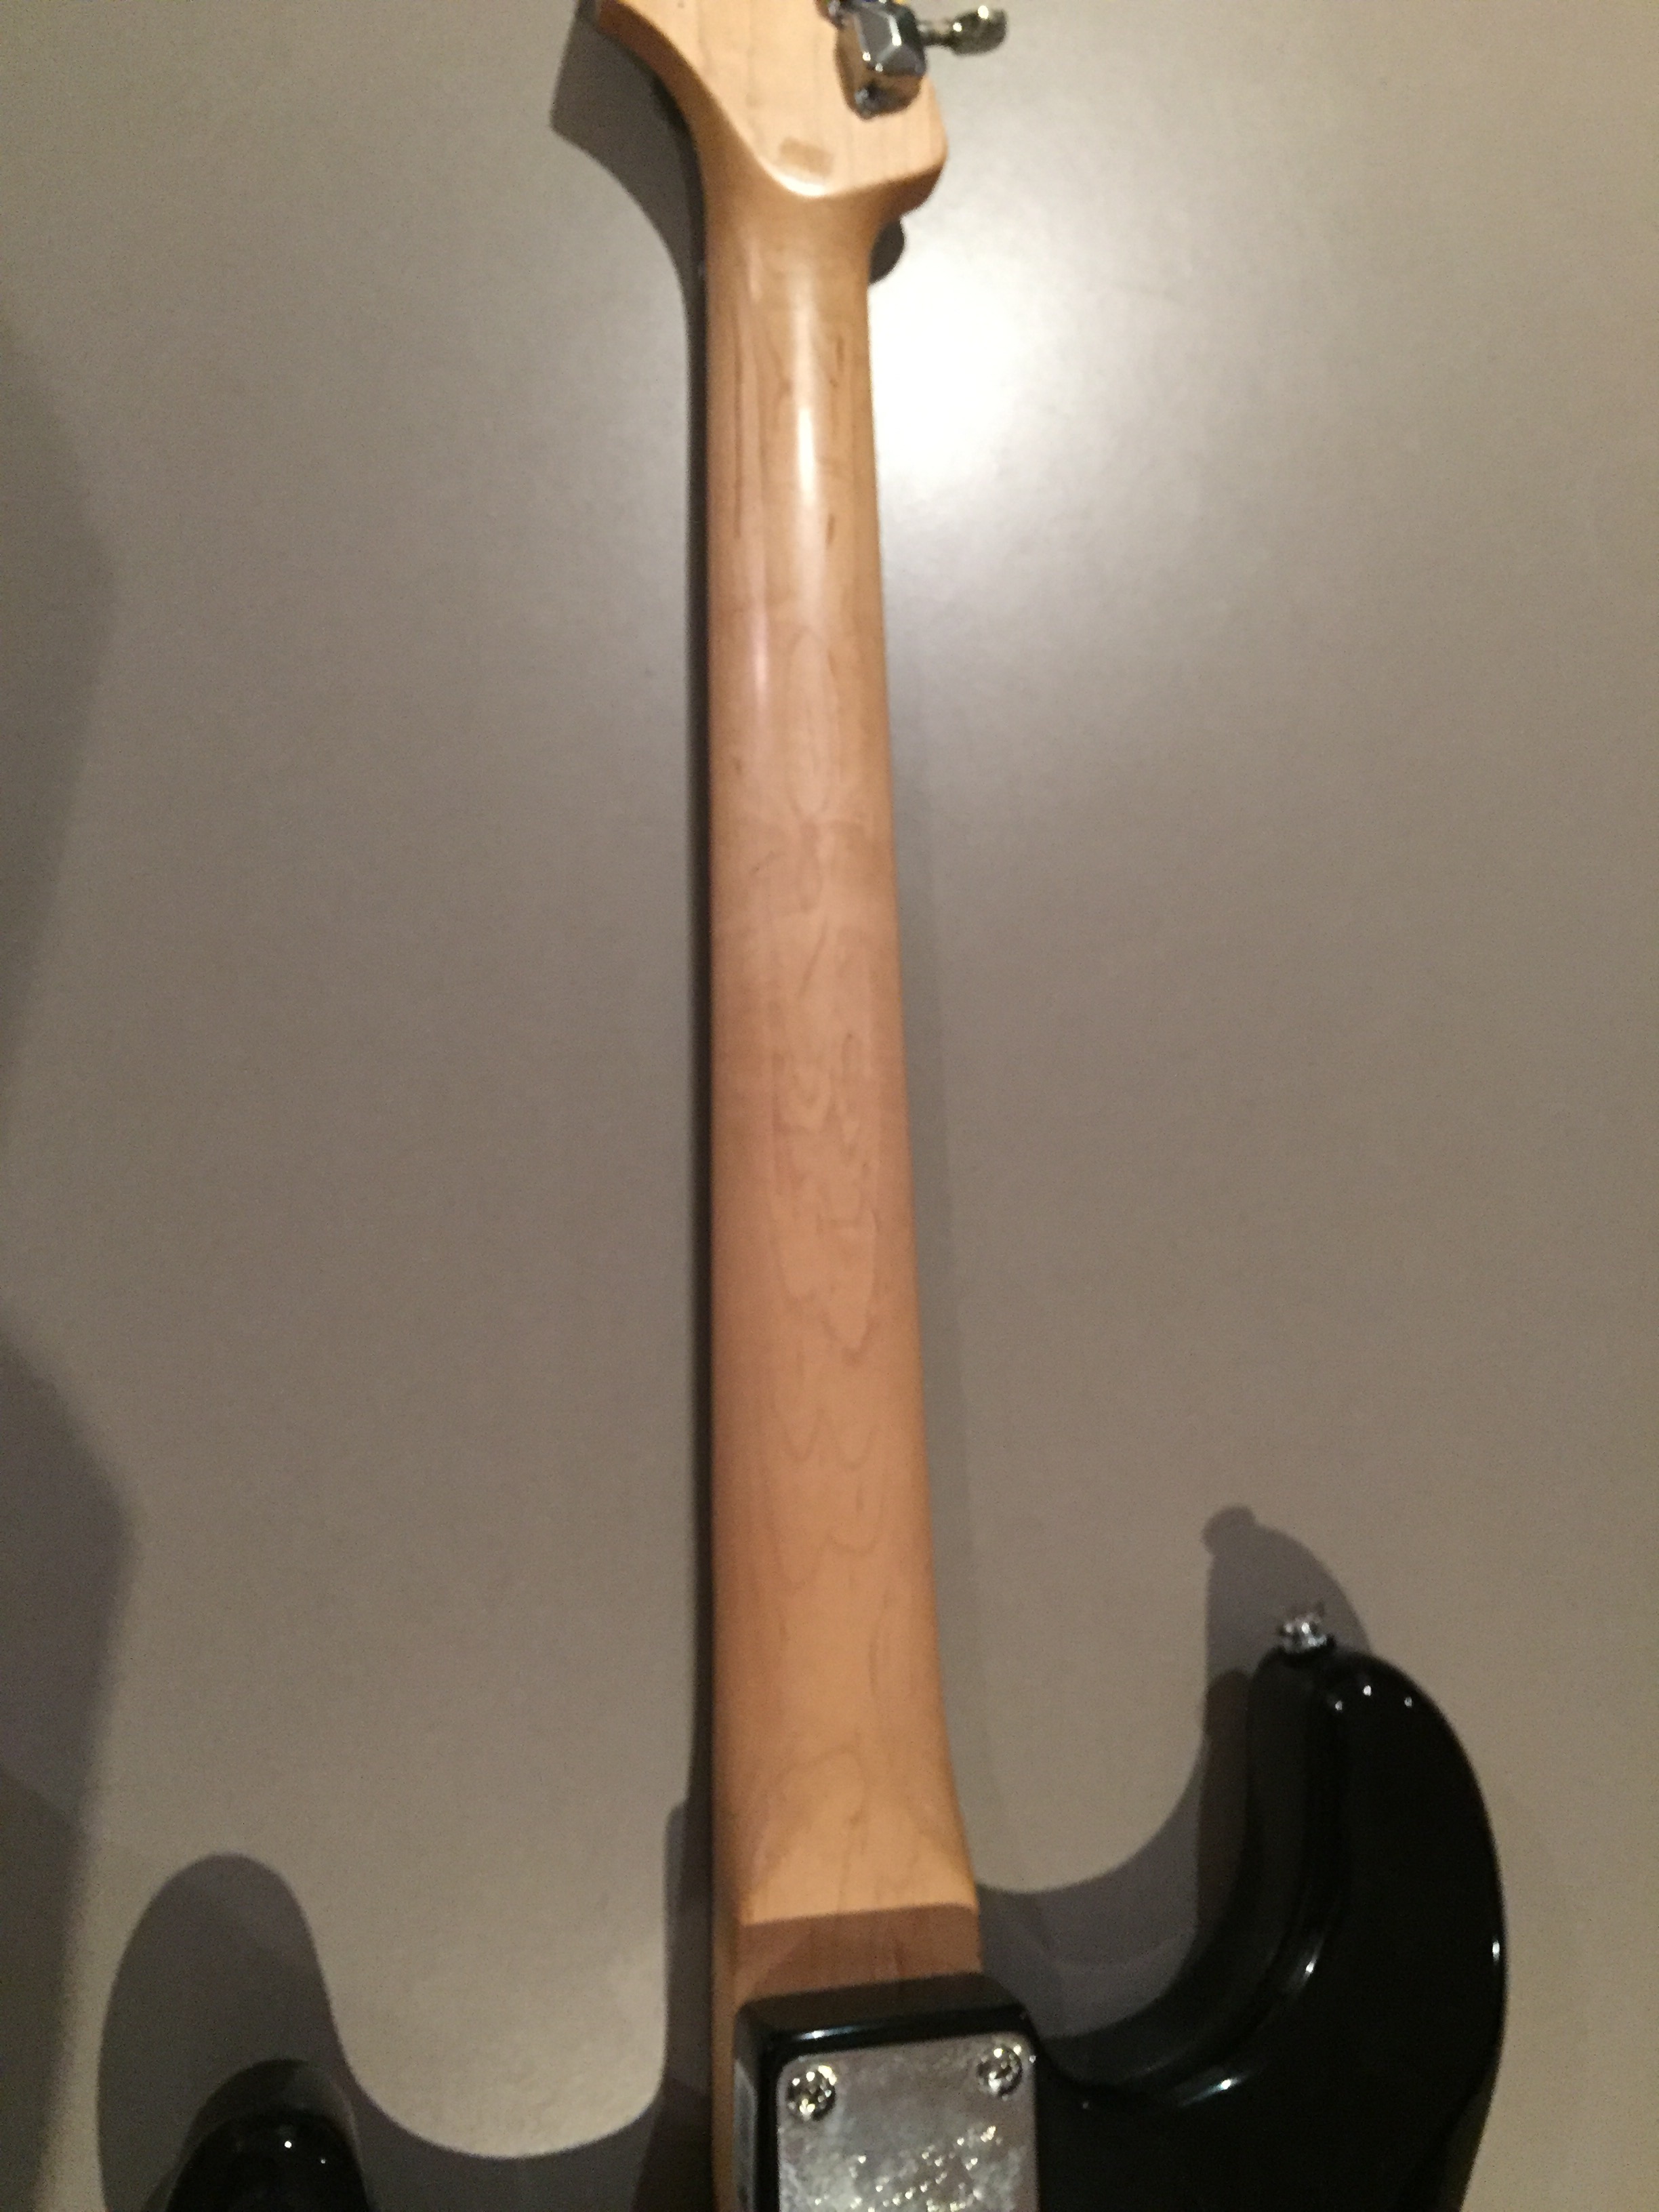
The Squier Bullet Strat come with a basswood body, maple neck with rosewood fretboard, and vintage six screw tremolo bridge with more modern design saddles. The neck width at the nut is 42mm, and fretboard radius is 9.5 inches. The frets are a fairly common medium jumbo fretwire, the nut is plastic, and tuners are very basic and average performing sealed die-cast, vintage style units. The bodies on Bullet Strats are a quarter inch thinner than a traditional Stratocaster body.

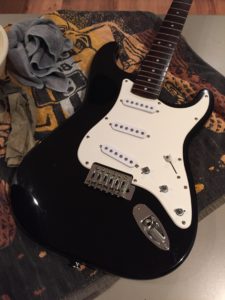
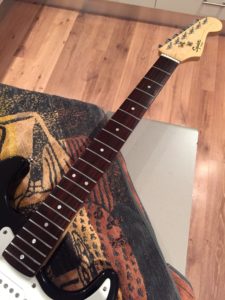
First up for the transformation was removing the rusty strings and giving the guitar a good scrub down. I made up a bowl of warm soapy water, using dishwashing liquid, and began scrubbing the plastic and painted parts with a microfibre cloth. I hit the fretboard with Dunlop Fingerboard Deep Conditioner and removed all the grime, and got the rosewood looking bright and vibrant again. Once the guitar was cleaned up it was apparent that this guitar was almost like new. There were barely and scuffs or dings to be found, and this made me very happy.
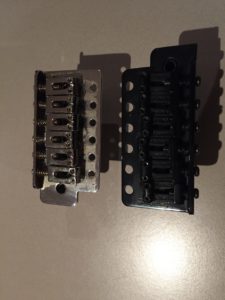
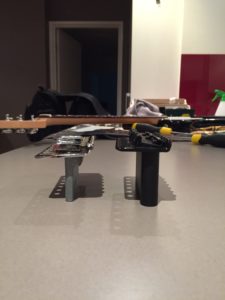
One of the parts I had left over from my white Stratocaster build was a black Wilkinson six screw vintage-style tremolo bridge. The stock Squier unit has a small and thin sustain block, and the screw-in whammy bar is a bit average too. I figured the Wilkinson bridge would be perfect for this guitar, since it has a full-size sustain block, a far nicer push-in whammy bar, and slightly wider 2-1/8″ spaced saddles. The only tricky part to installing the Wilkison is it’s 2-1/8″ screw spacing – the standard bridge is a 2-1/16″ screw spacing. When I built the white Stratocaster I discovered that the middle four holes of the Wilkinson would line up with the holes on a body with 2-1/16″ spaced holes, so at least only the outer two holes would need to be filled and re-drilled.
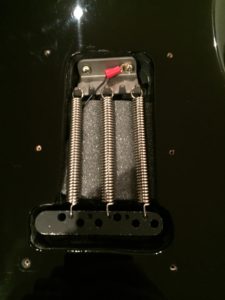
Another thing I had left over from the white Stratocaster build was some Hantug Custom Guitars black brass 2-1/8″ solid saddles. These would be the perfect tonal upgrade to the vintage-style saddles on the Wilkinson bridge. To top off the bridge related upgrades was a Hantug solid milled titanium spring claw, and some Raw Vintage tremolo springs. The stock springs are extremely tight, and the looser feeling Raw Vintage springs would provide a slinkier feel when bending strings and using the whammy bar.
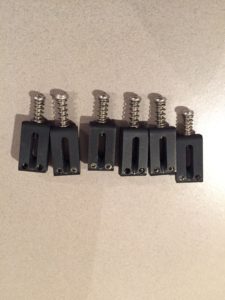

I got on to installing the Hantug saddles on the Wilkinson bridge, and then removing the stock unit. I figured I’d install the bridge using the middle four screws for now and get around to filling and re-drilling the outer holes later. This would be required to get the best tuning stability when using the whammy bar.
Next up was removing the stock spring claw and installing the Hantug claw and Raw Vintage springs. When I pulled the claw out I discovered that the previous owner had stripped one of the holes in the body, and rather than filling the hole, they just drilled a new hole. The angle was a bit off, but I figured I’d leave it as is and see how things worked. I also put some foam under the springs to reduce the sympathetic reverberations that can occur with Strat and Floyd Rose type bridges that use tremolo springs.
I strung up the guitar and set the saddles up to match the radius of the fretboard, and did a basic setup. The guitar’s acoustic tone was surprisingly quite good, the body resonated nicely, and the guitar sounded bigger than one would expect from a cheap, thinner than standard strat body made from basswood. As expected, there was one downside to how the guitar played, and that was the tuning stability. The combination of the cheap, badly cut plastic nut, average string trees, and slipping tuners made it a bit hard for the strings to hold their tune after a few string bends.
So at the end of stage one of the Squier Bullet Strat project, the basic bones of the guitar appear to be sound, and the first upgrades have resulted in a great tone. Next up will be trying to get the guitar holding tune, and altering the look of the guitar. Hopefully this project will prove that it is possible to create a fantastic playing and sounding guitar on a very small budget.
Leave a Reply